Photo-microscopy and
Crystals under Polarized Light
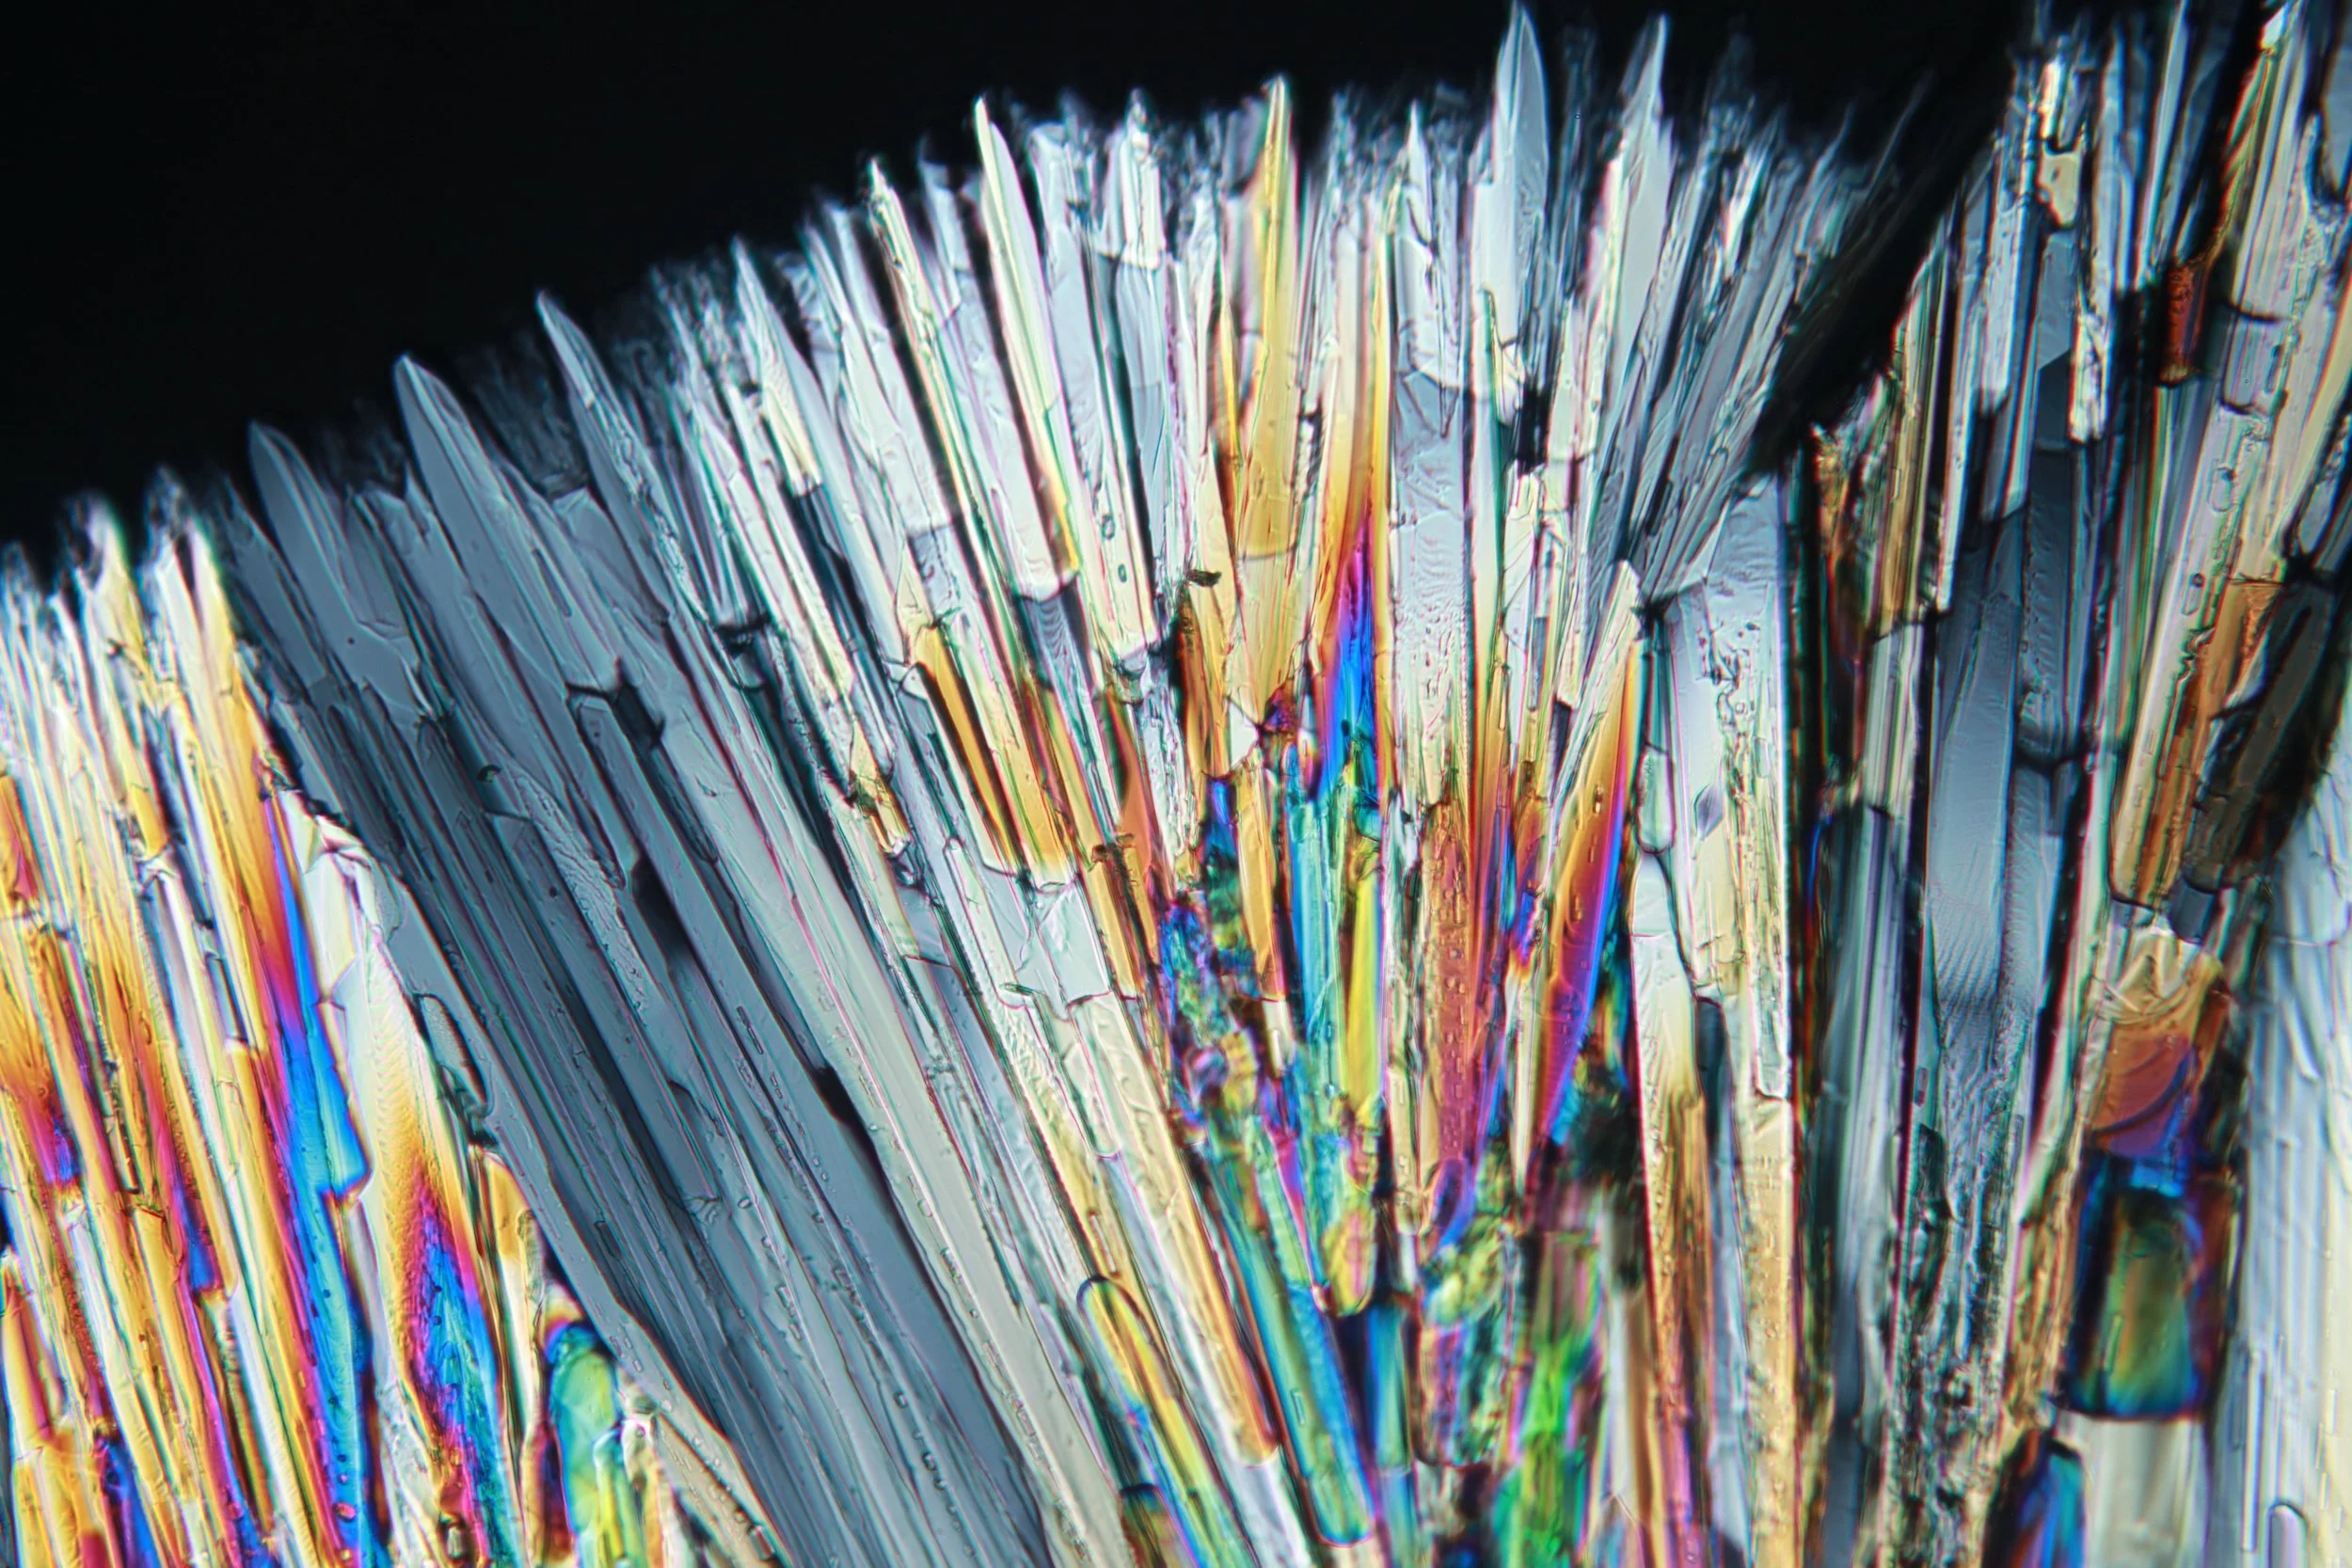
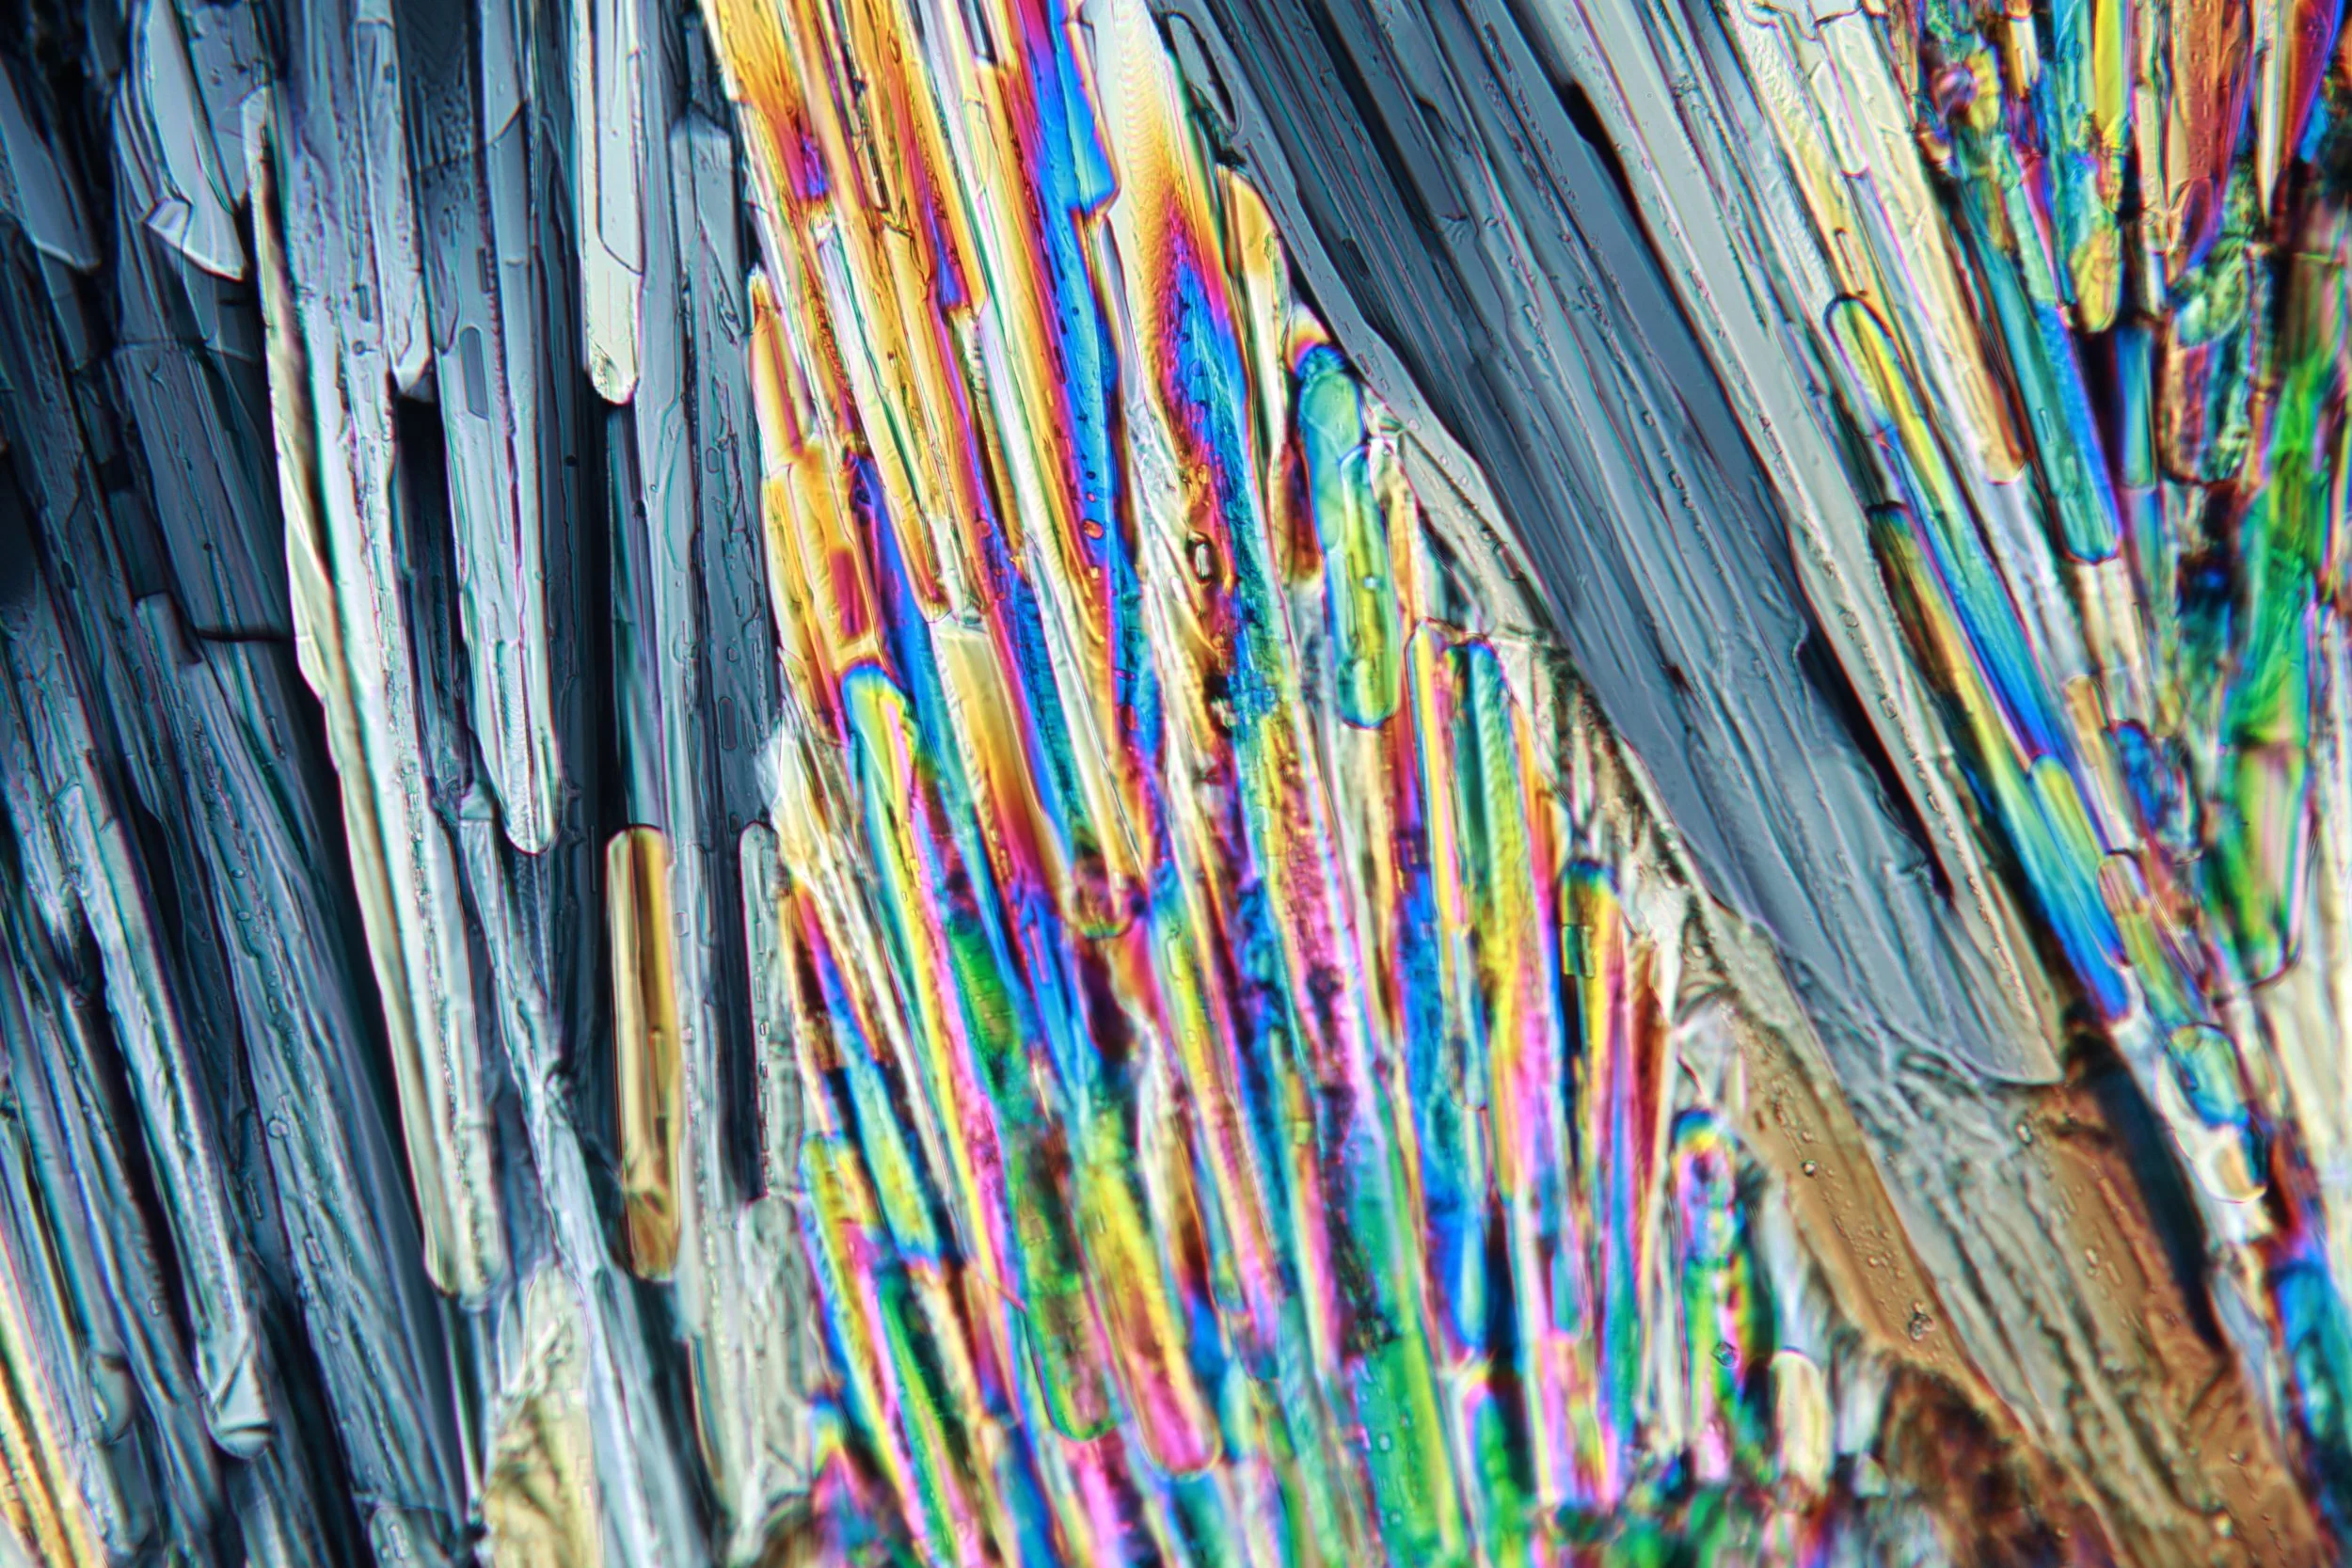
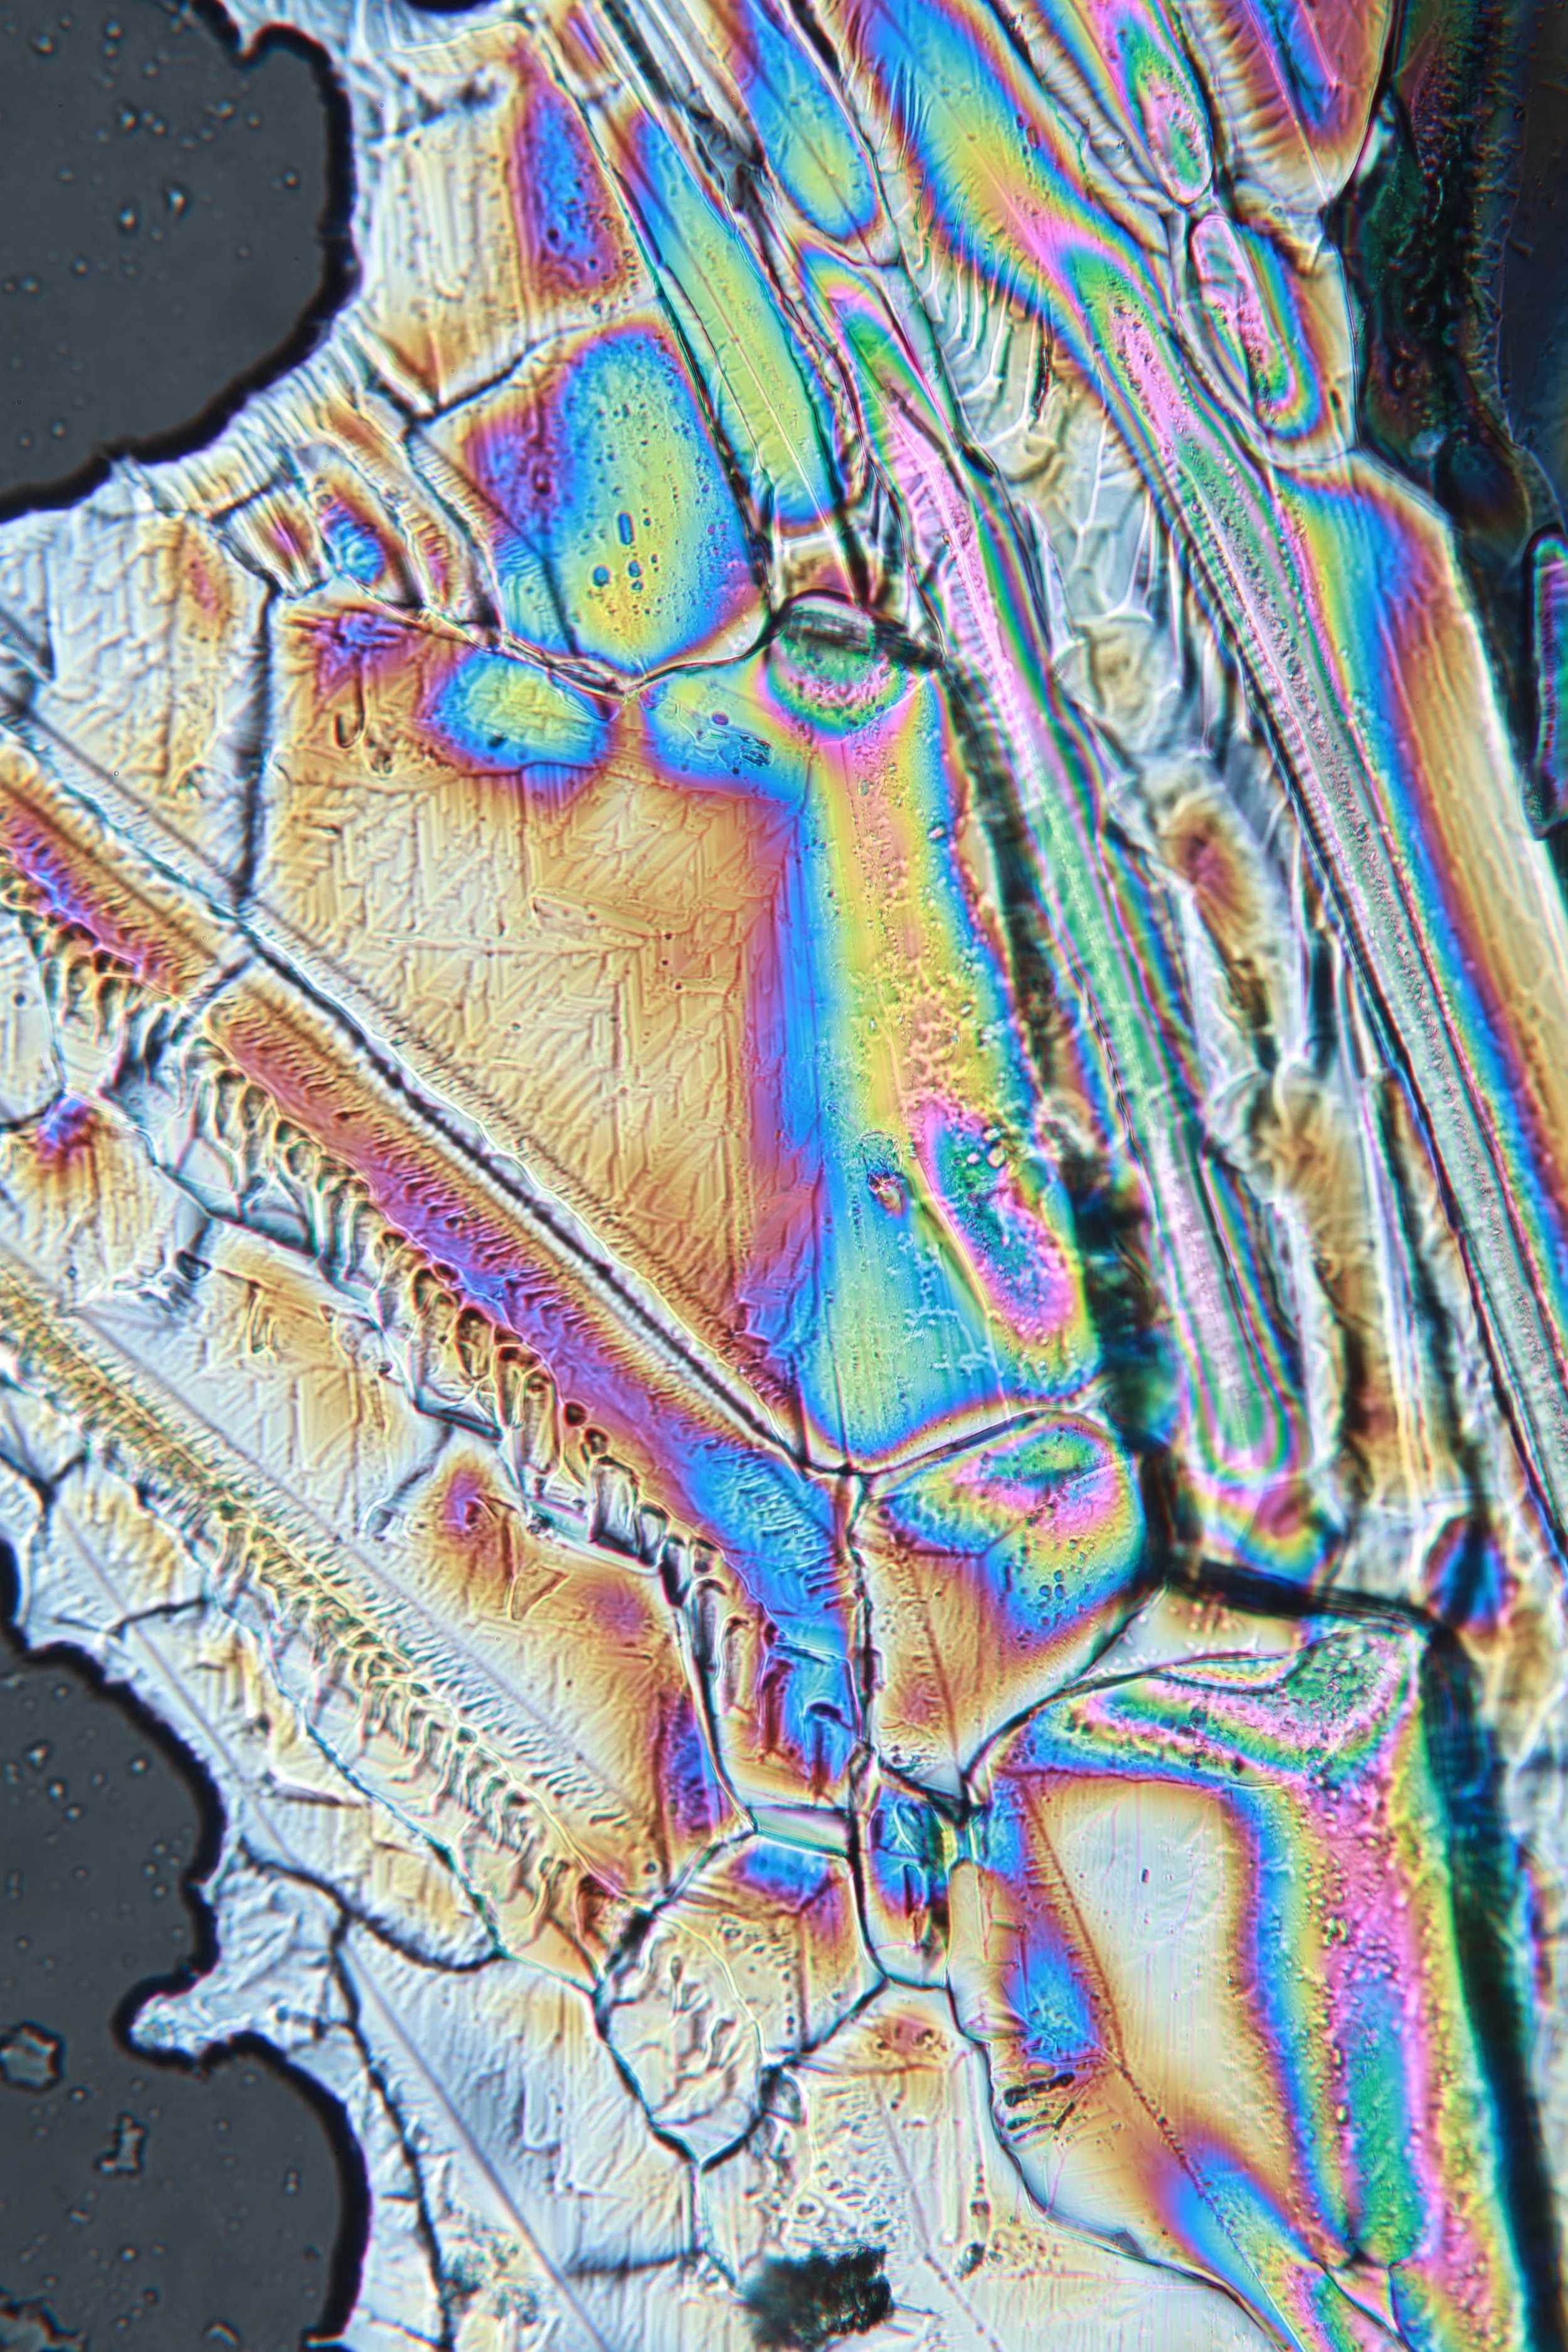
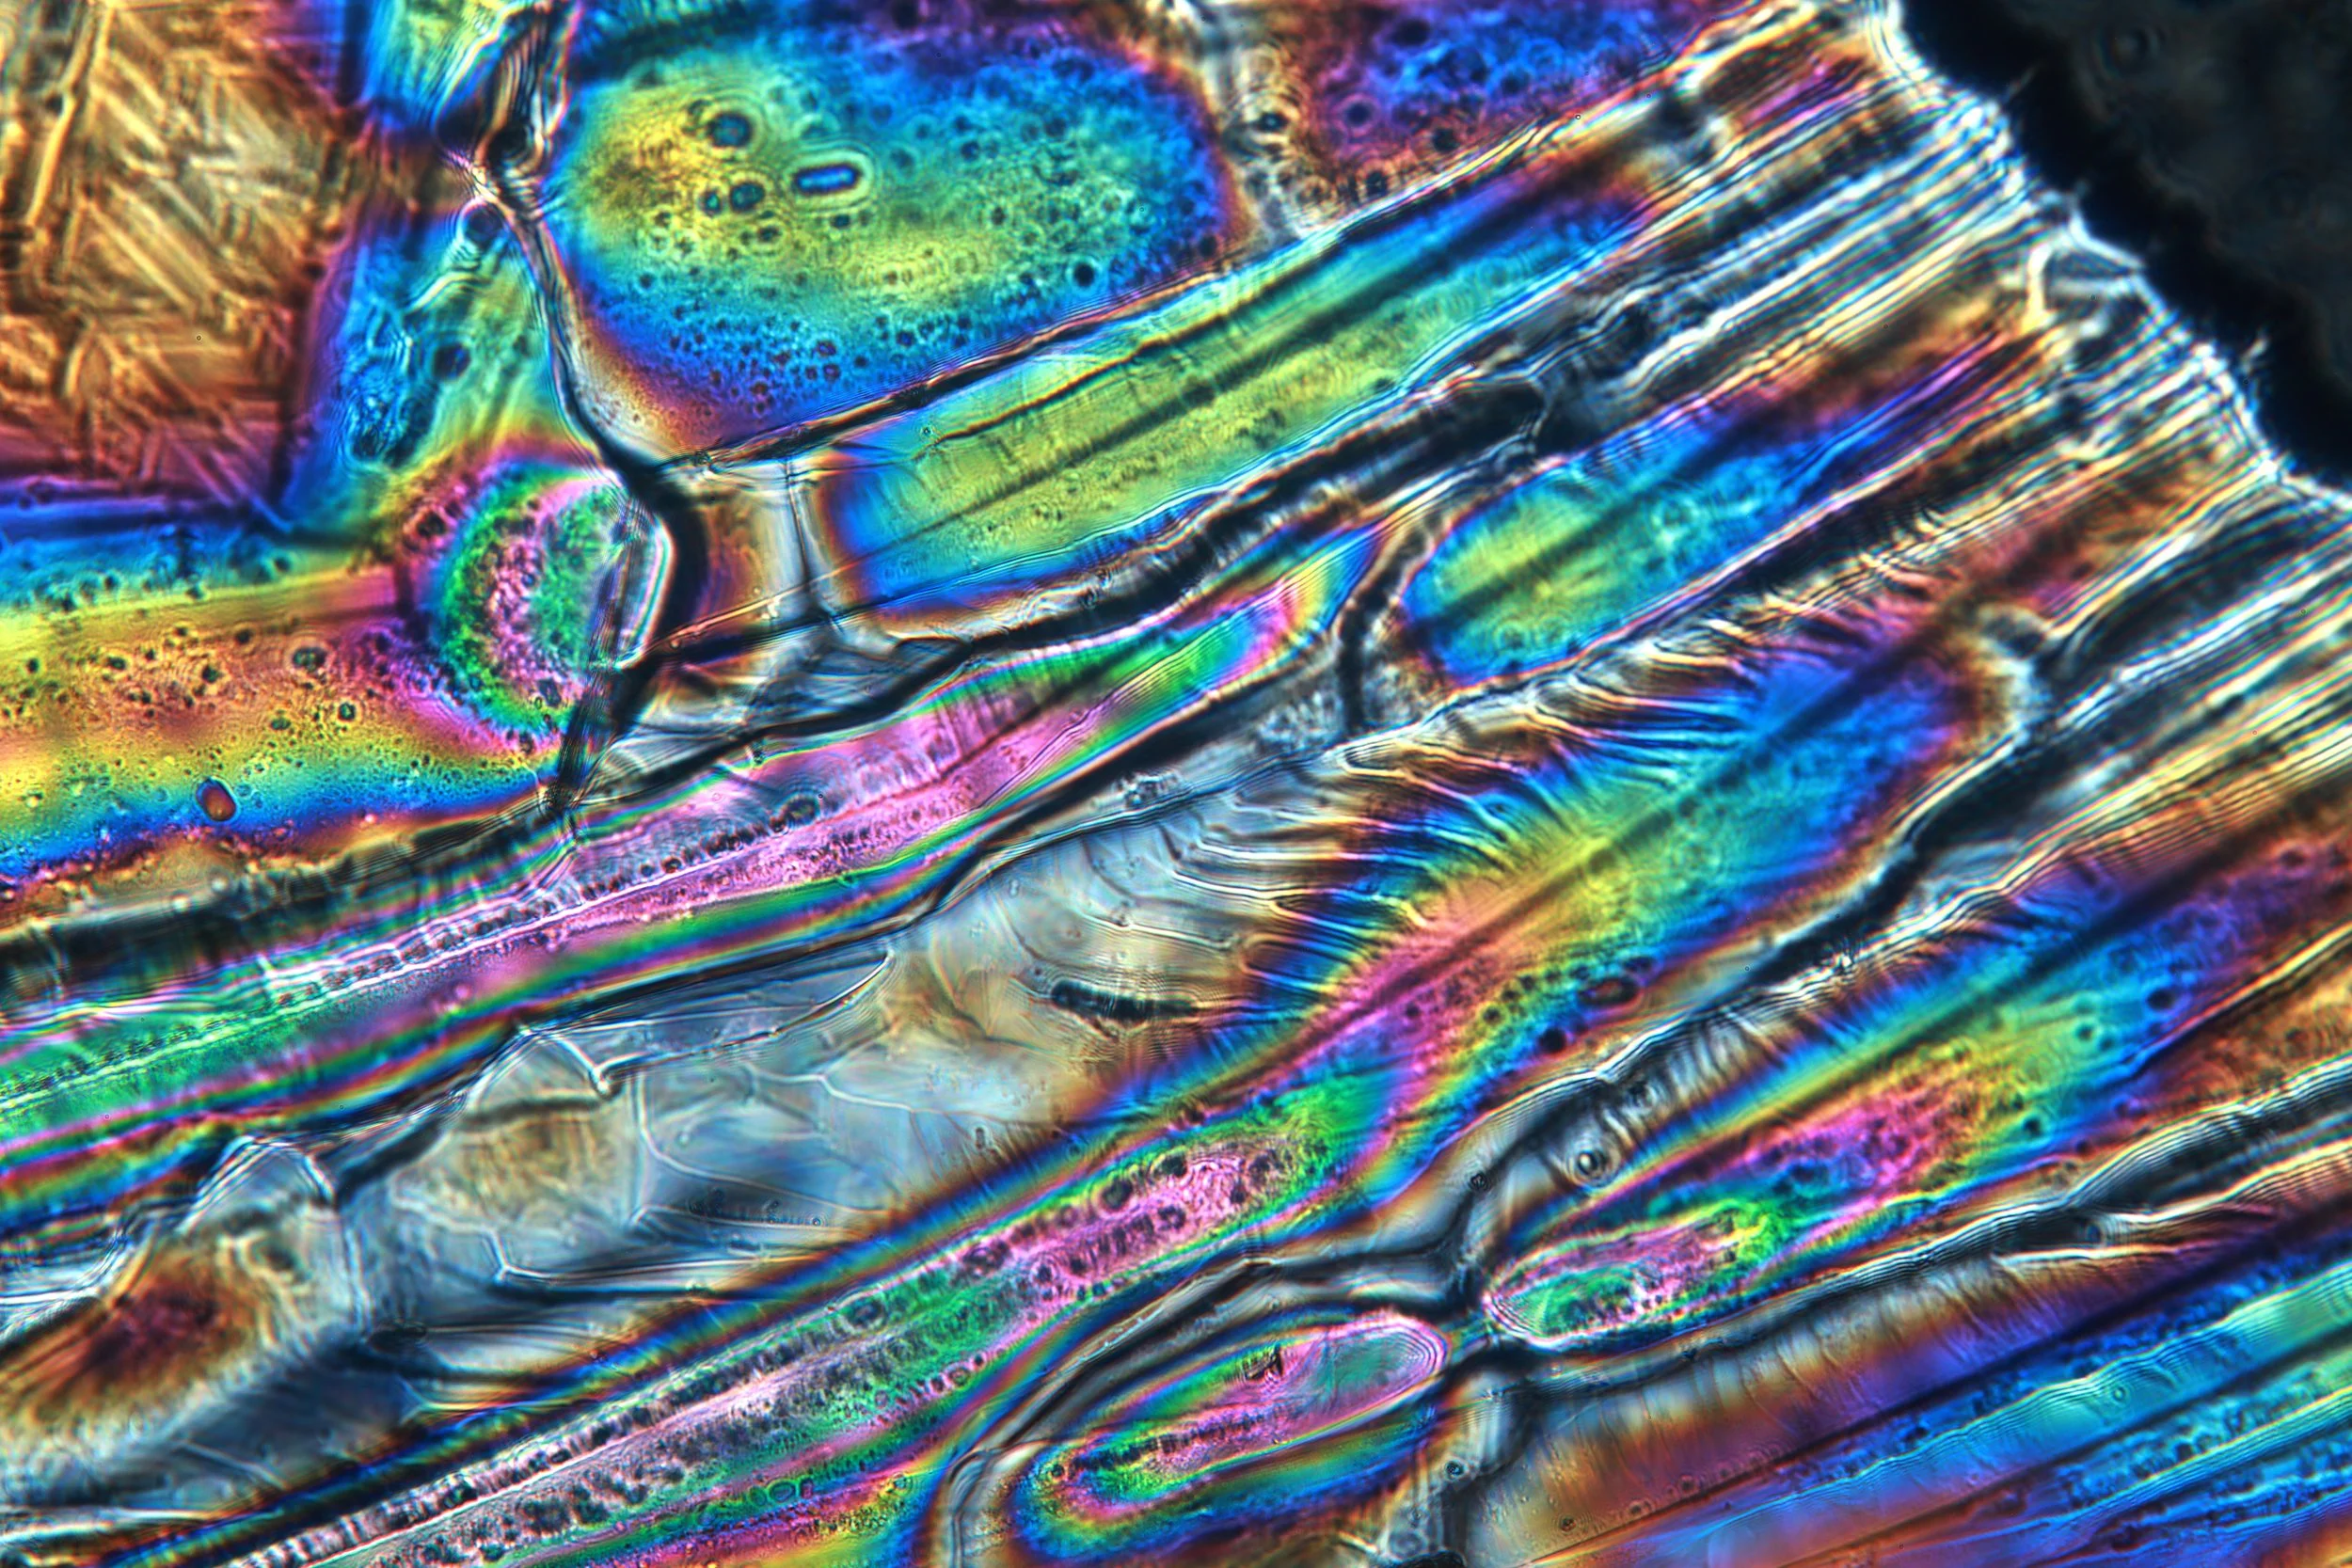
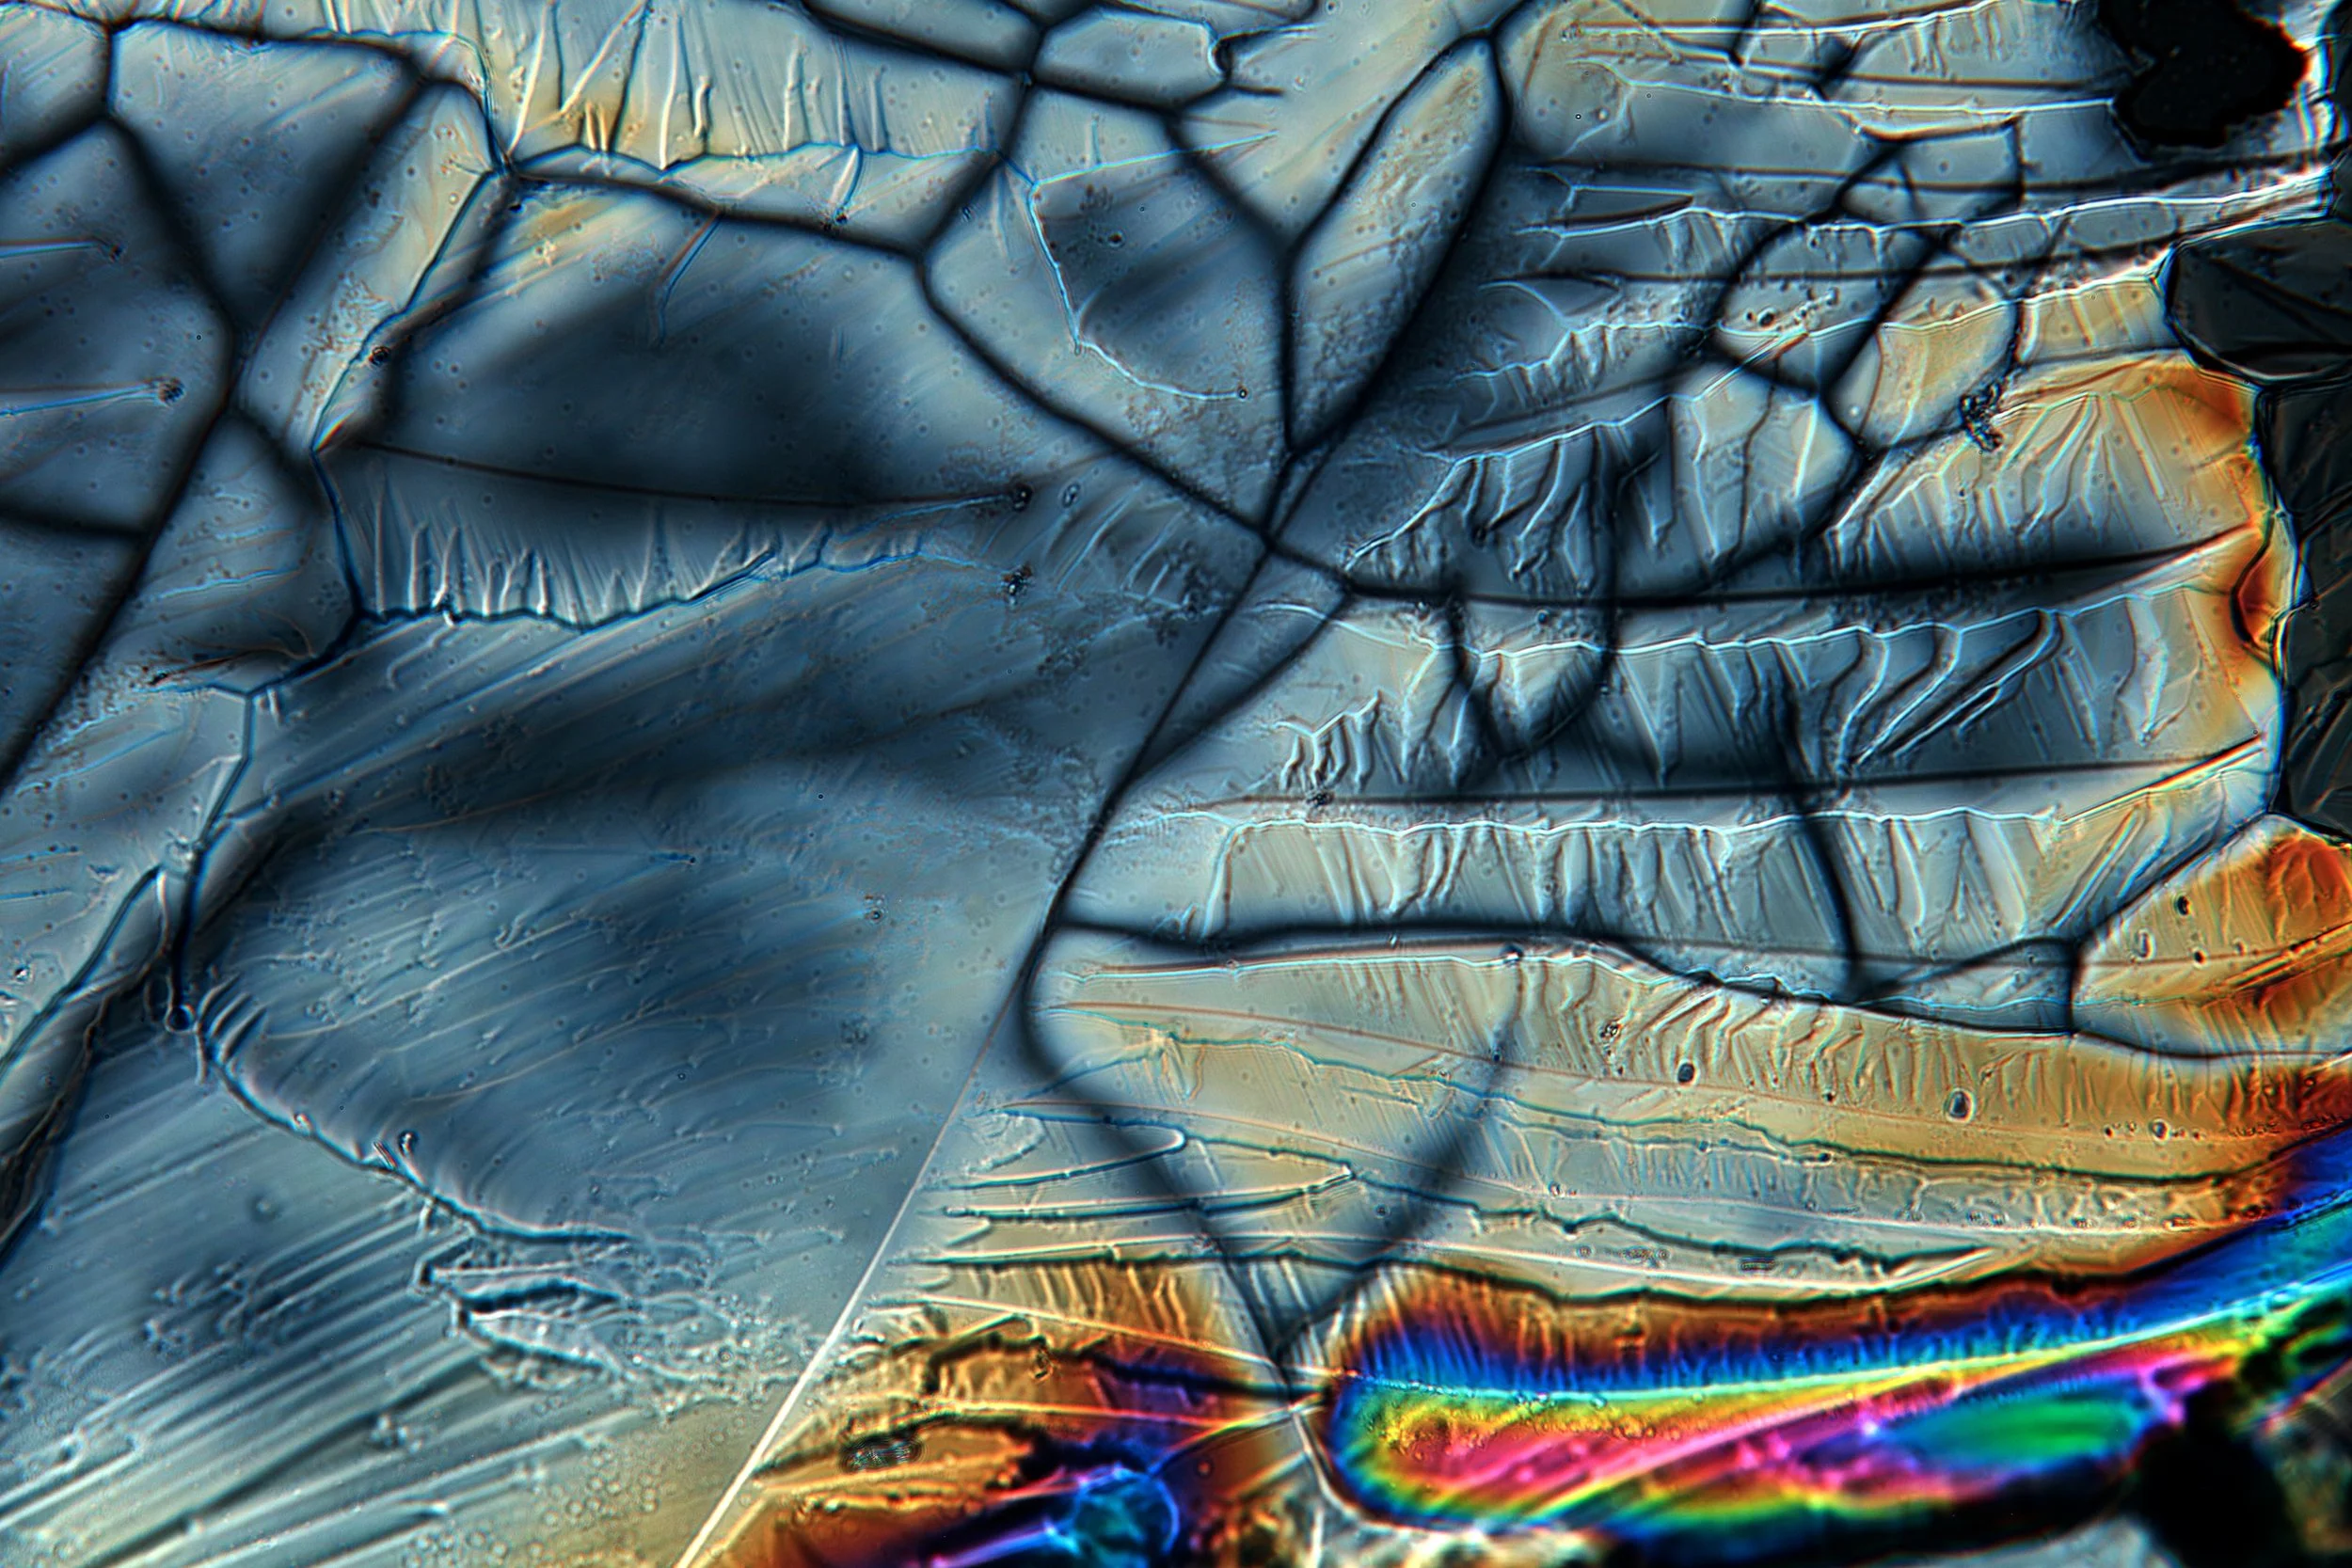
Epsom Crystals — photos below
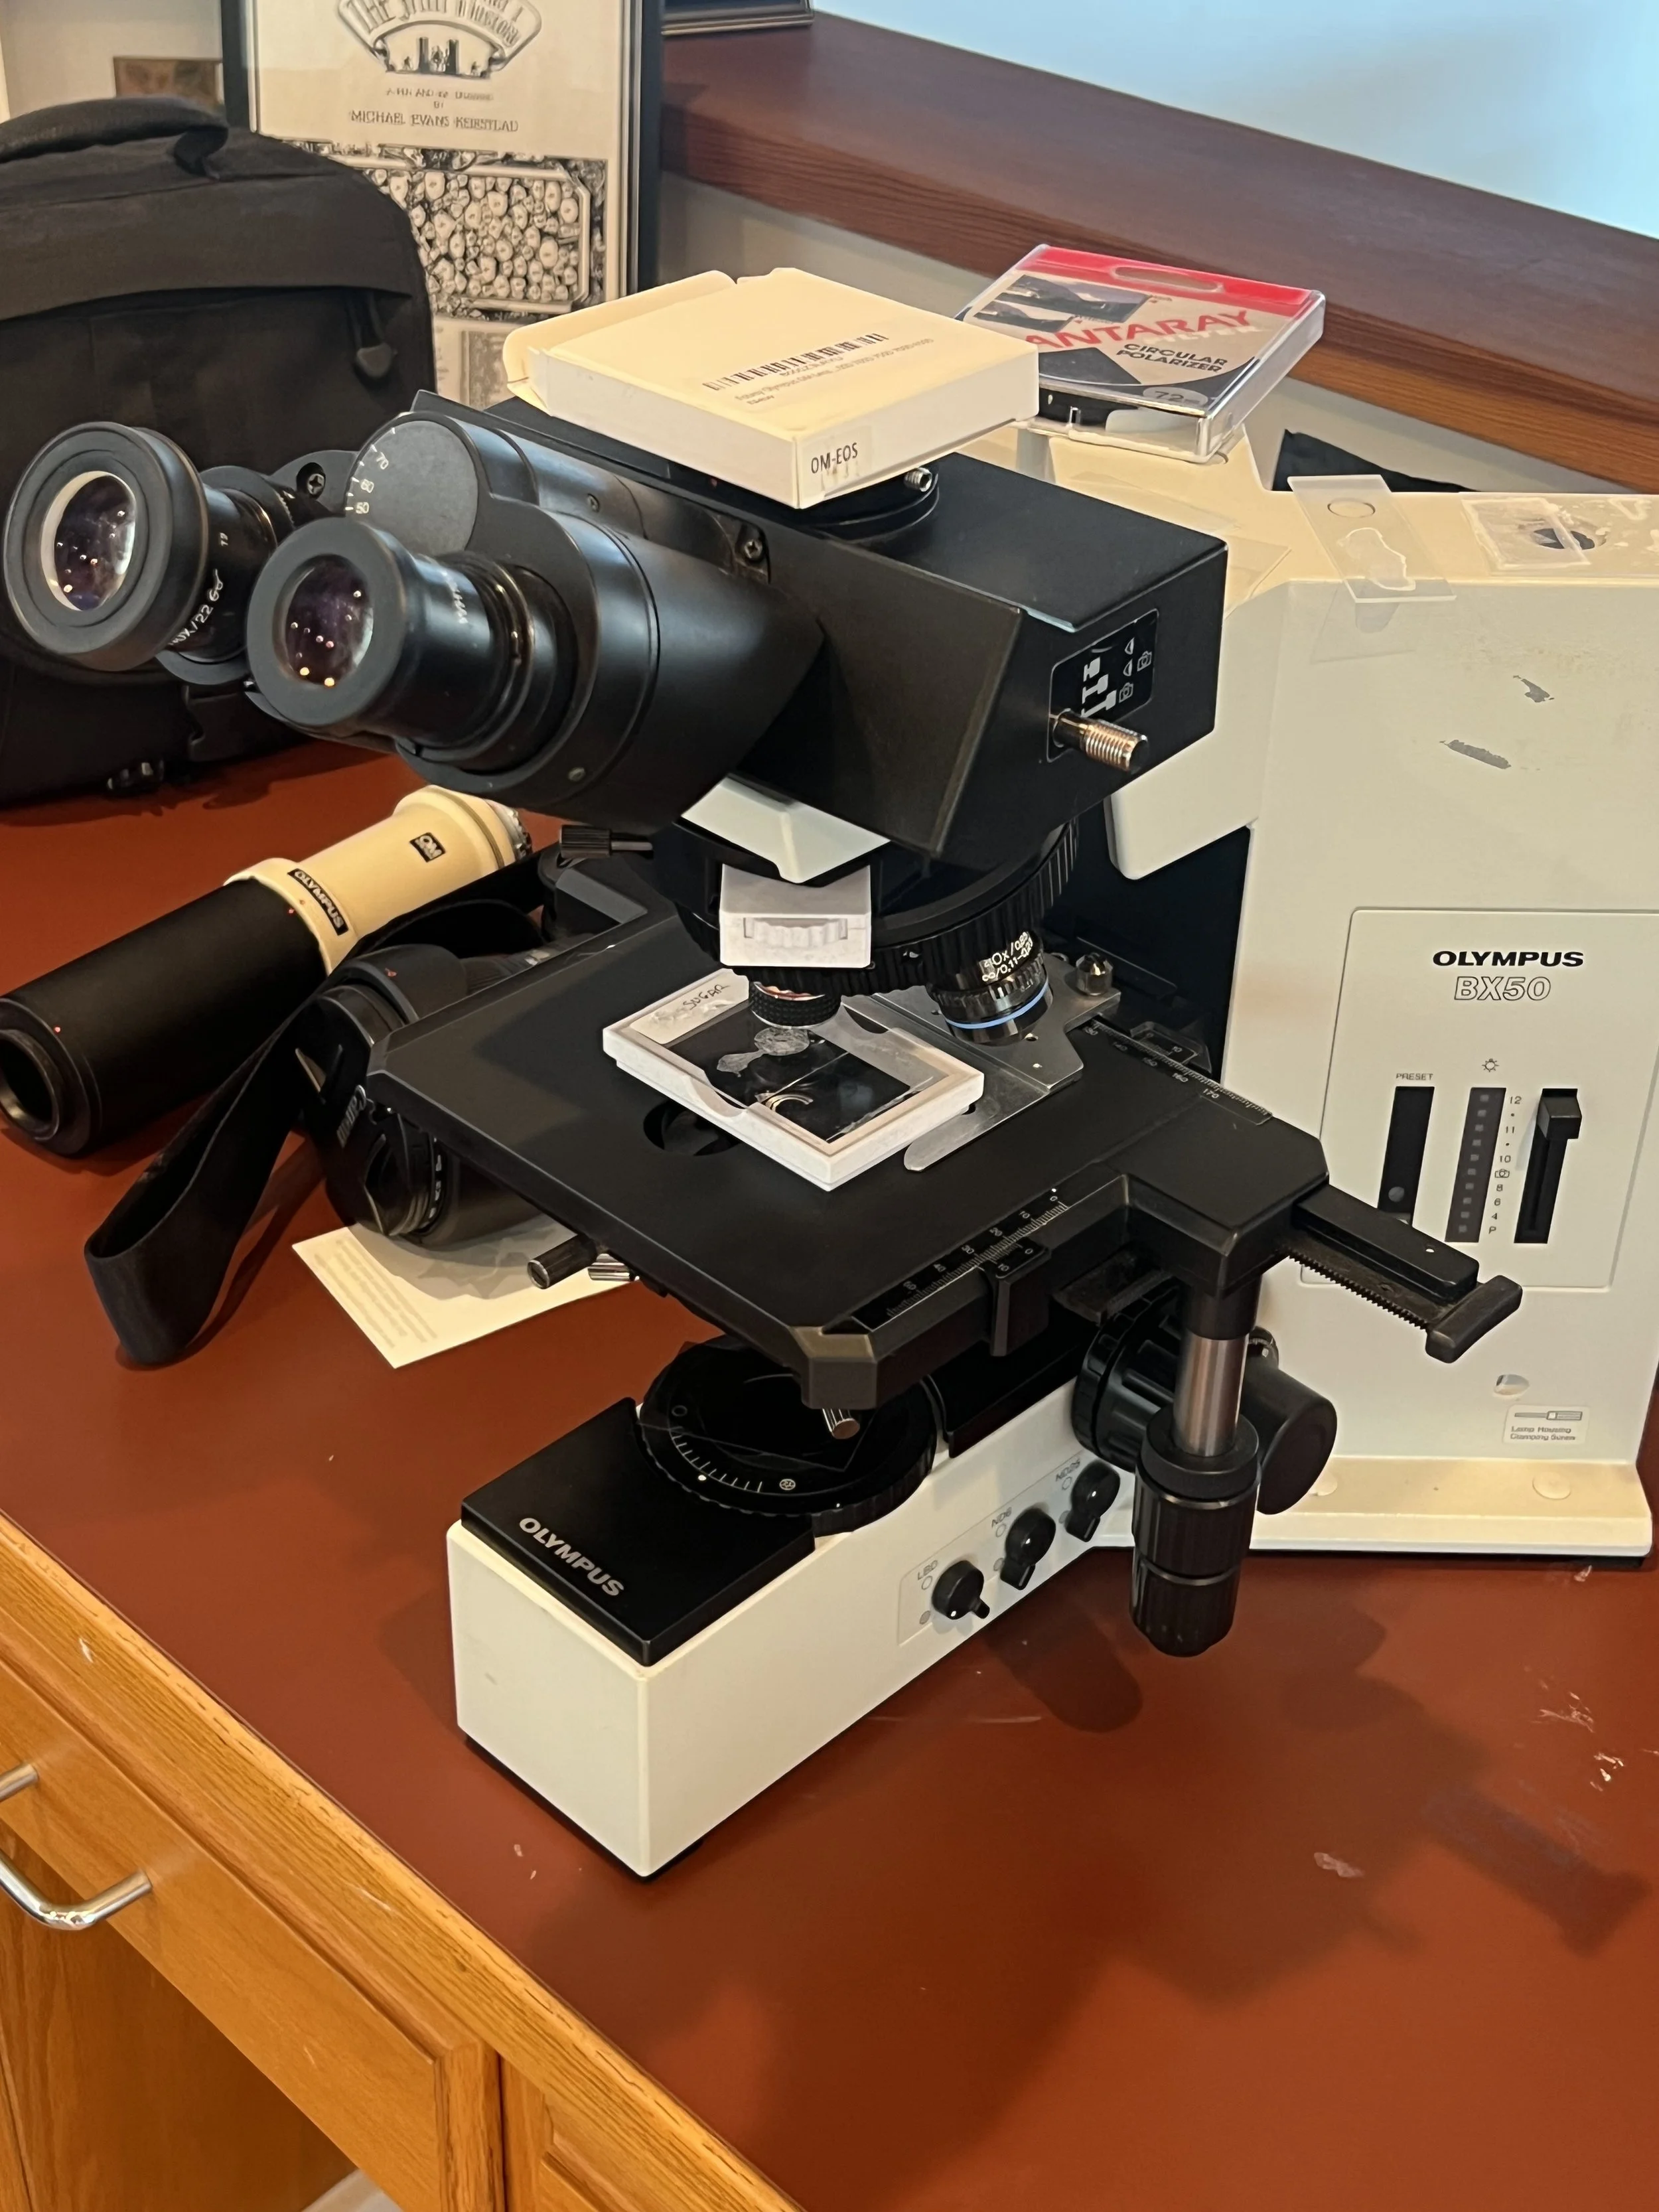
Sugar Crystals — photos below
Due to my parents involvement in research groups, we were fortunate enough to acquire a microscope. We looked at everything we could think of under it. I never tired of it. The only thing I regretted was that I couldn’t take photos of what I saw and share them.
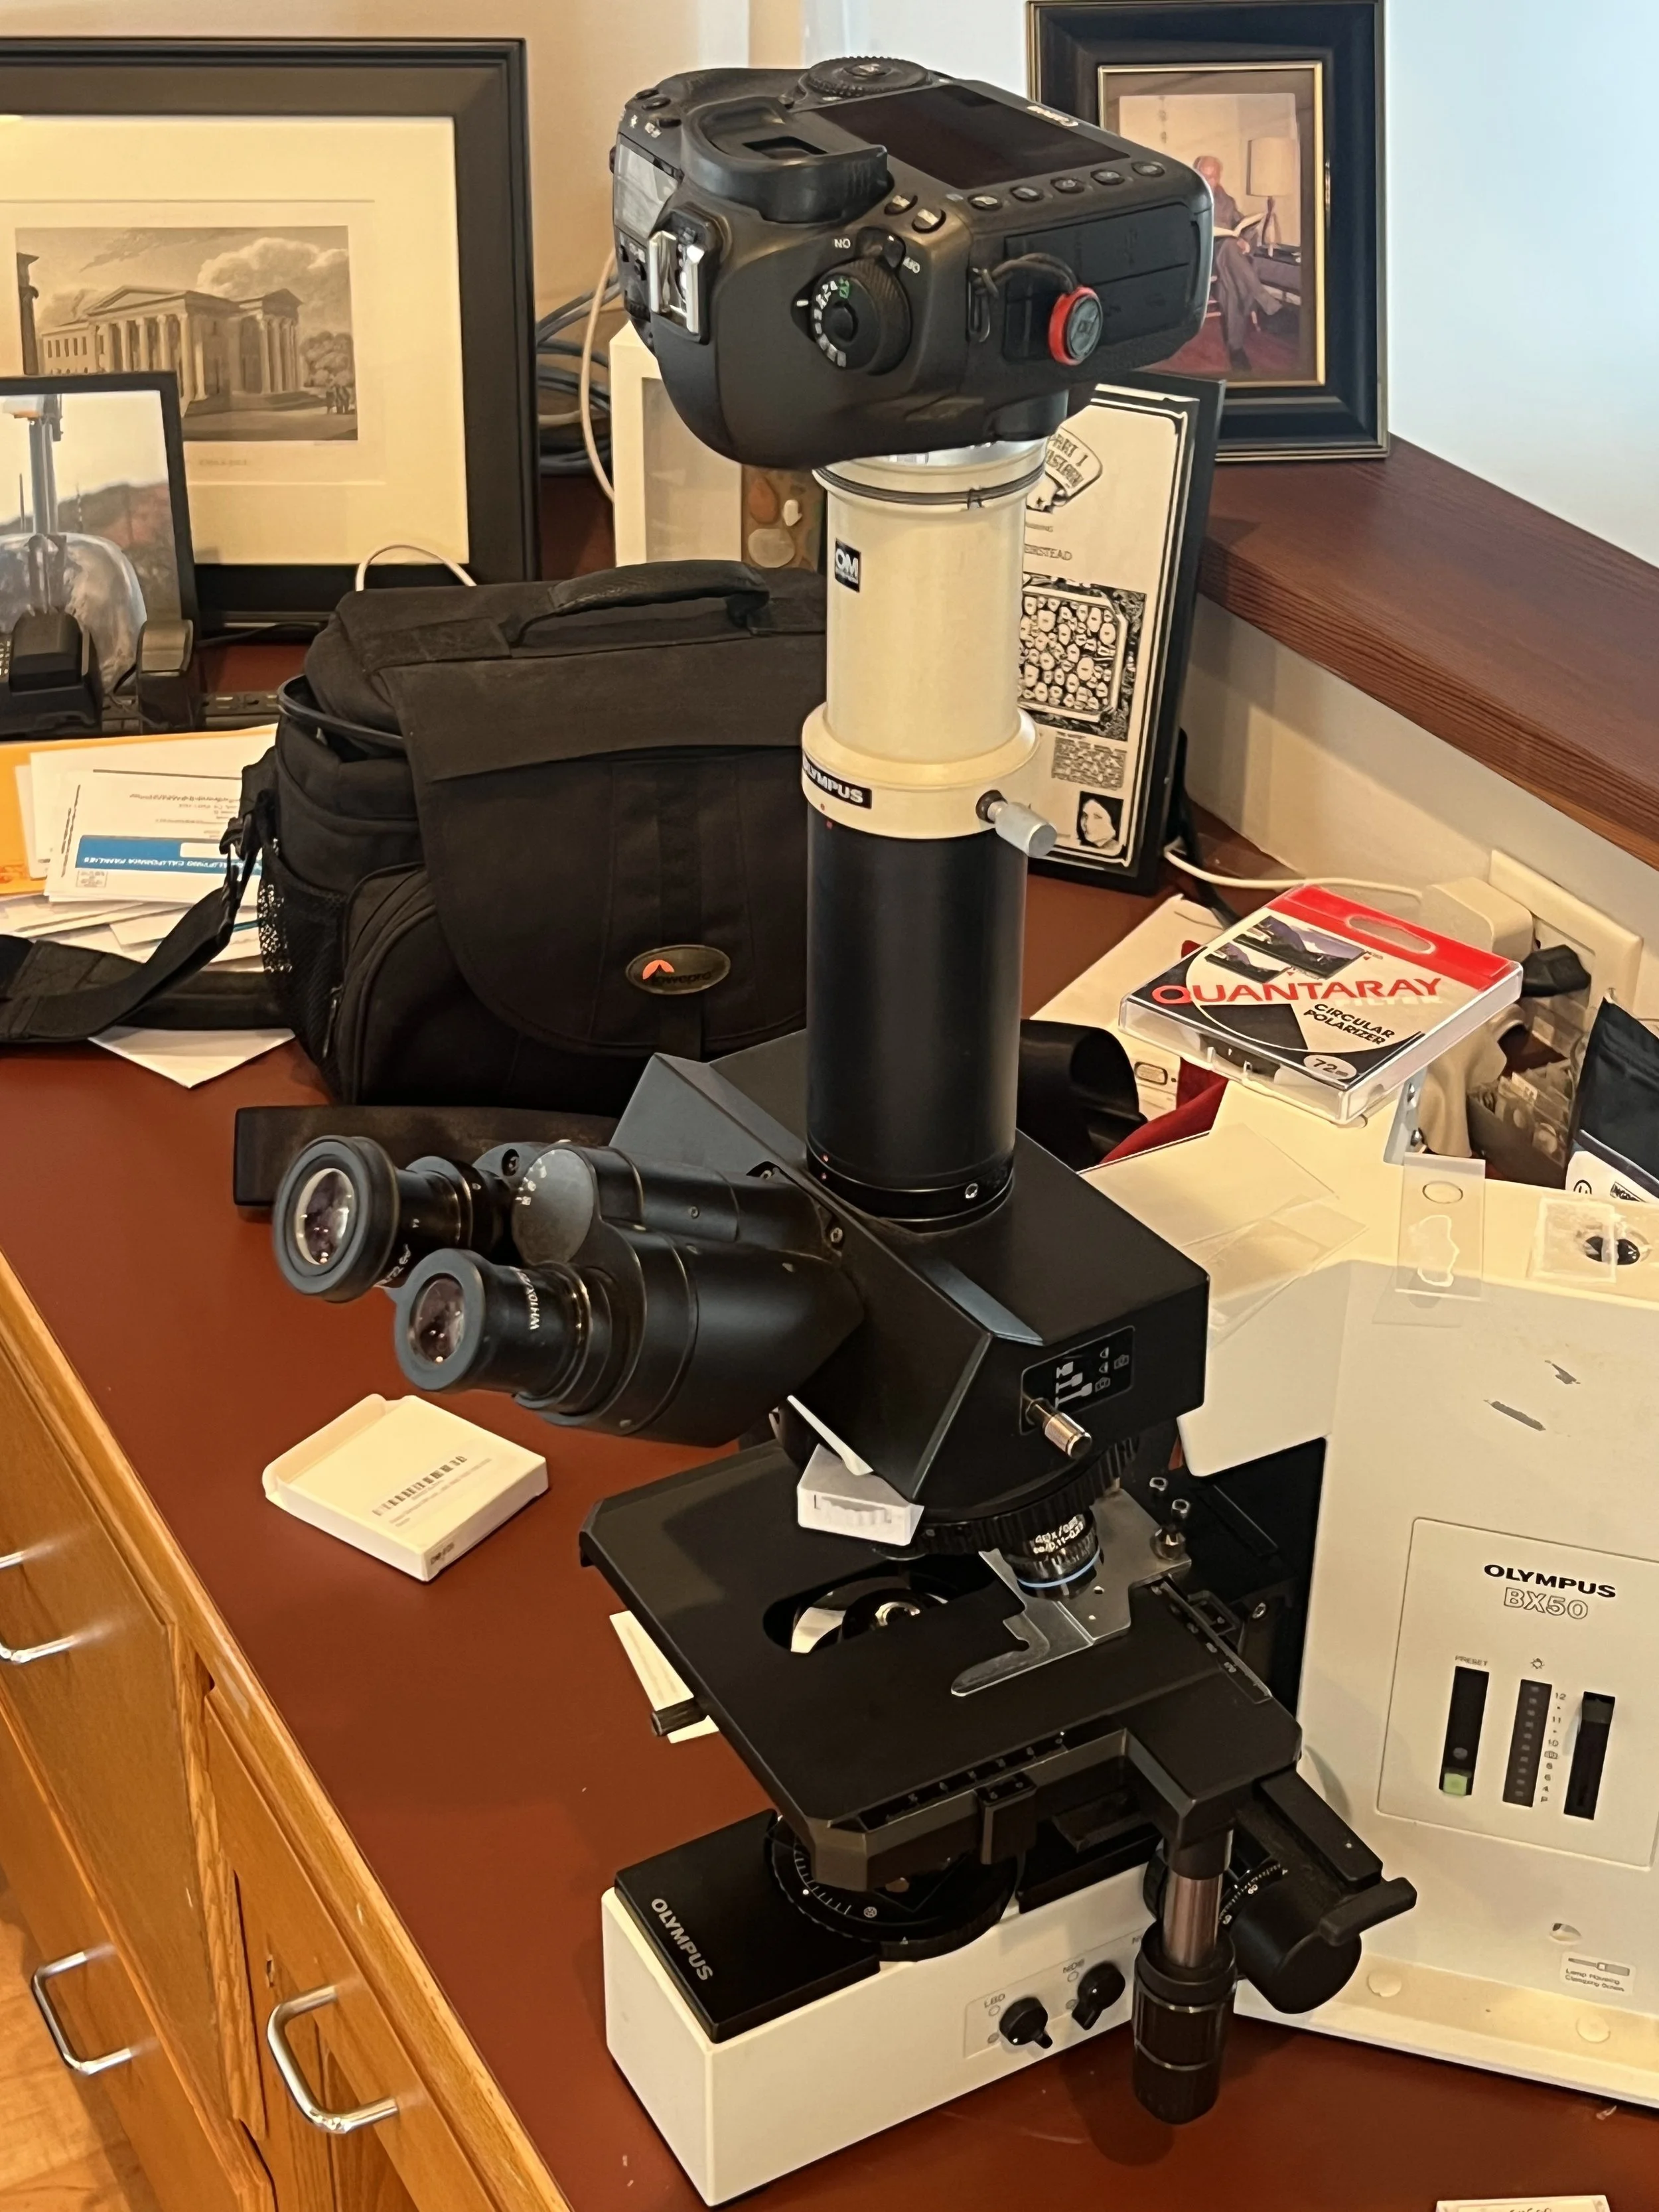
In this project I adapted the microscope to support photo-microscopy, and more importantly, to support polarized light microscopy.
Please zoom in on all of these images taken with the microscope, the resolution is very high.
Microscopic view of a printed color image. Zoom in!
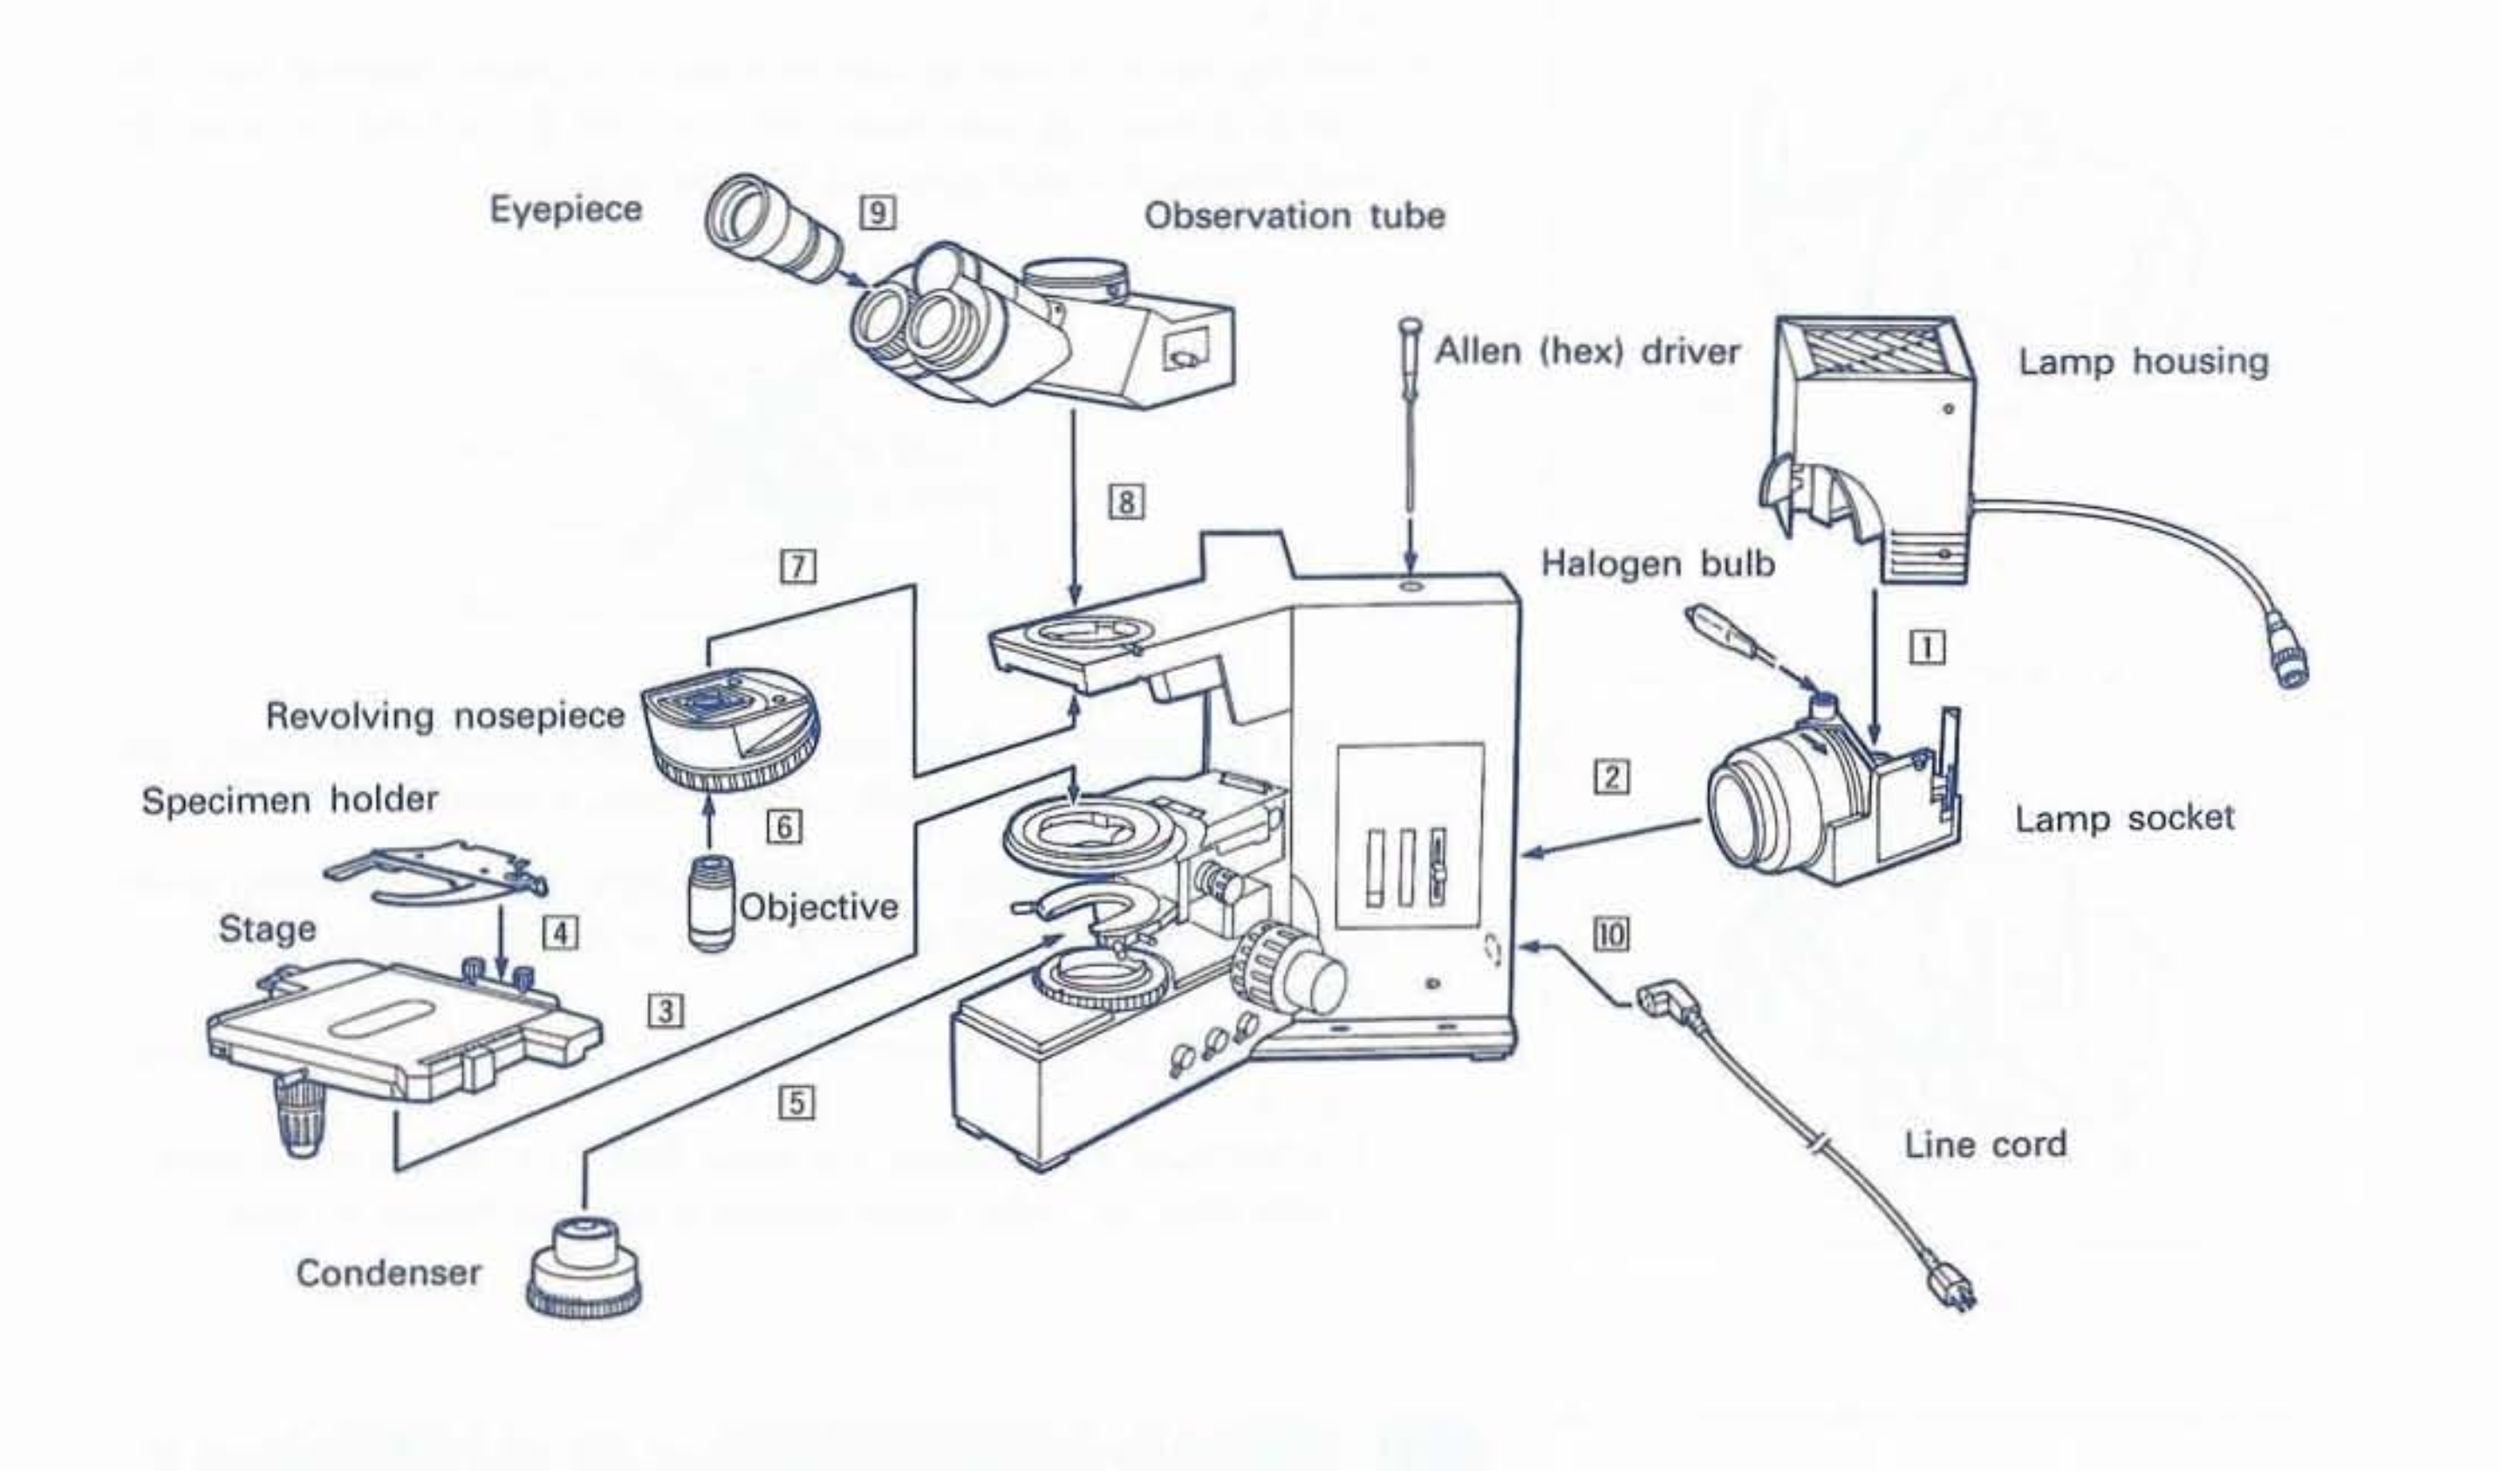
Fortunately, the microscope model features a trinocular observation tube enabling photomicroscopy, in addition to the attachments for the photo-microscopic paraphernalia. This was amazing, and the only thing to do was complete the assembly and parts.
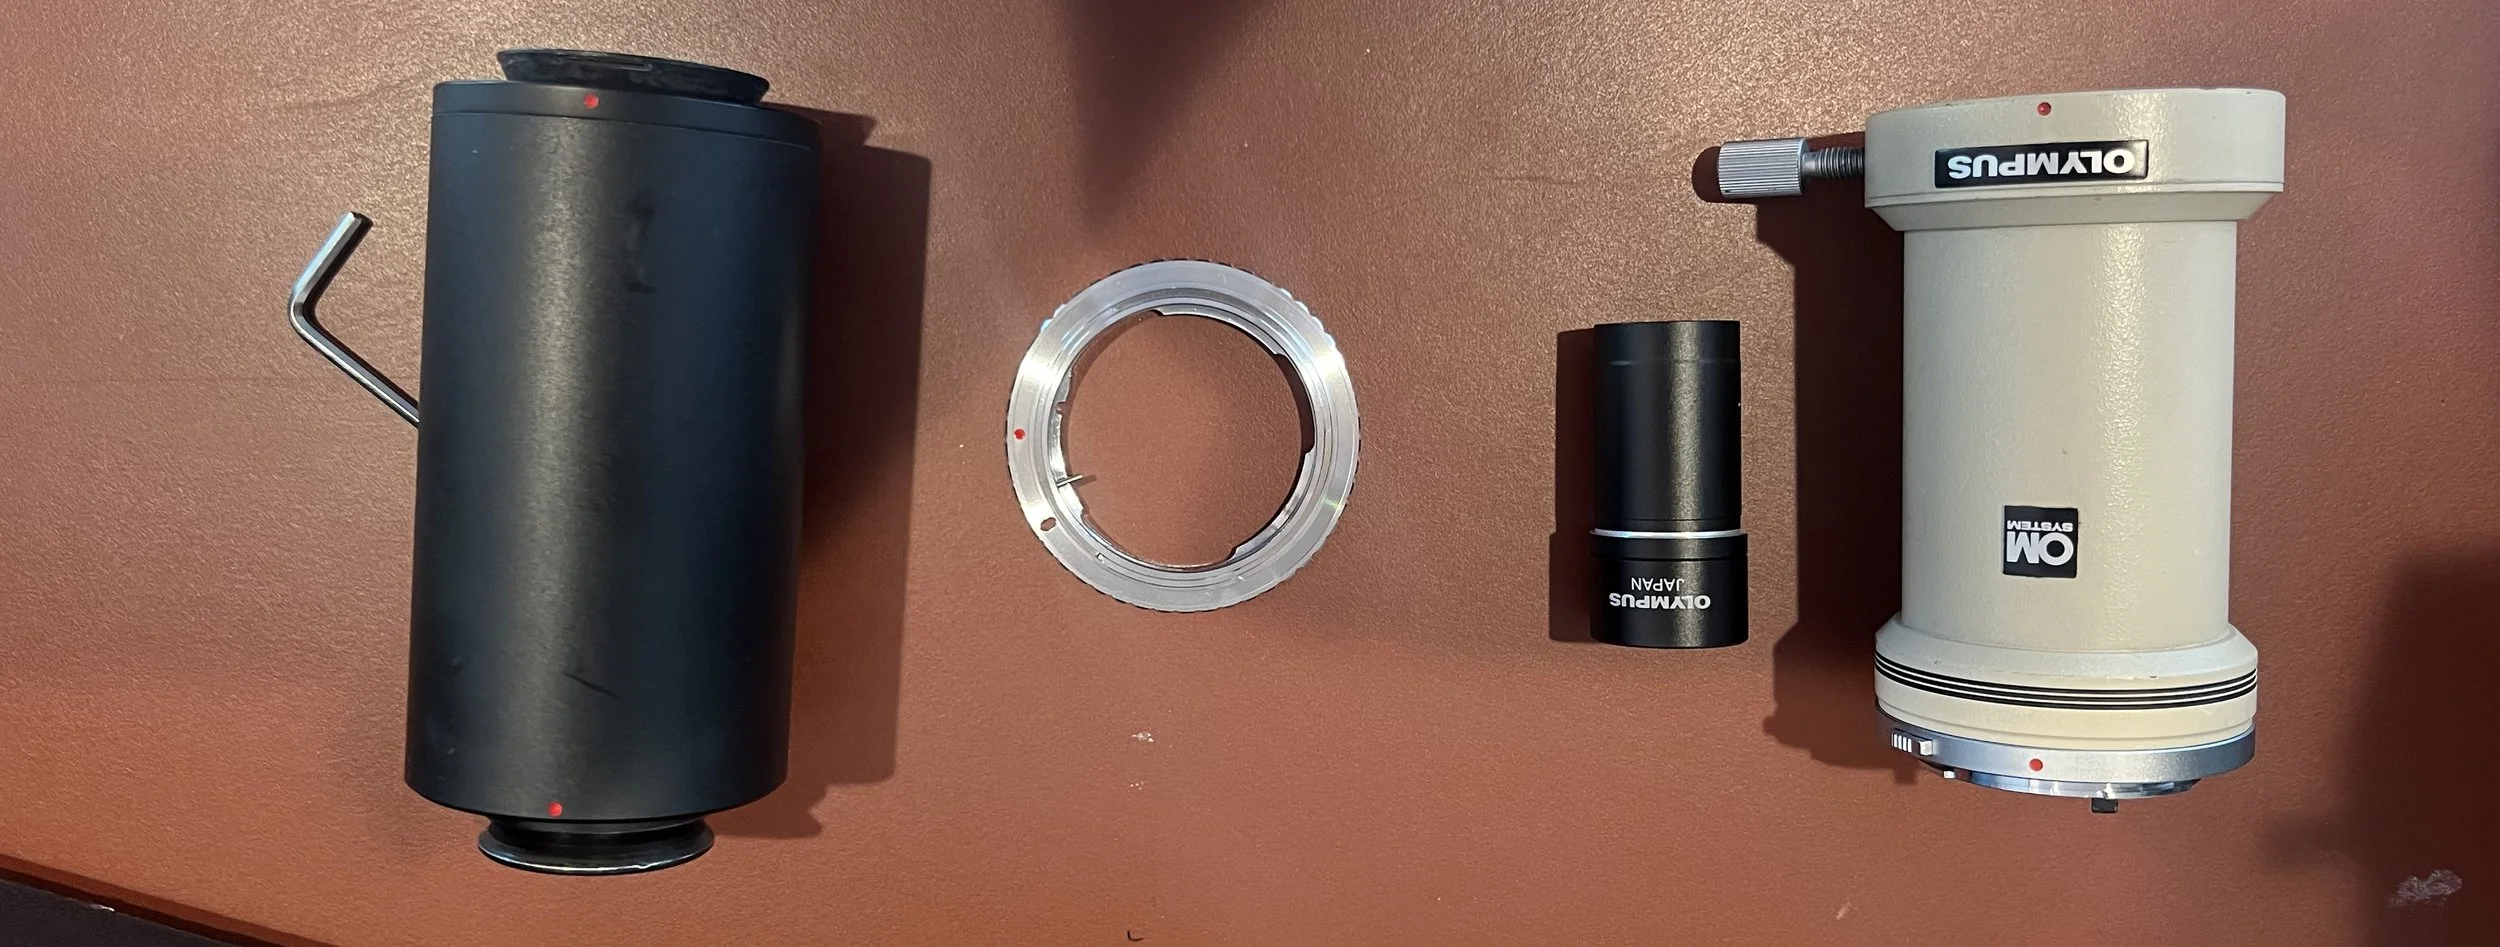
The majority of the parts are responsible for getting the projection plane of the sample to align perfectly with the camera sensor. This can be done with a set of tubes and an intervening lens. In addition, a small adapter ring was needed such that the camera body could securely attach to the assembly, just as a camera lens would attach.
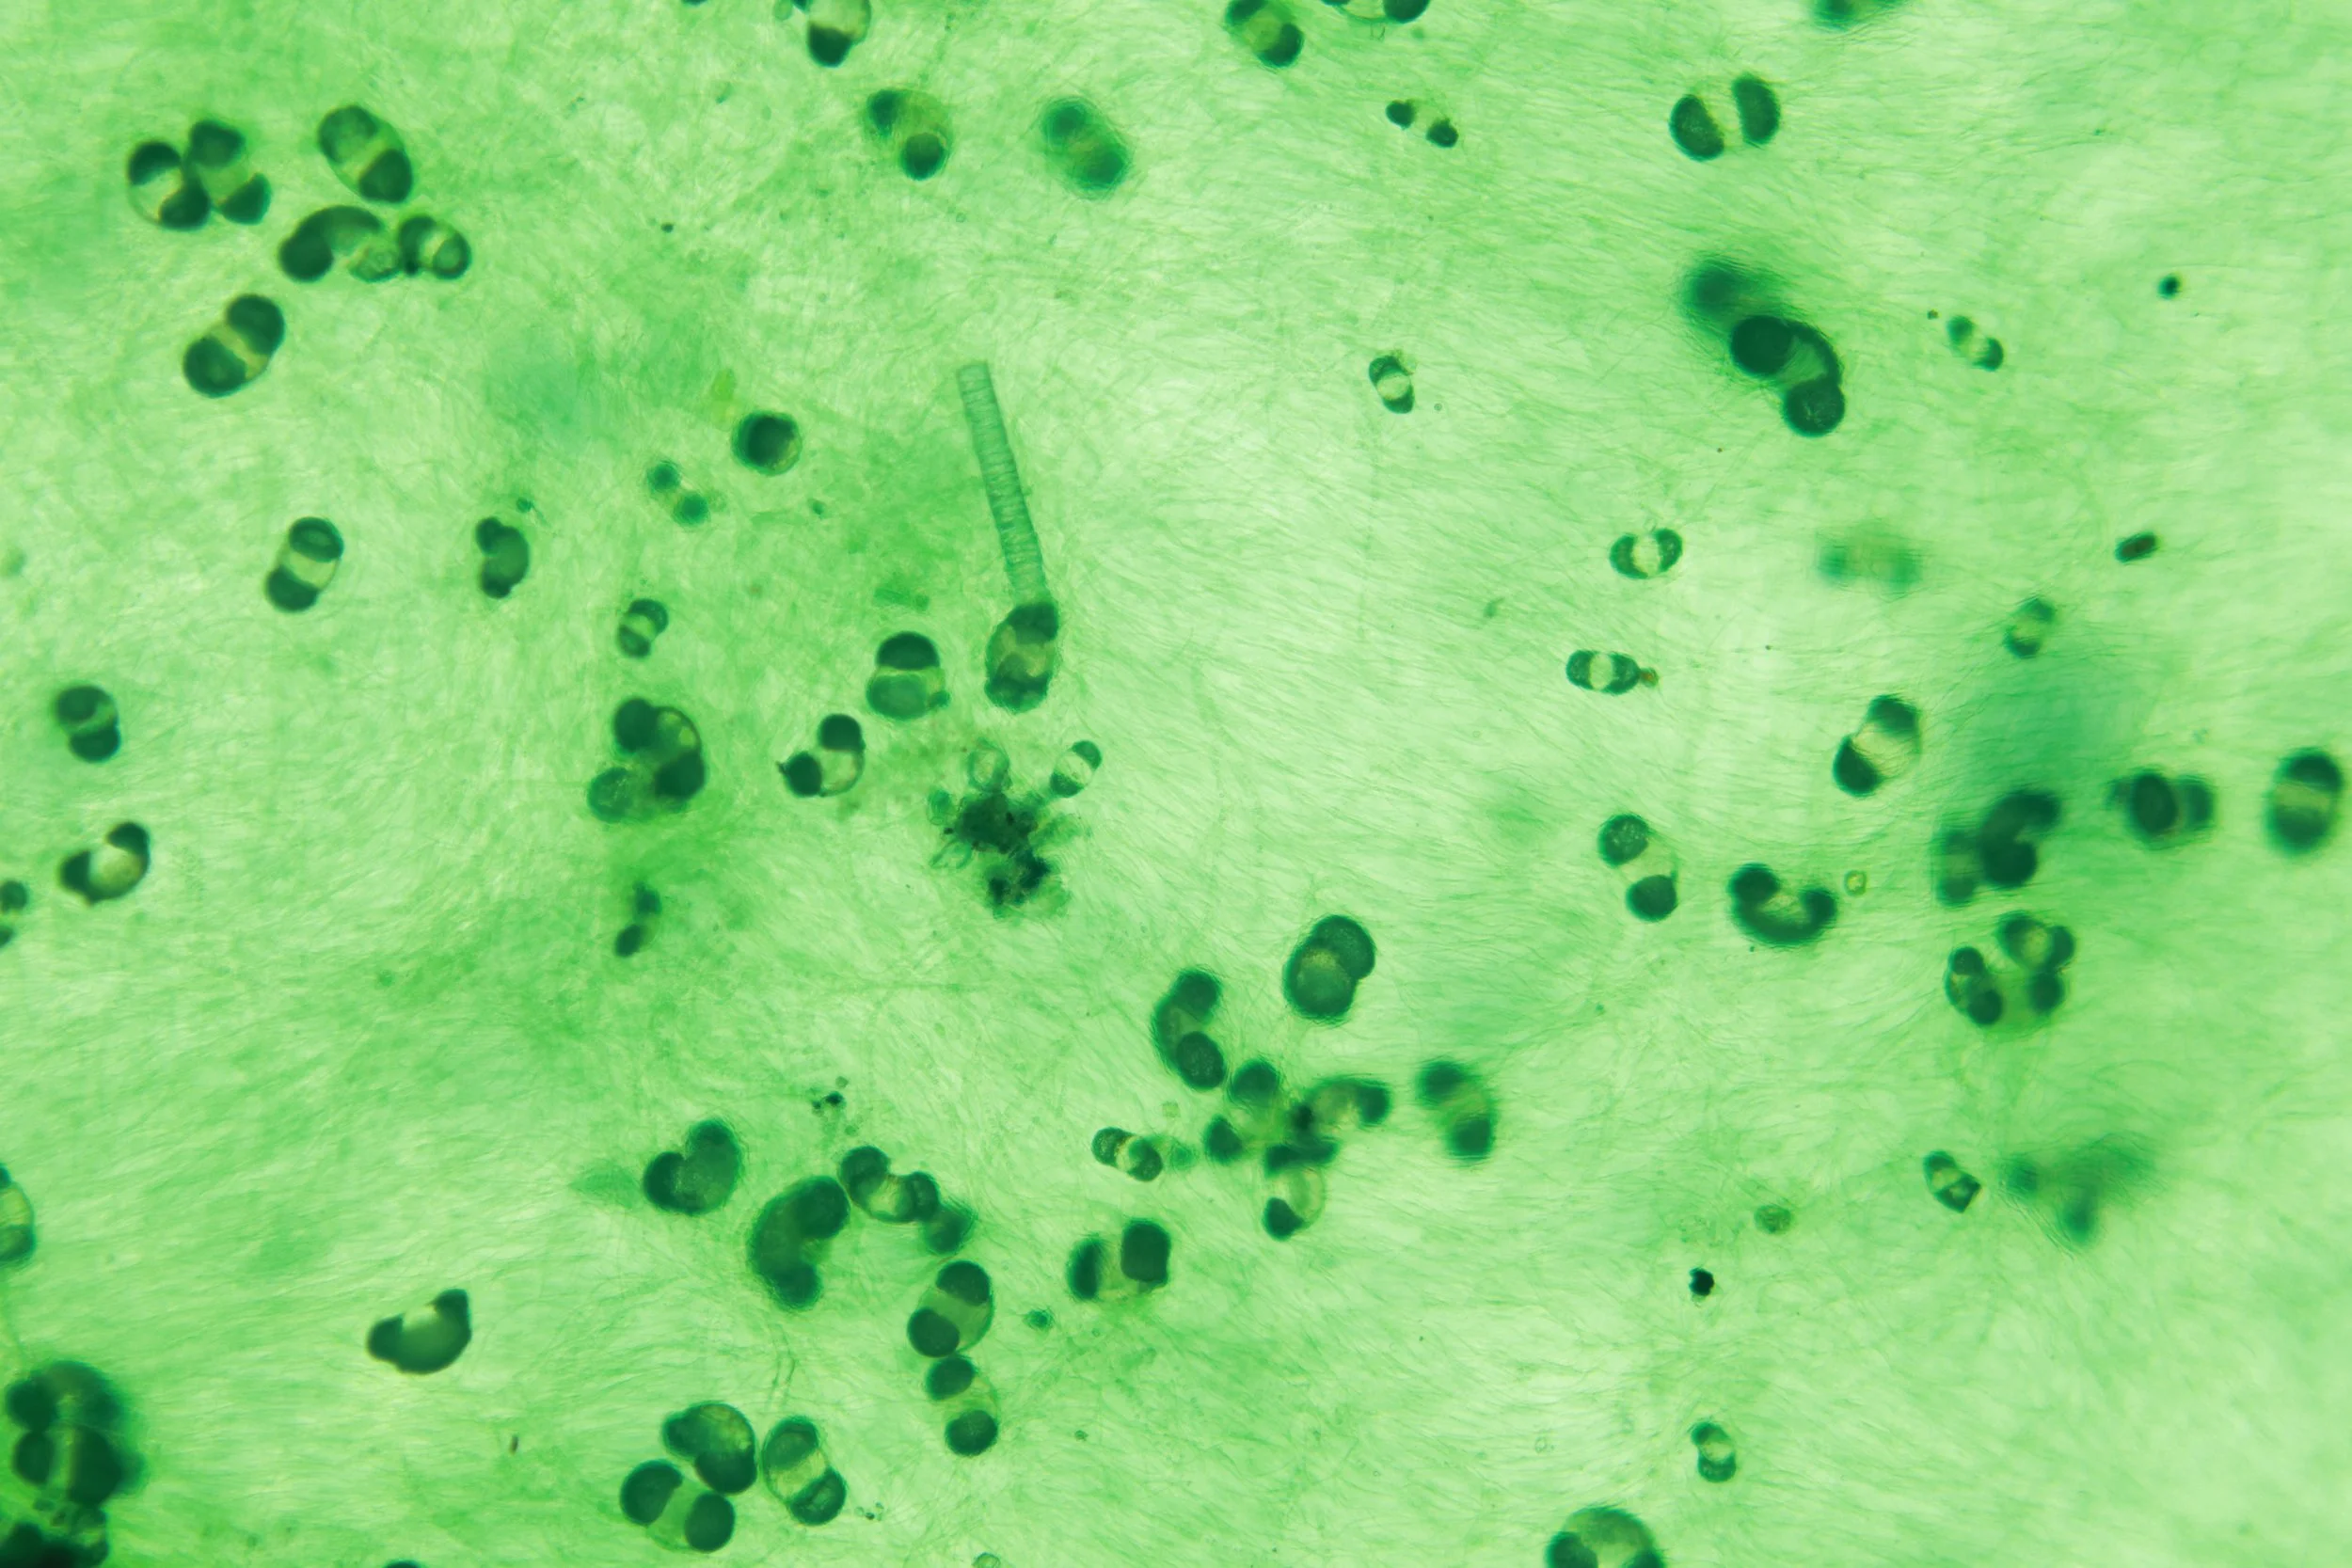
A shot of some sheet-like algae found on the inside of a rain barrel. You can clearly see the filament structures, though Im still unsure what the darker blobs are.
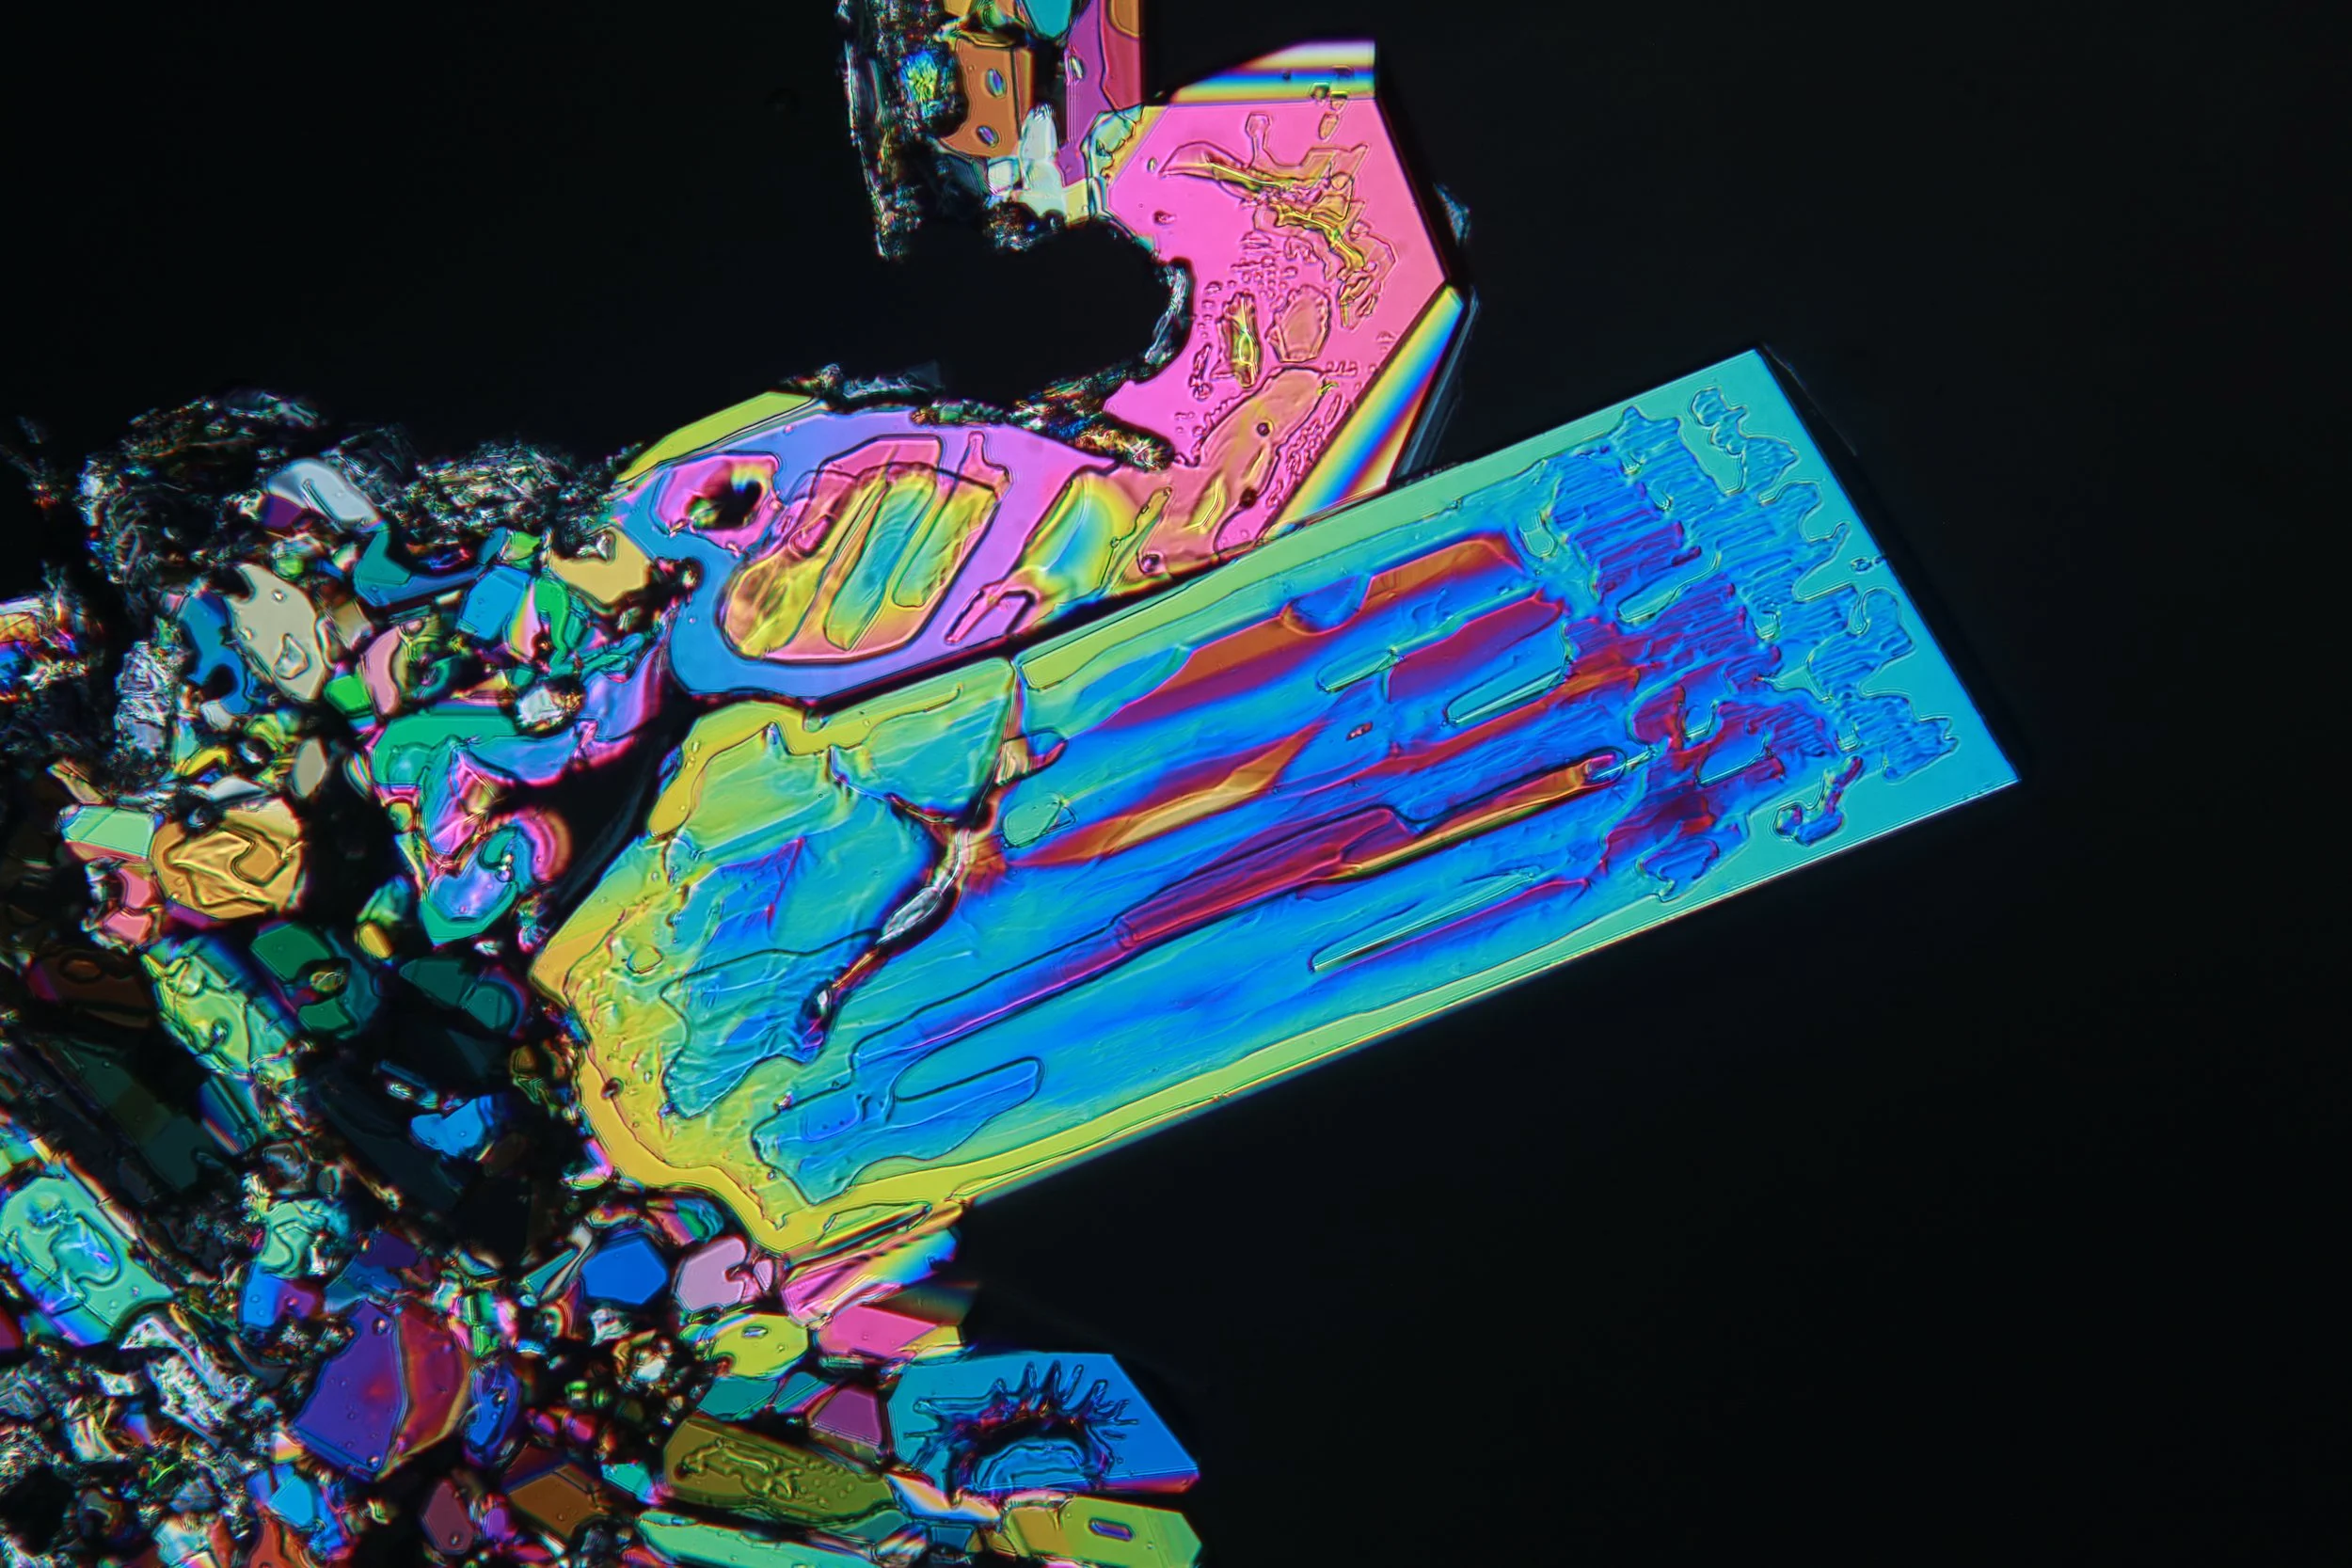
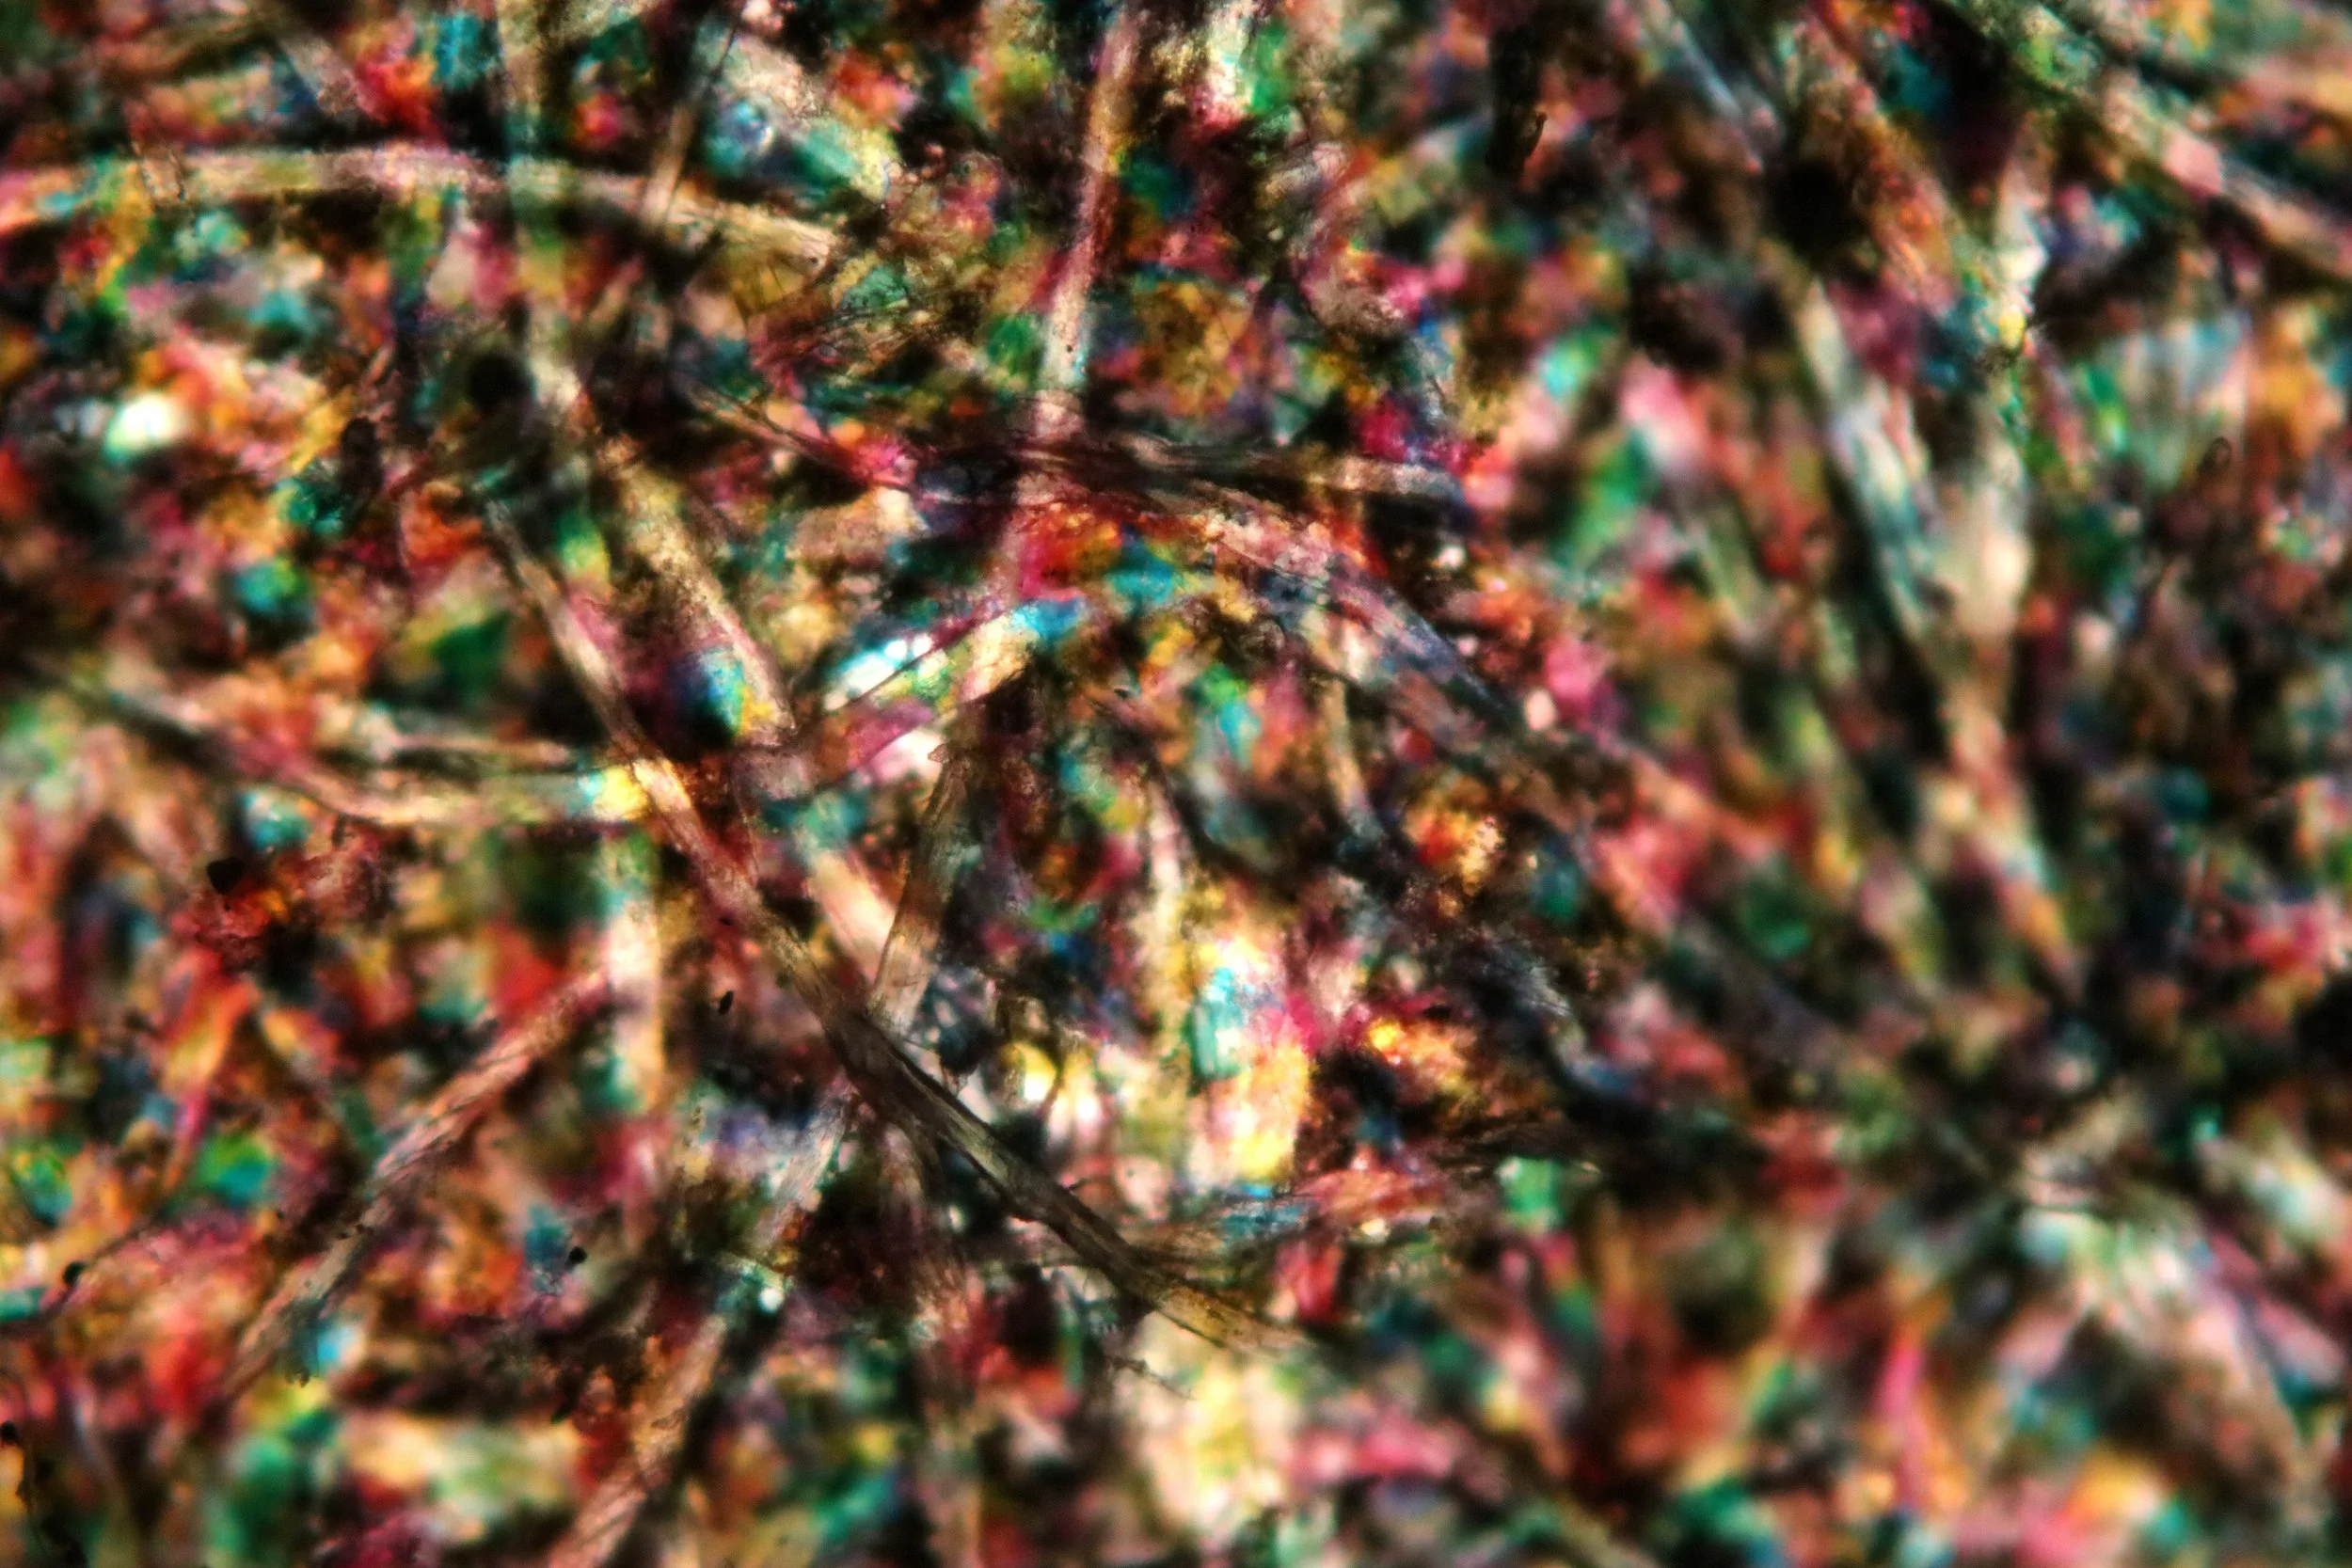
The ability to video the sample digitally introduced many new avenues for computer processing.
One idea I had my eye on was pan-focal reconstruction of the object. The microscope and its optics system has an incredibly tight field of view. This fact can be taken advantage of and used to isolate these in-focus regions. By capturing video while moving the stage, one can pan through the sample, and reconstruct a fully in-focus image of the sample.
After writing a simple script to do this, I tried it on a piece of clay from the soil.
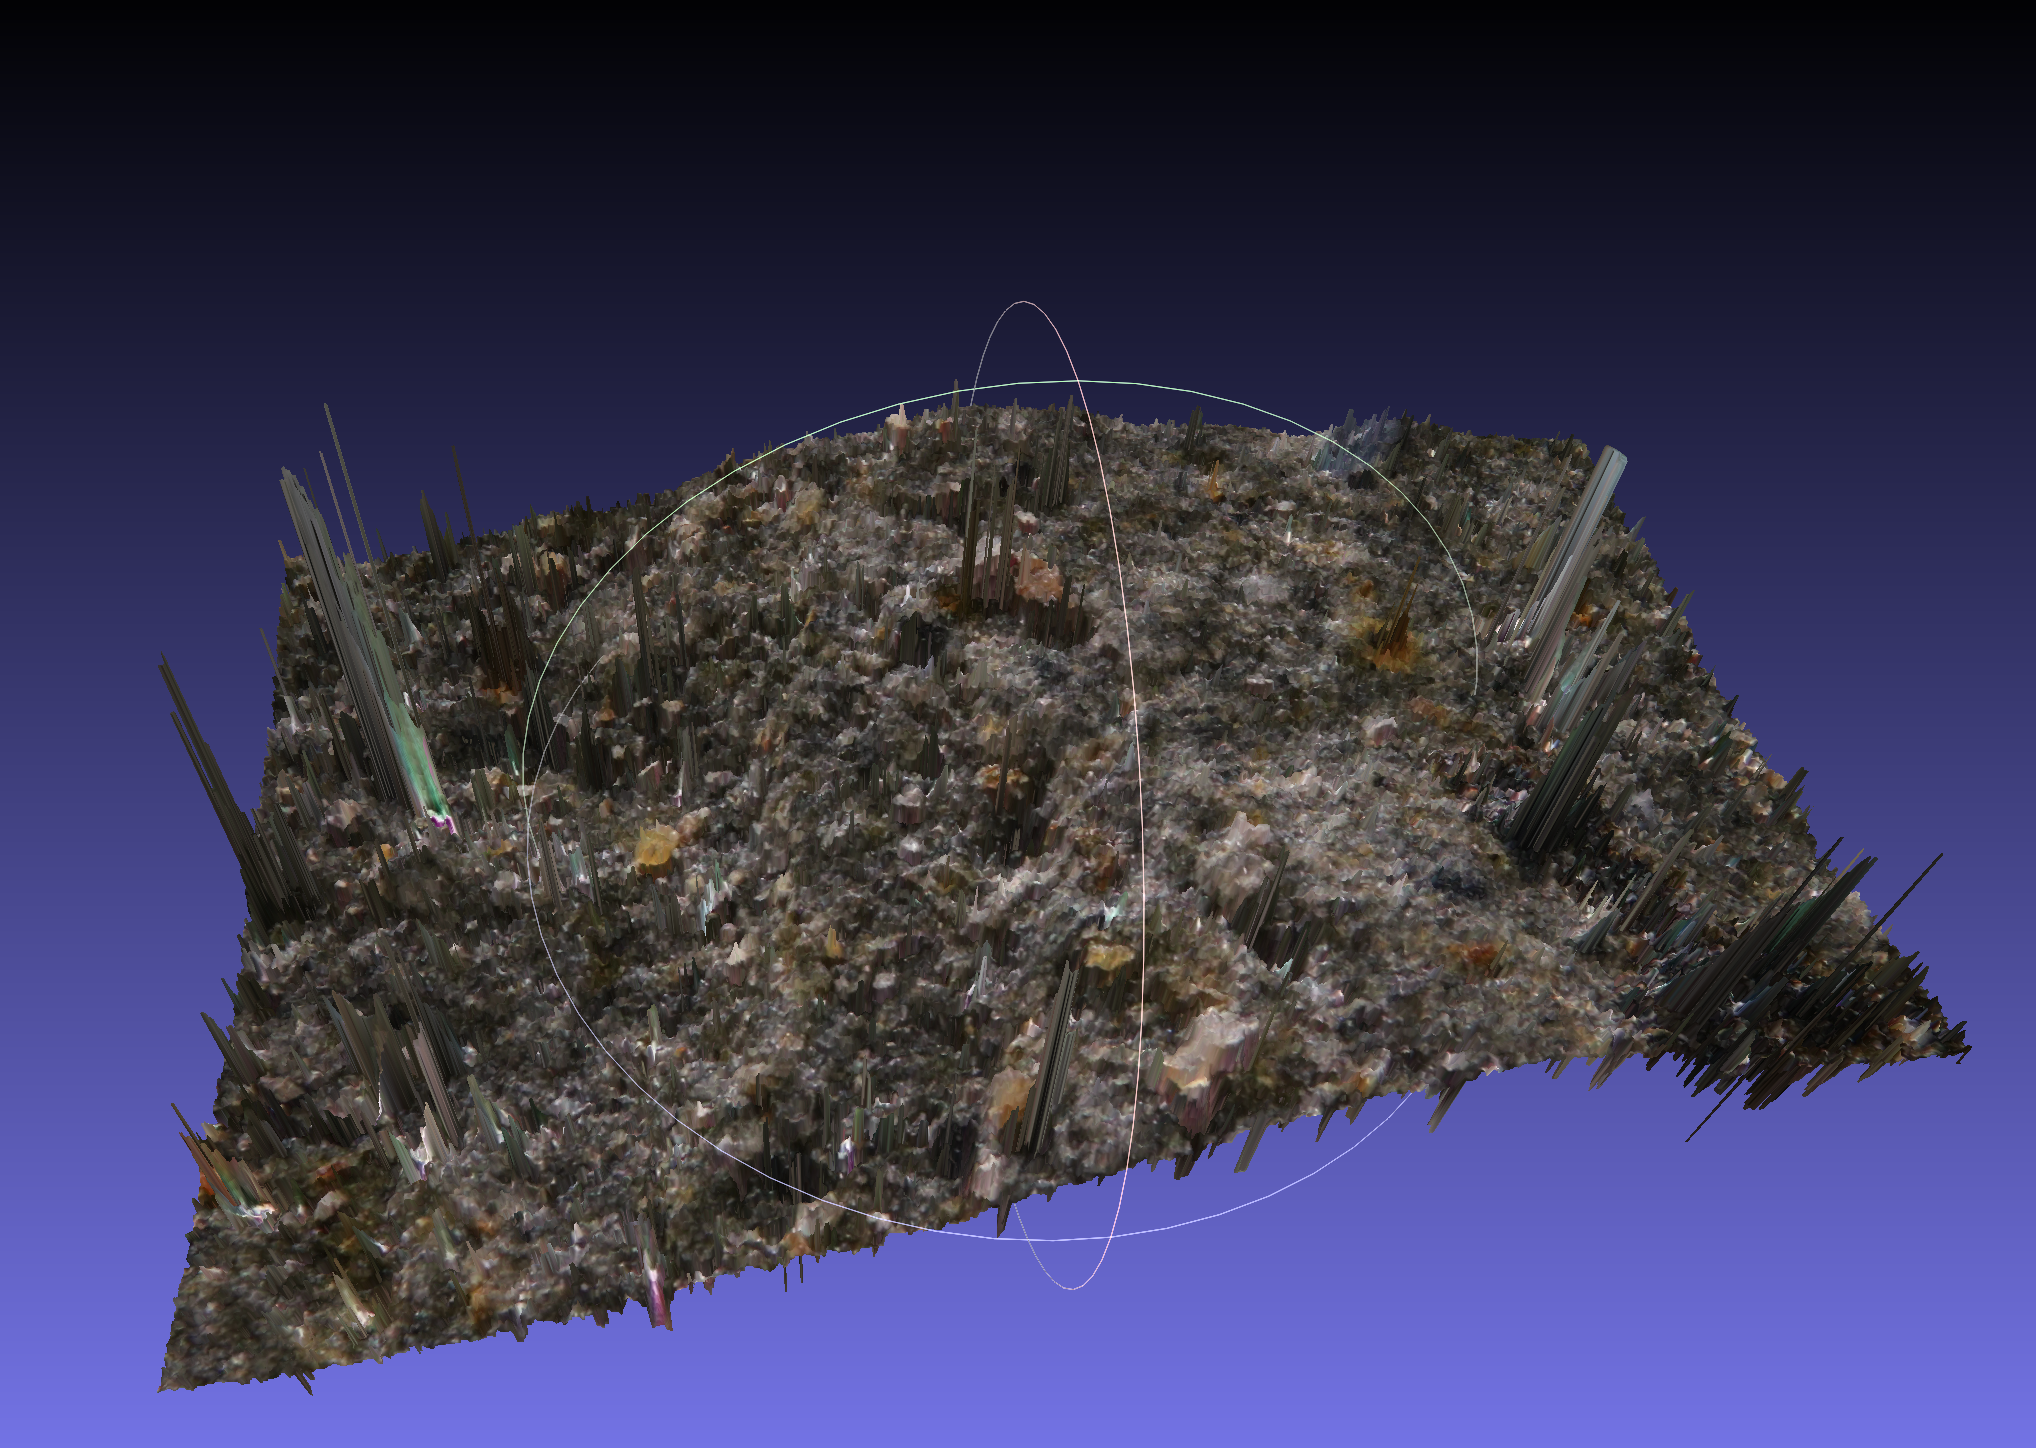
One can use this to reconstruct a 3d mesh. I wrote another script to do this, though I didn’t bother to spend the time to perfect it.
It did extract the high-level shape. Im sure that this could be refined by some form of shape-frequency analysis, but I didn’t see much use to pursue it. Reflective and shiny bits confused it quite a bit.
Microscope shot of a printed image.
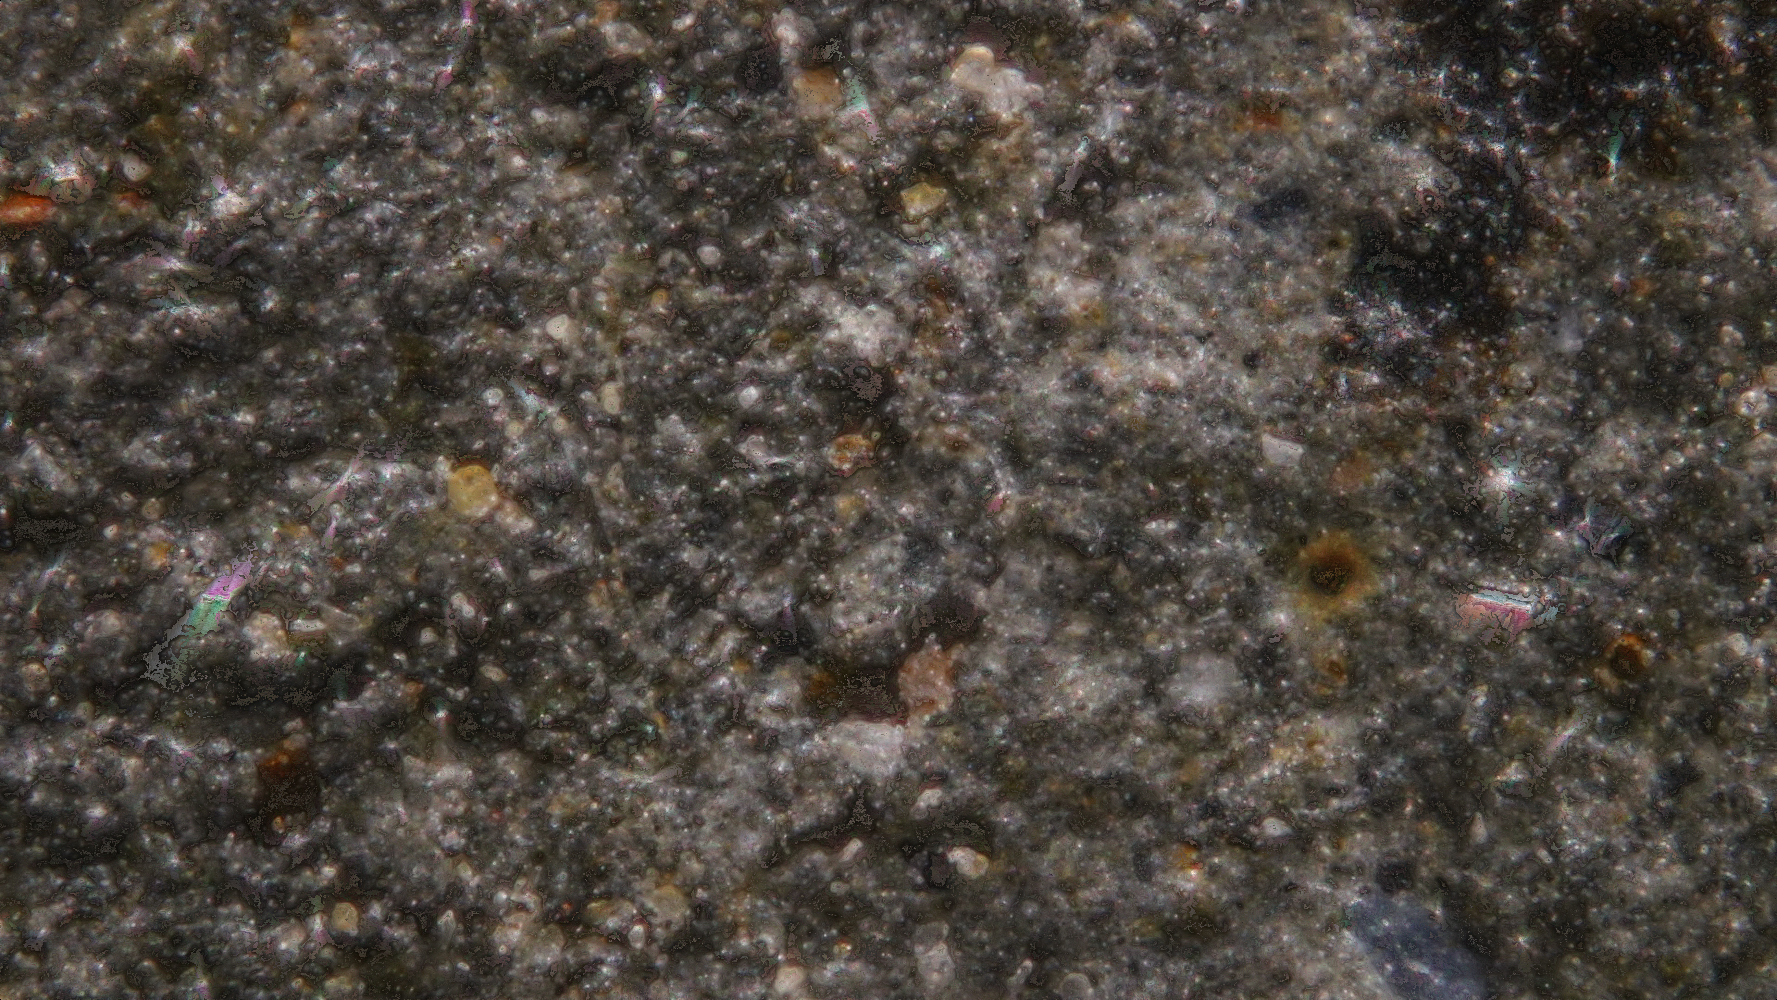
The compiled fully-in-focus image of the rocky surface
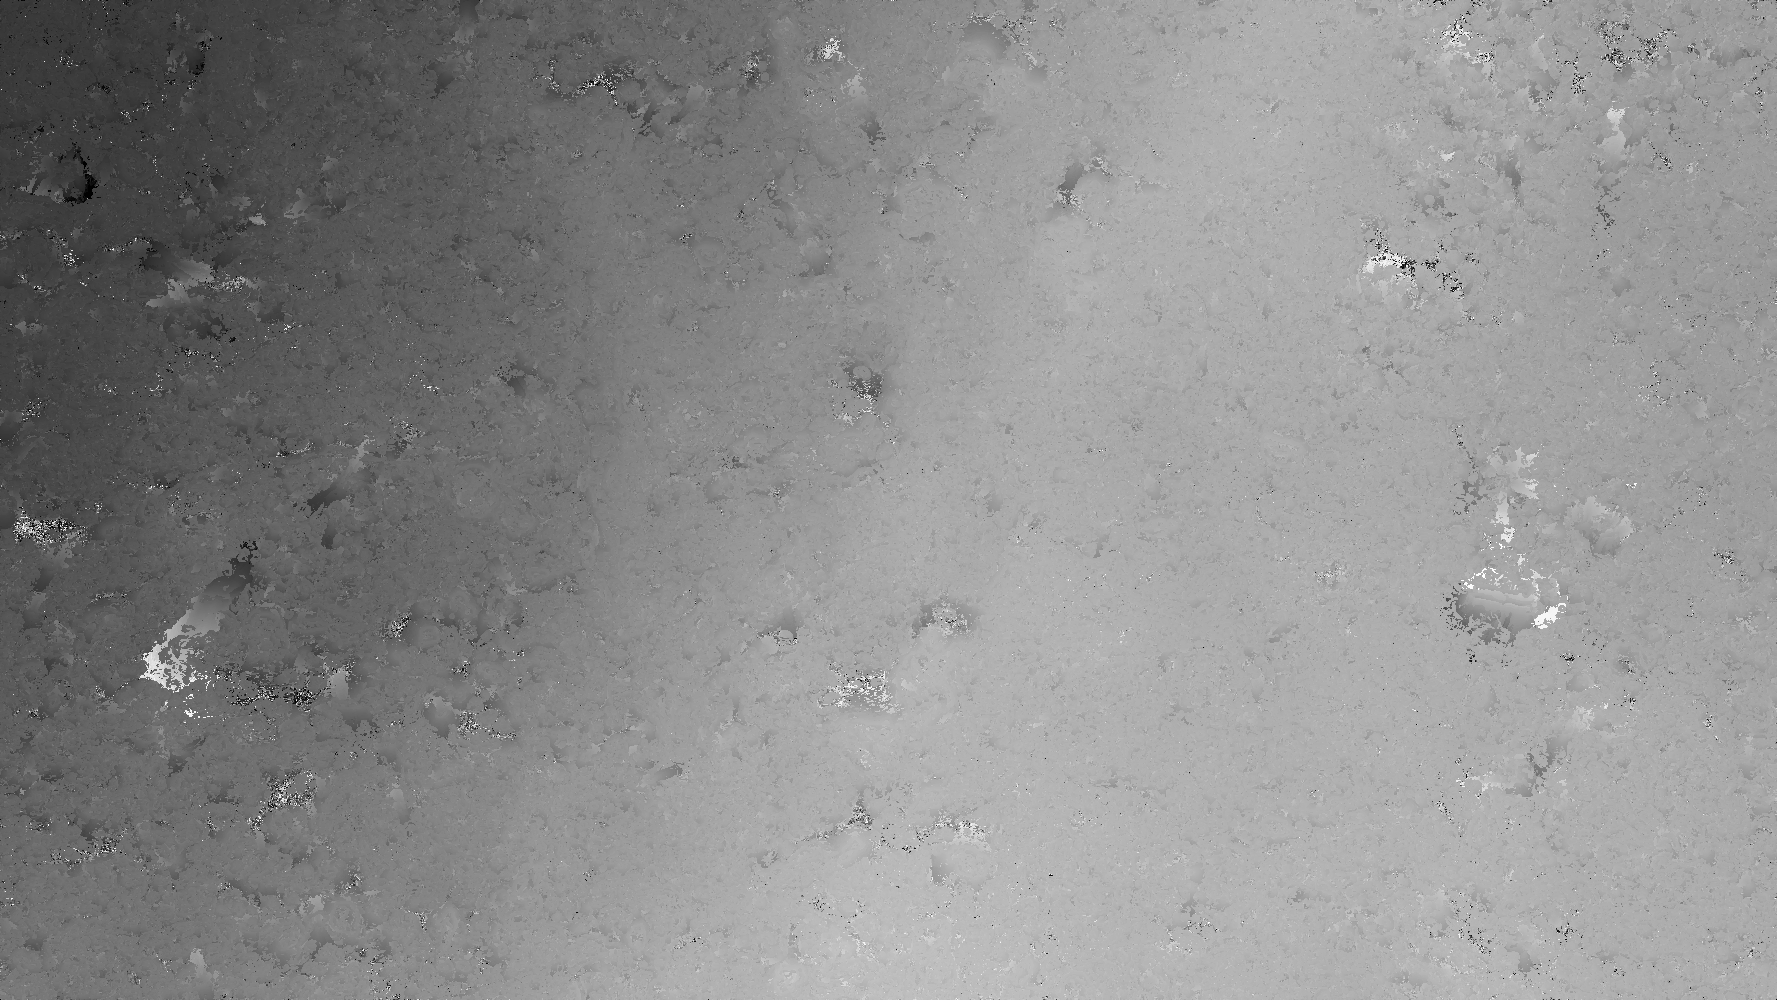
Image representing the time stamps at which the contour was in focus. The color gradation represents the 3d shape of the surface
After the code had been put in place, I tried it on all sorts of things. This desiccated spider leg worked quite well. The spider had been found in a poorly cleaned part of the house and was long dead.
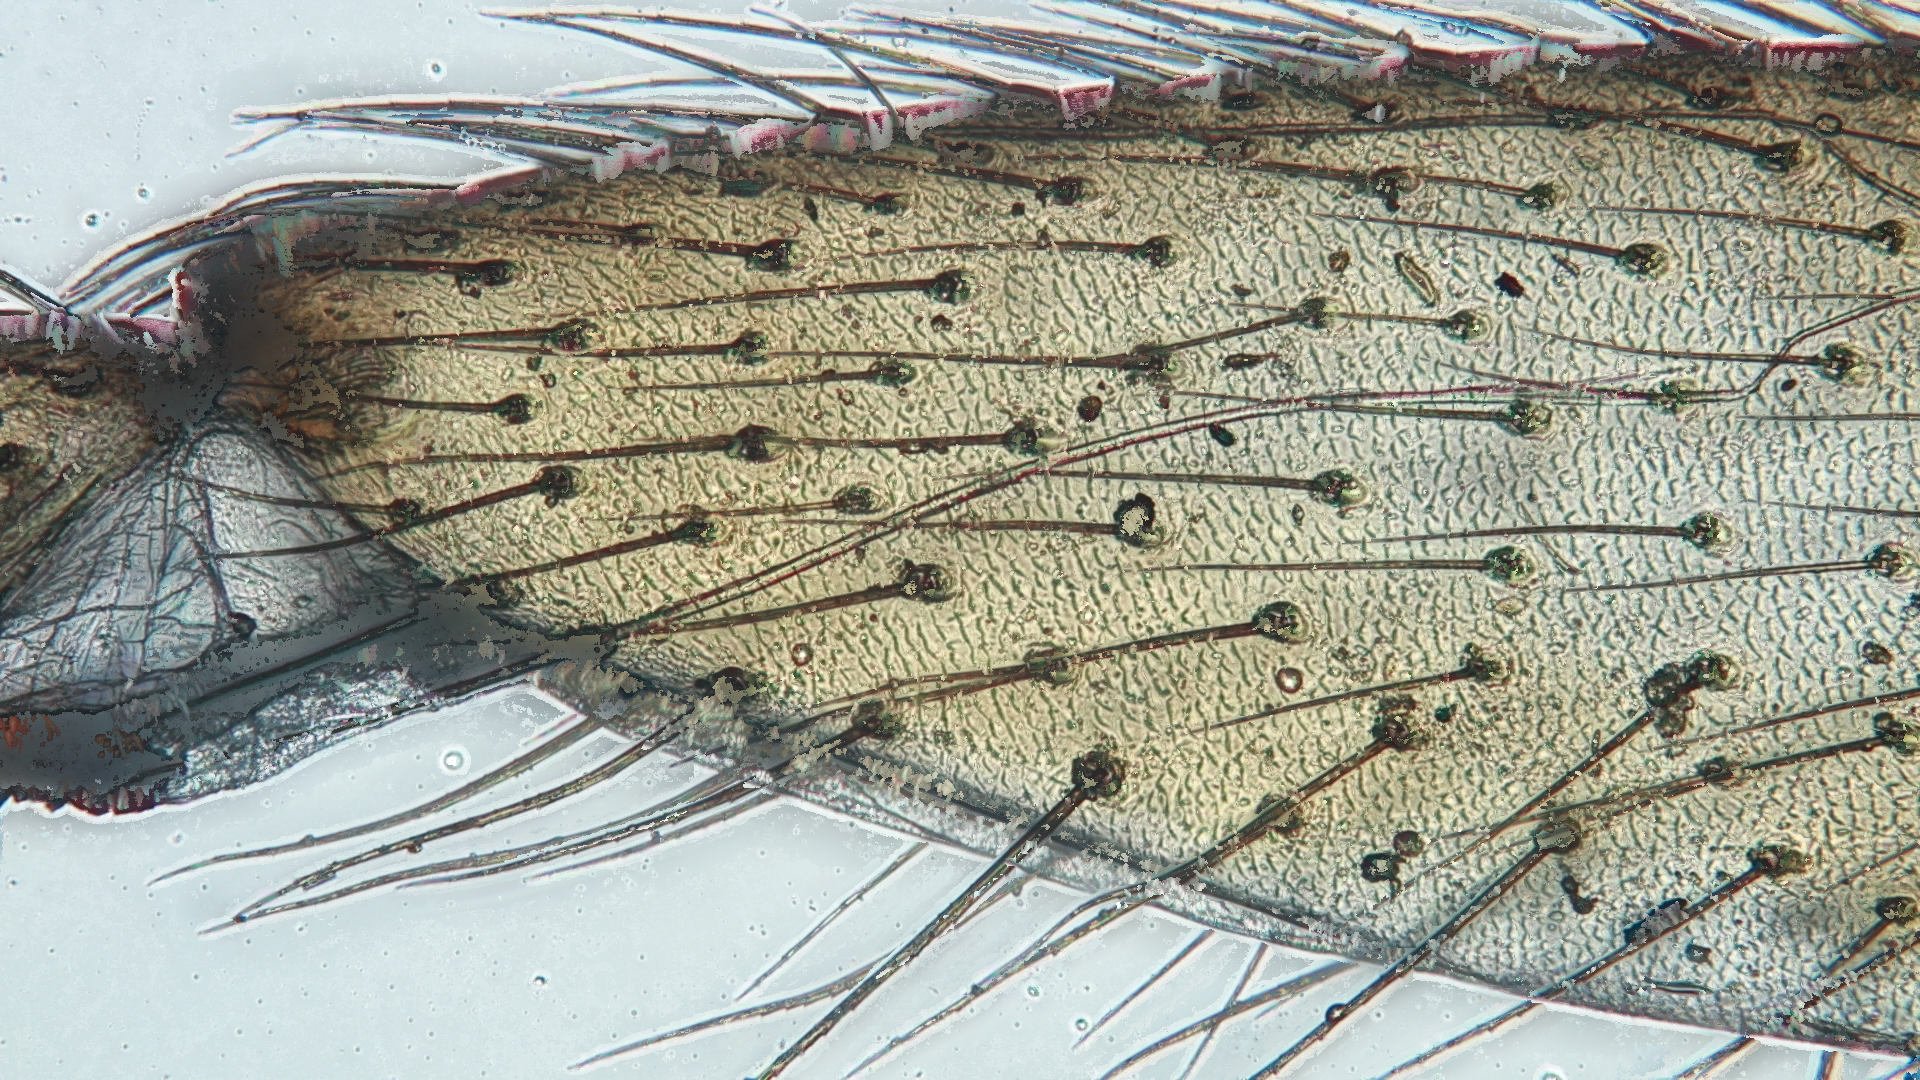
This turned out quite well. The detail was captured incredibly. Zoom in, and look at the detail revealed in the joint-like area.
I was quite happy with this, as it improved the image quality by miles. The code was simple, and the pan-focal reconstruction method was pretty successful
Polarized Light Photomicroscopy
And Crystals
Now that the regular microscopy had been thoroughly explored, I wanted to move onto something I had always wanted to see: crystals under polarized light.
All of the following images of crystals are original and made by me. No editing has been preformed aside from minimal edits on images with a poor choice of condenser (background light) settings
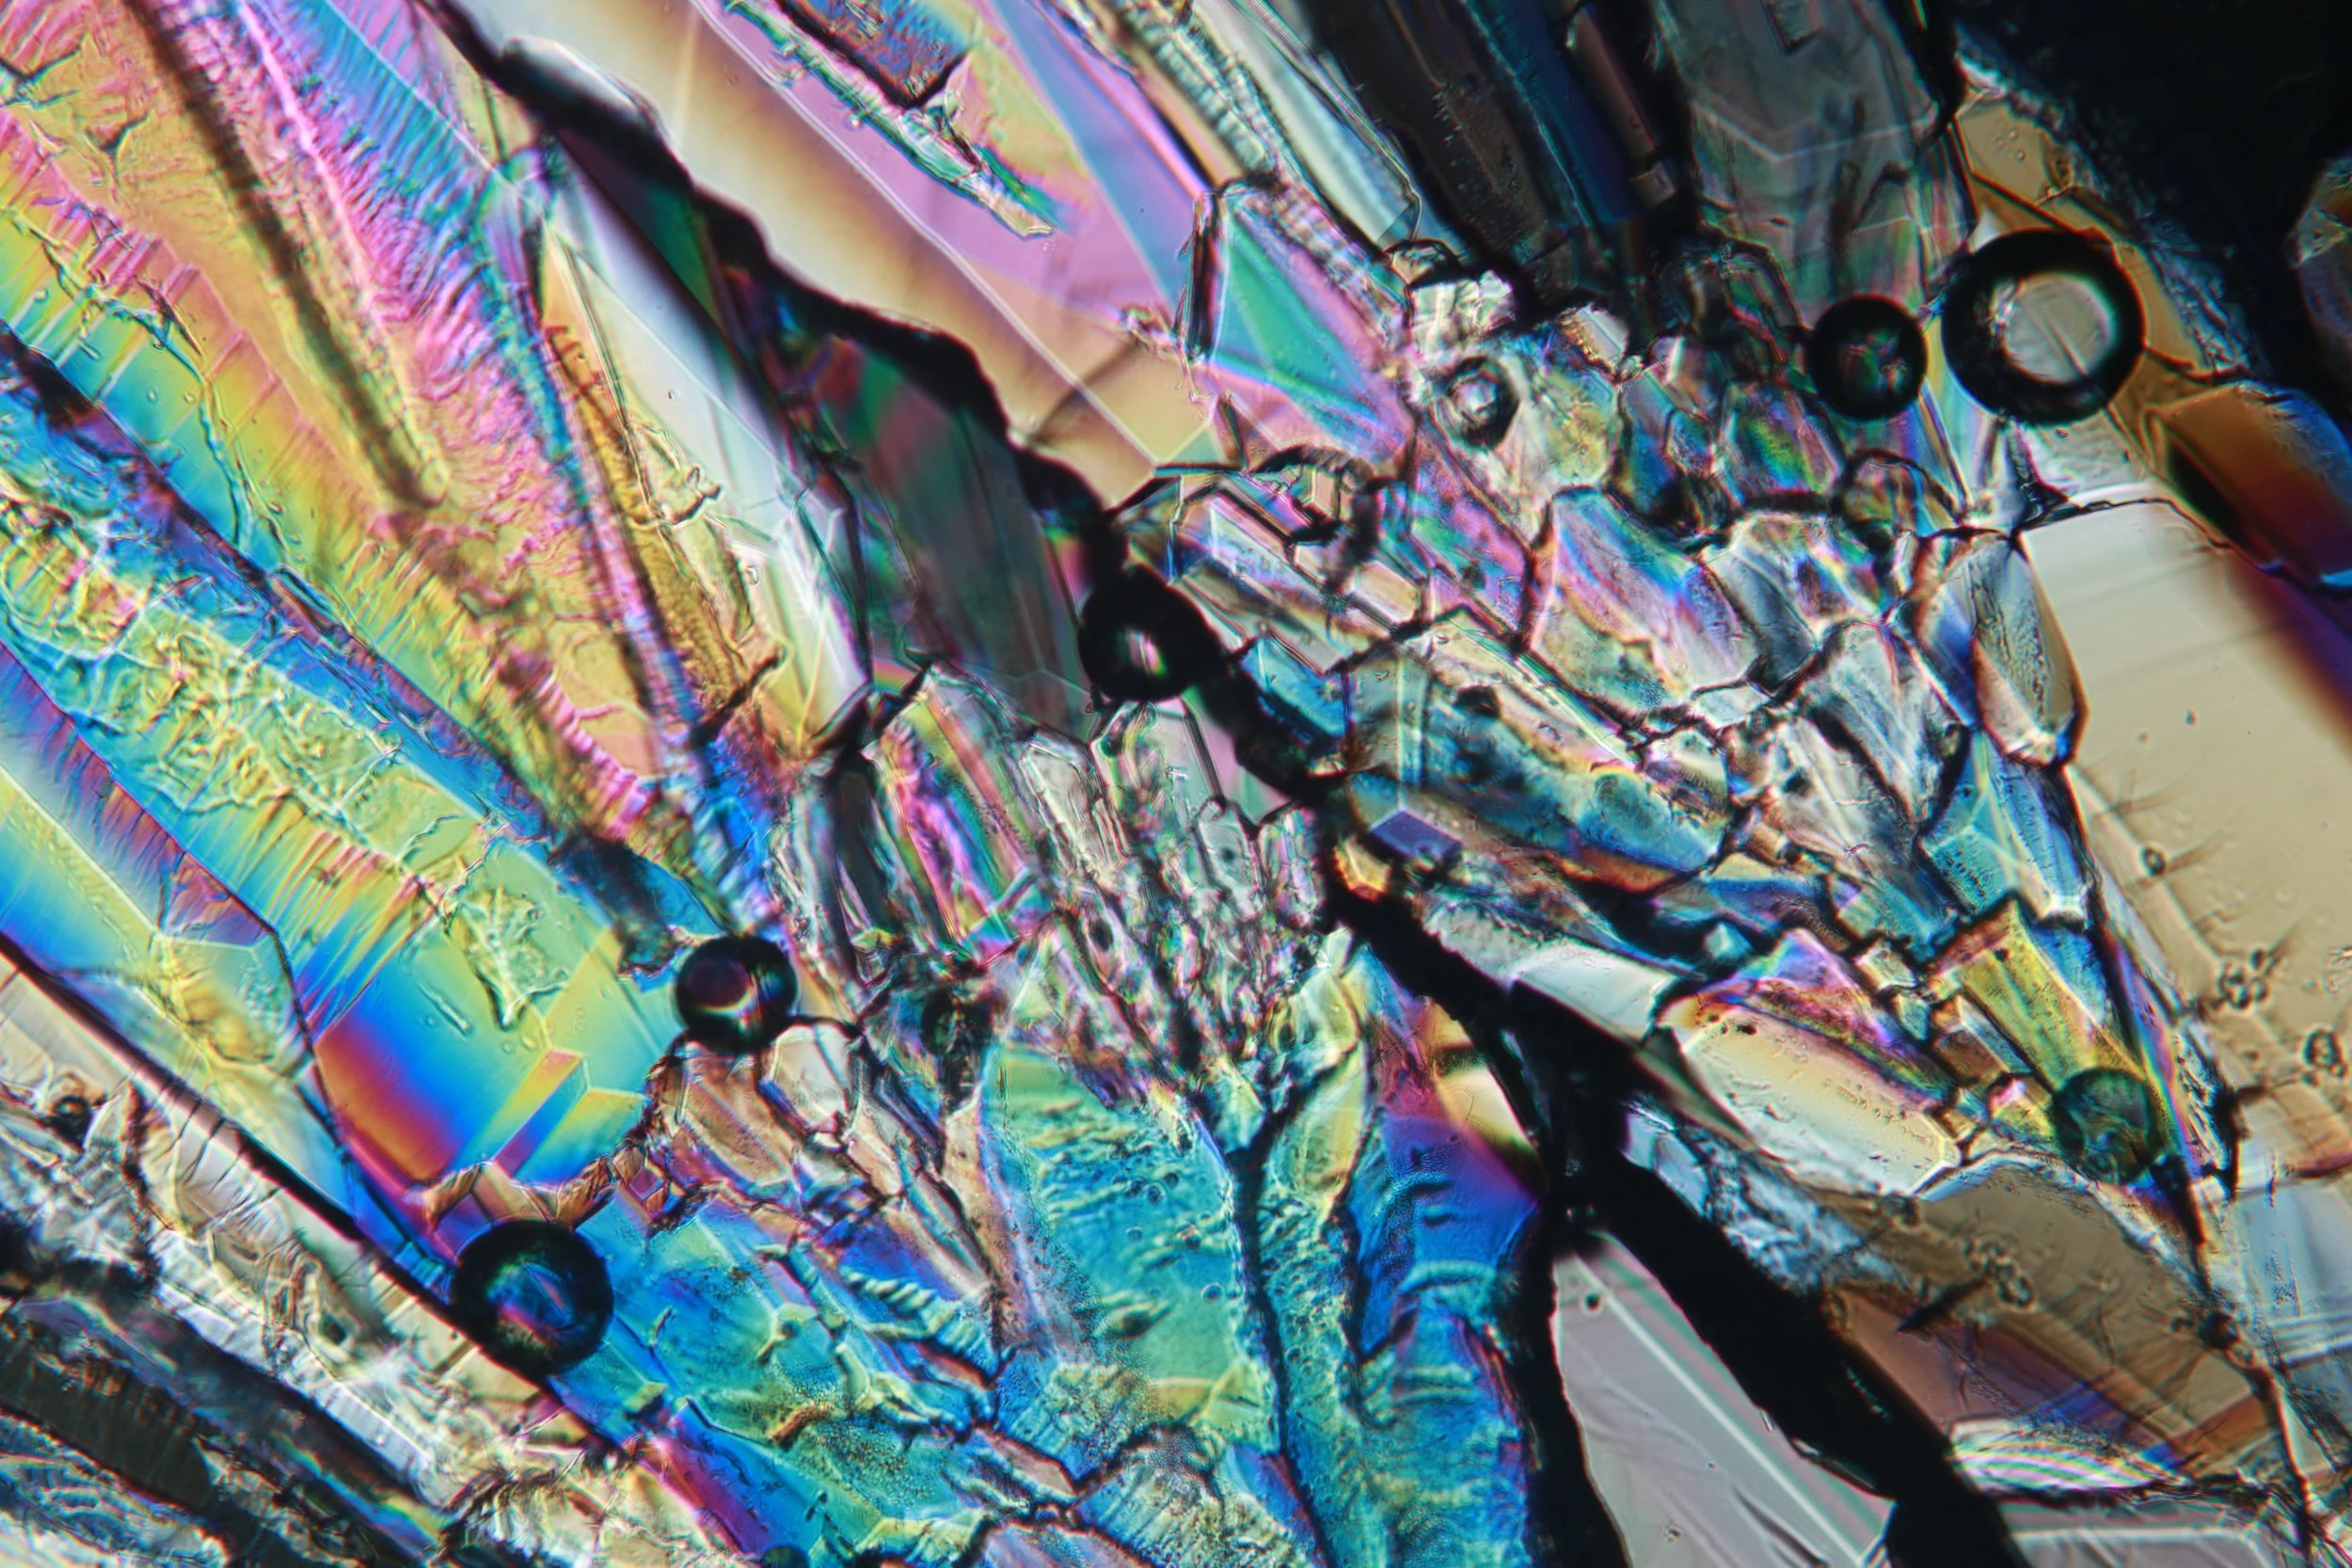
Sugar, grown at home
Polarized light microscopy is very simple. All that is needed is a linearly polarized source of light, and another linear polarizer after the sample.
When the polarized light from the source hits the sample, in many cases it acts as one would expect. But in some cases the sample interacts very interestingly with that linear light, often through birefringence.
Birefringence is an optical property of a material that exhibits optic anisotropy. This is due to the material possessing different indices of refraction depending on the incidence polarization of the light, called double refraction. Light is split up into the polarization angle parallel to the primary angle of refraction and one perpendicular.
These two bits of polarized light then travel with their respective refractive indices through the material, with the higher refractive-index wave being slowed down more with respect to the other, lower index-of-refraction one. These two waves, having now exited of the material, are offset to one another and now display interference effects. The colors are due to different wavelengths of light exhibiting different refractive speeds in the material, causing their interference to be modulated by color. The wavelengths that happen to constructively interfere are seen in the image, whereas wavelengths that destructively interfered are much darker.
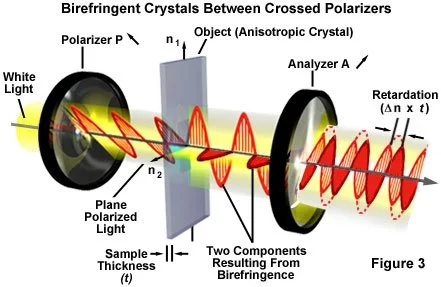
In short, certain materials interact with light in an interesting way to display some incredible colors due to their material structure. This includes birefringent crystals that I will explore.
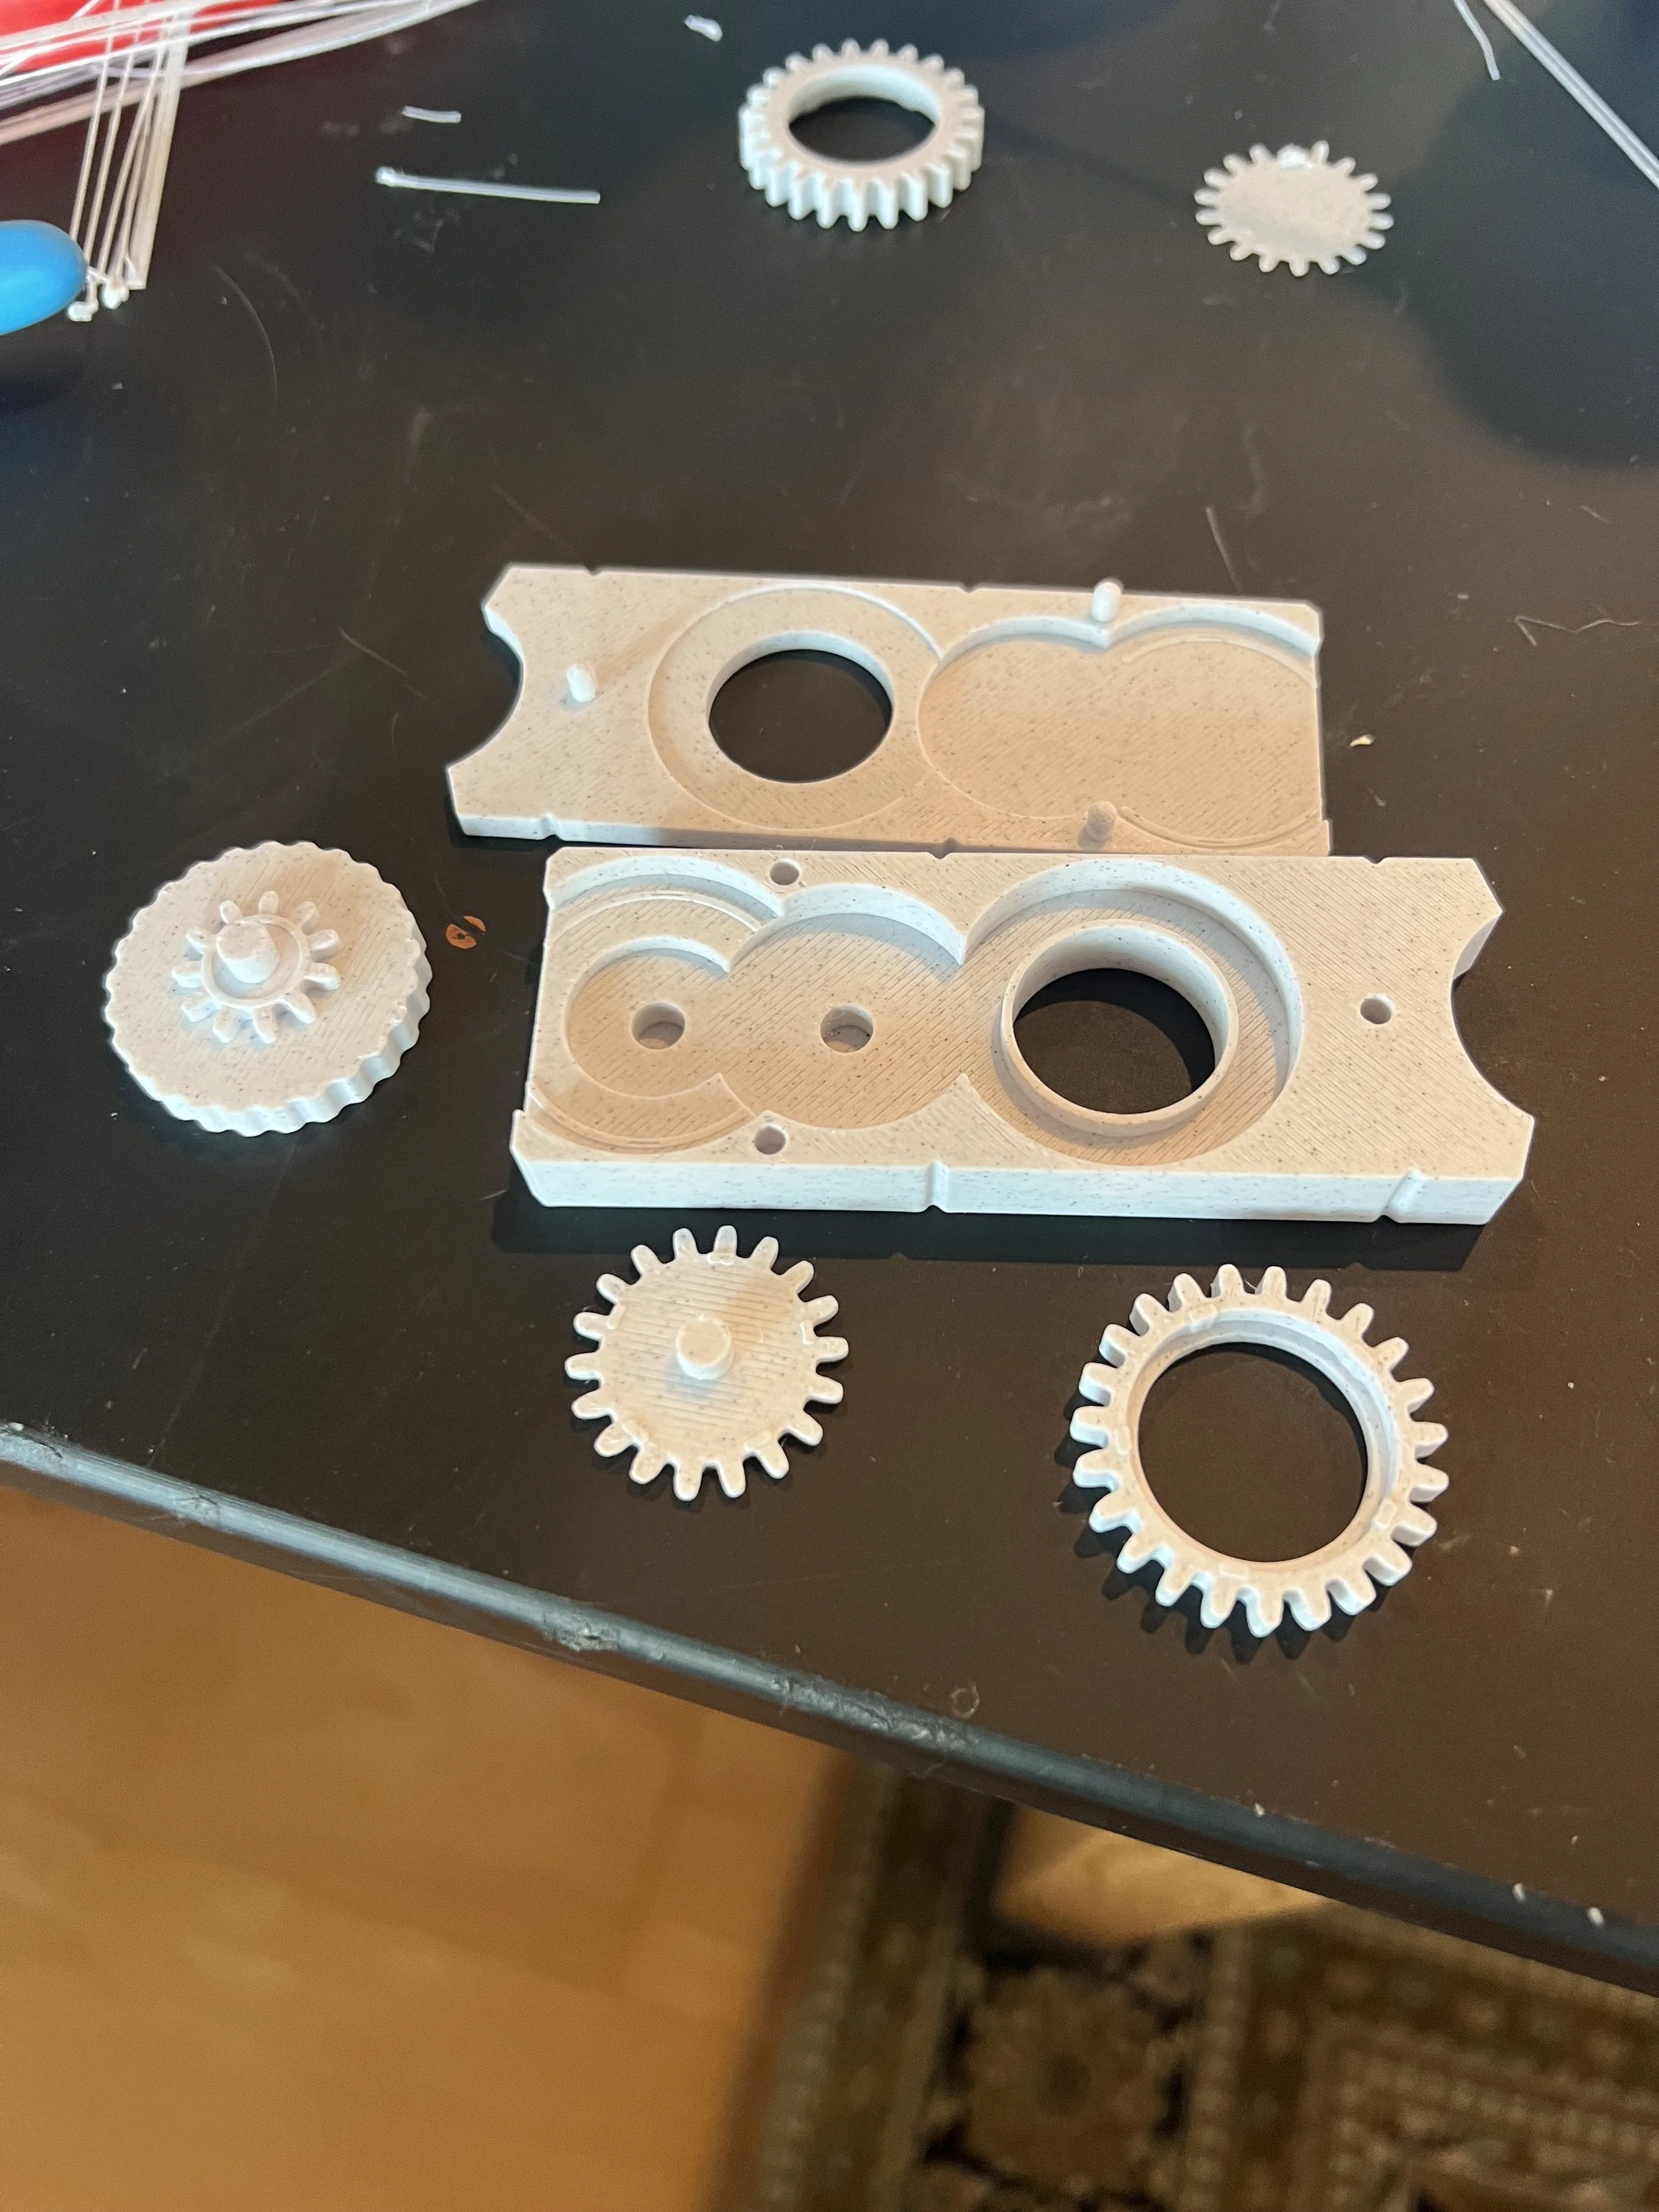
To turn my microscope into one capable of polarized light microscopy all I needed was a bit of cheap polarizing film laid over the condenser beneath the sample and one on top of the sample. In our microscope, there exists an insert slot specifically for filters, including a special rotatable-polarizing insert. The only problem was that it was over $300, so I designed a small 3d-printed insert based off of the proper dimensions.
A piece of polarizing film was glued to the hollow gear that is rotated by a knob and an intermediary gear. Because I didn’t want any microplastic wear to accumulate on delicate lenses, care was taken to both optimize for wear resistance and have the assembly fully enclosed. It works great.
I also made some slide supporters seen below, as the microscope stage didn’t raise high enough for our 10X objective.
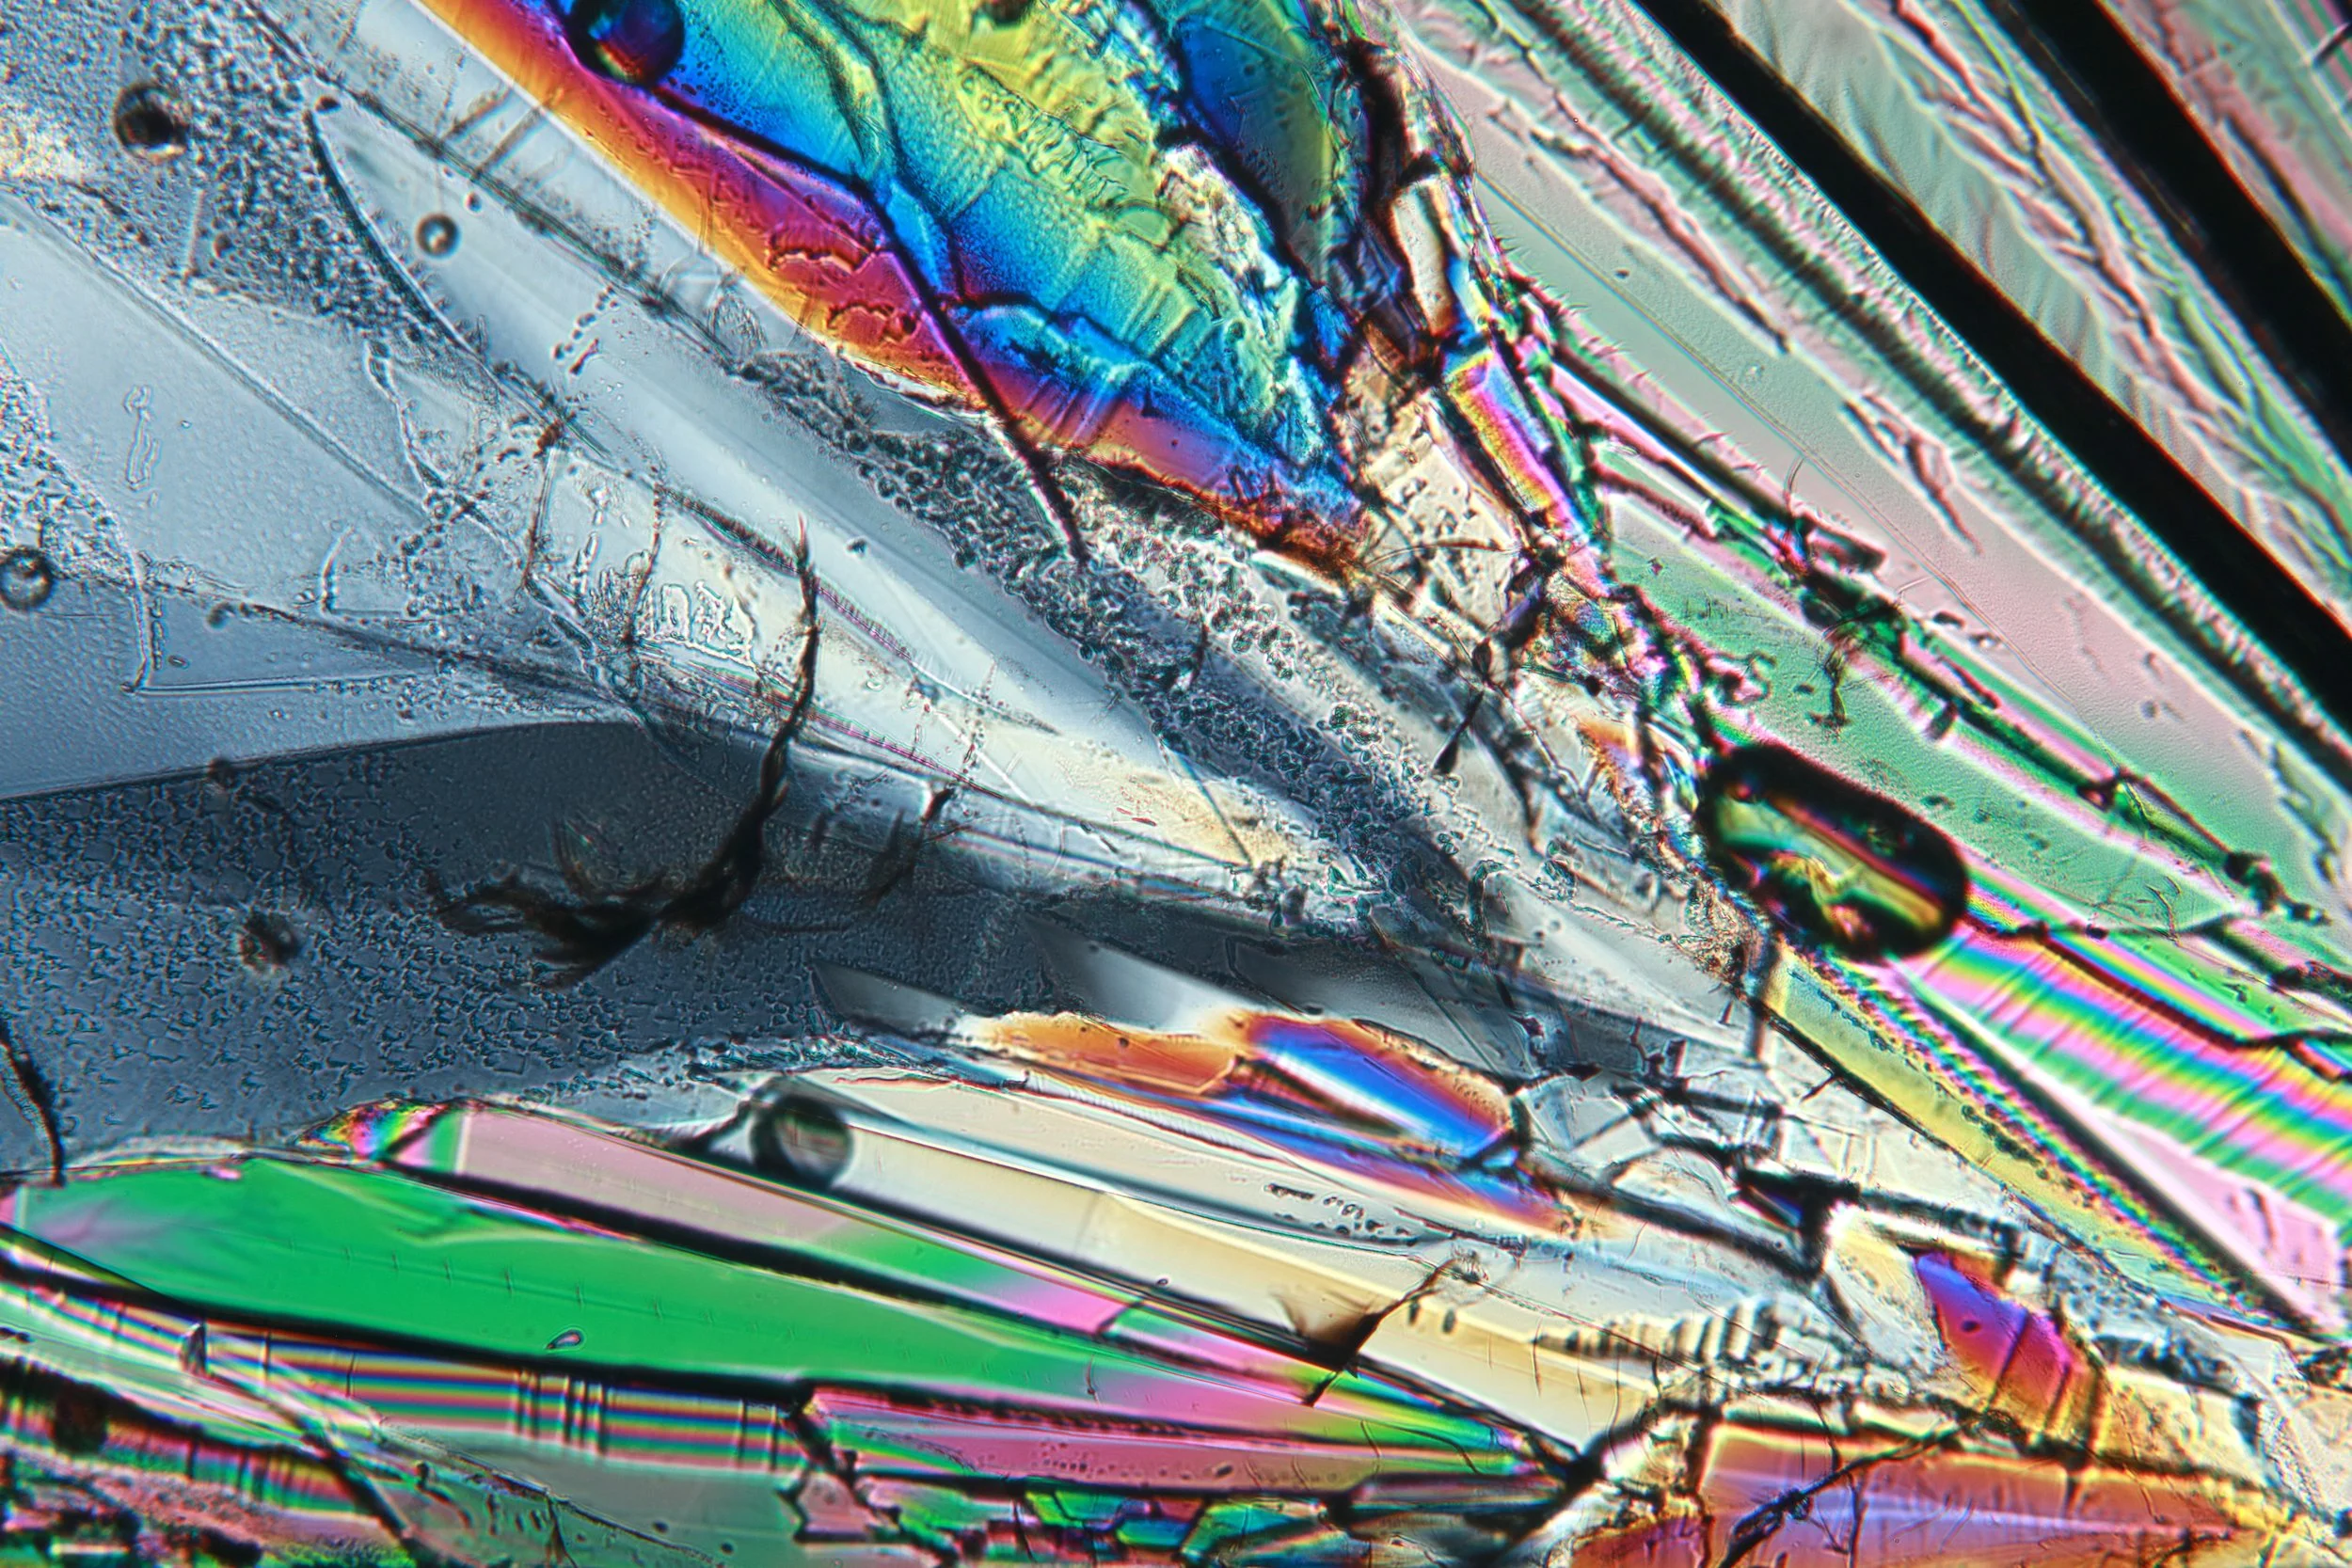
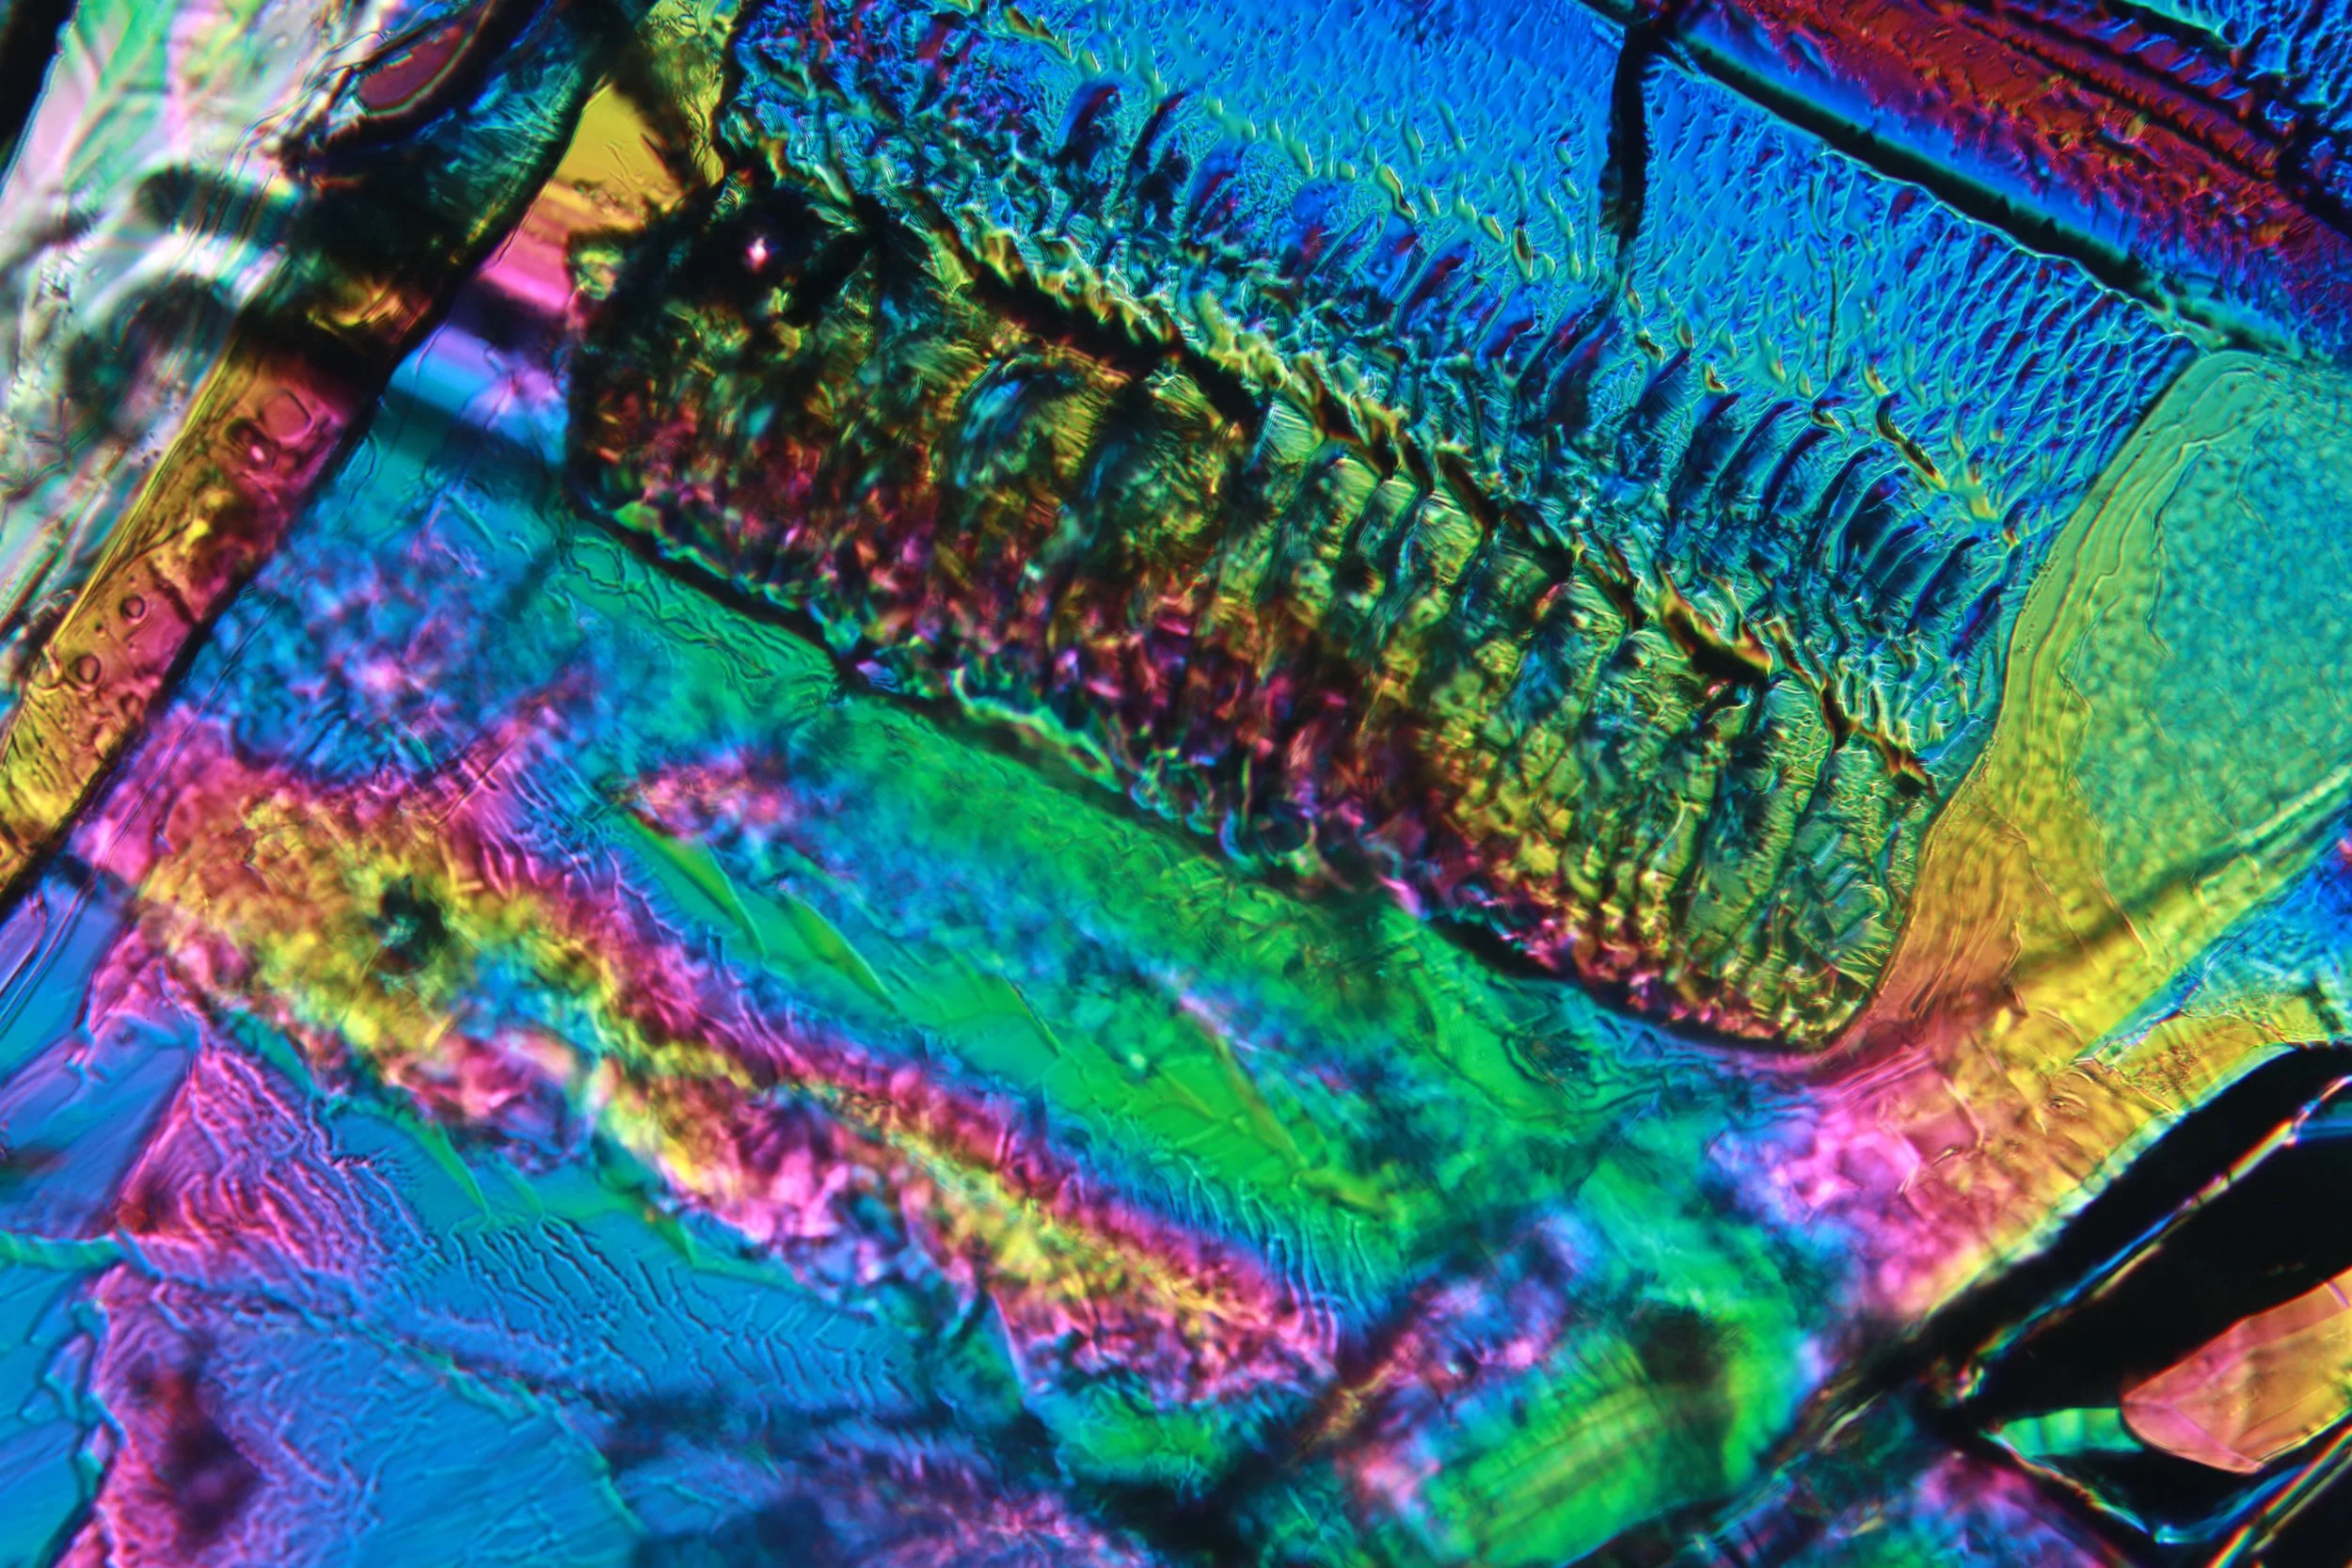
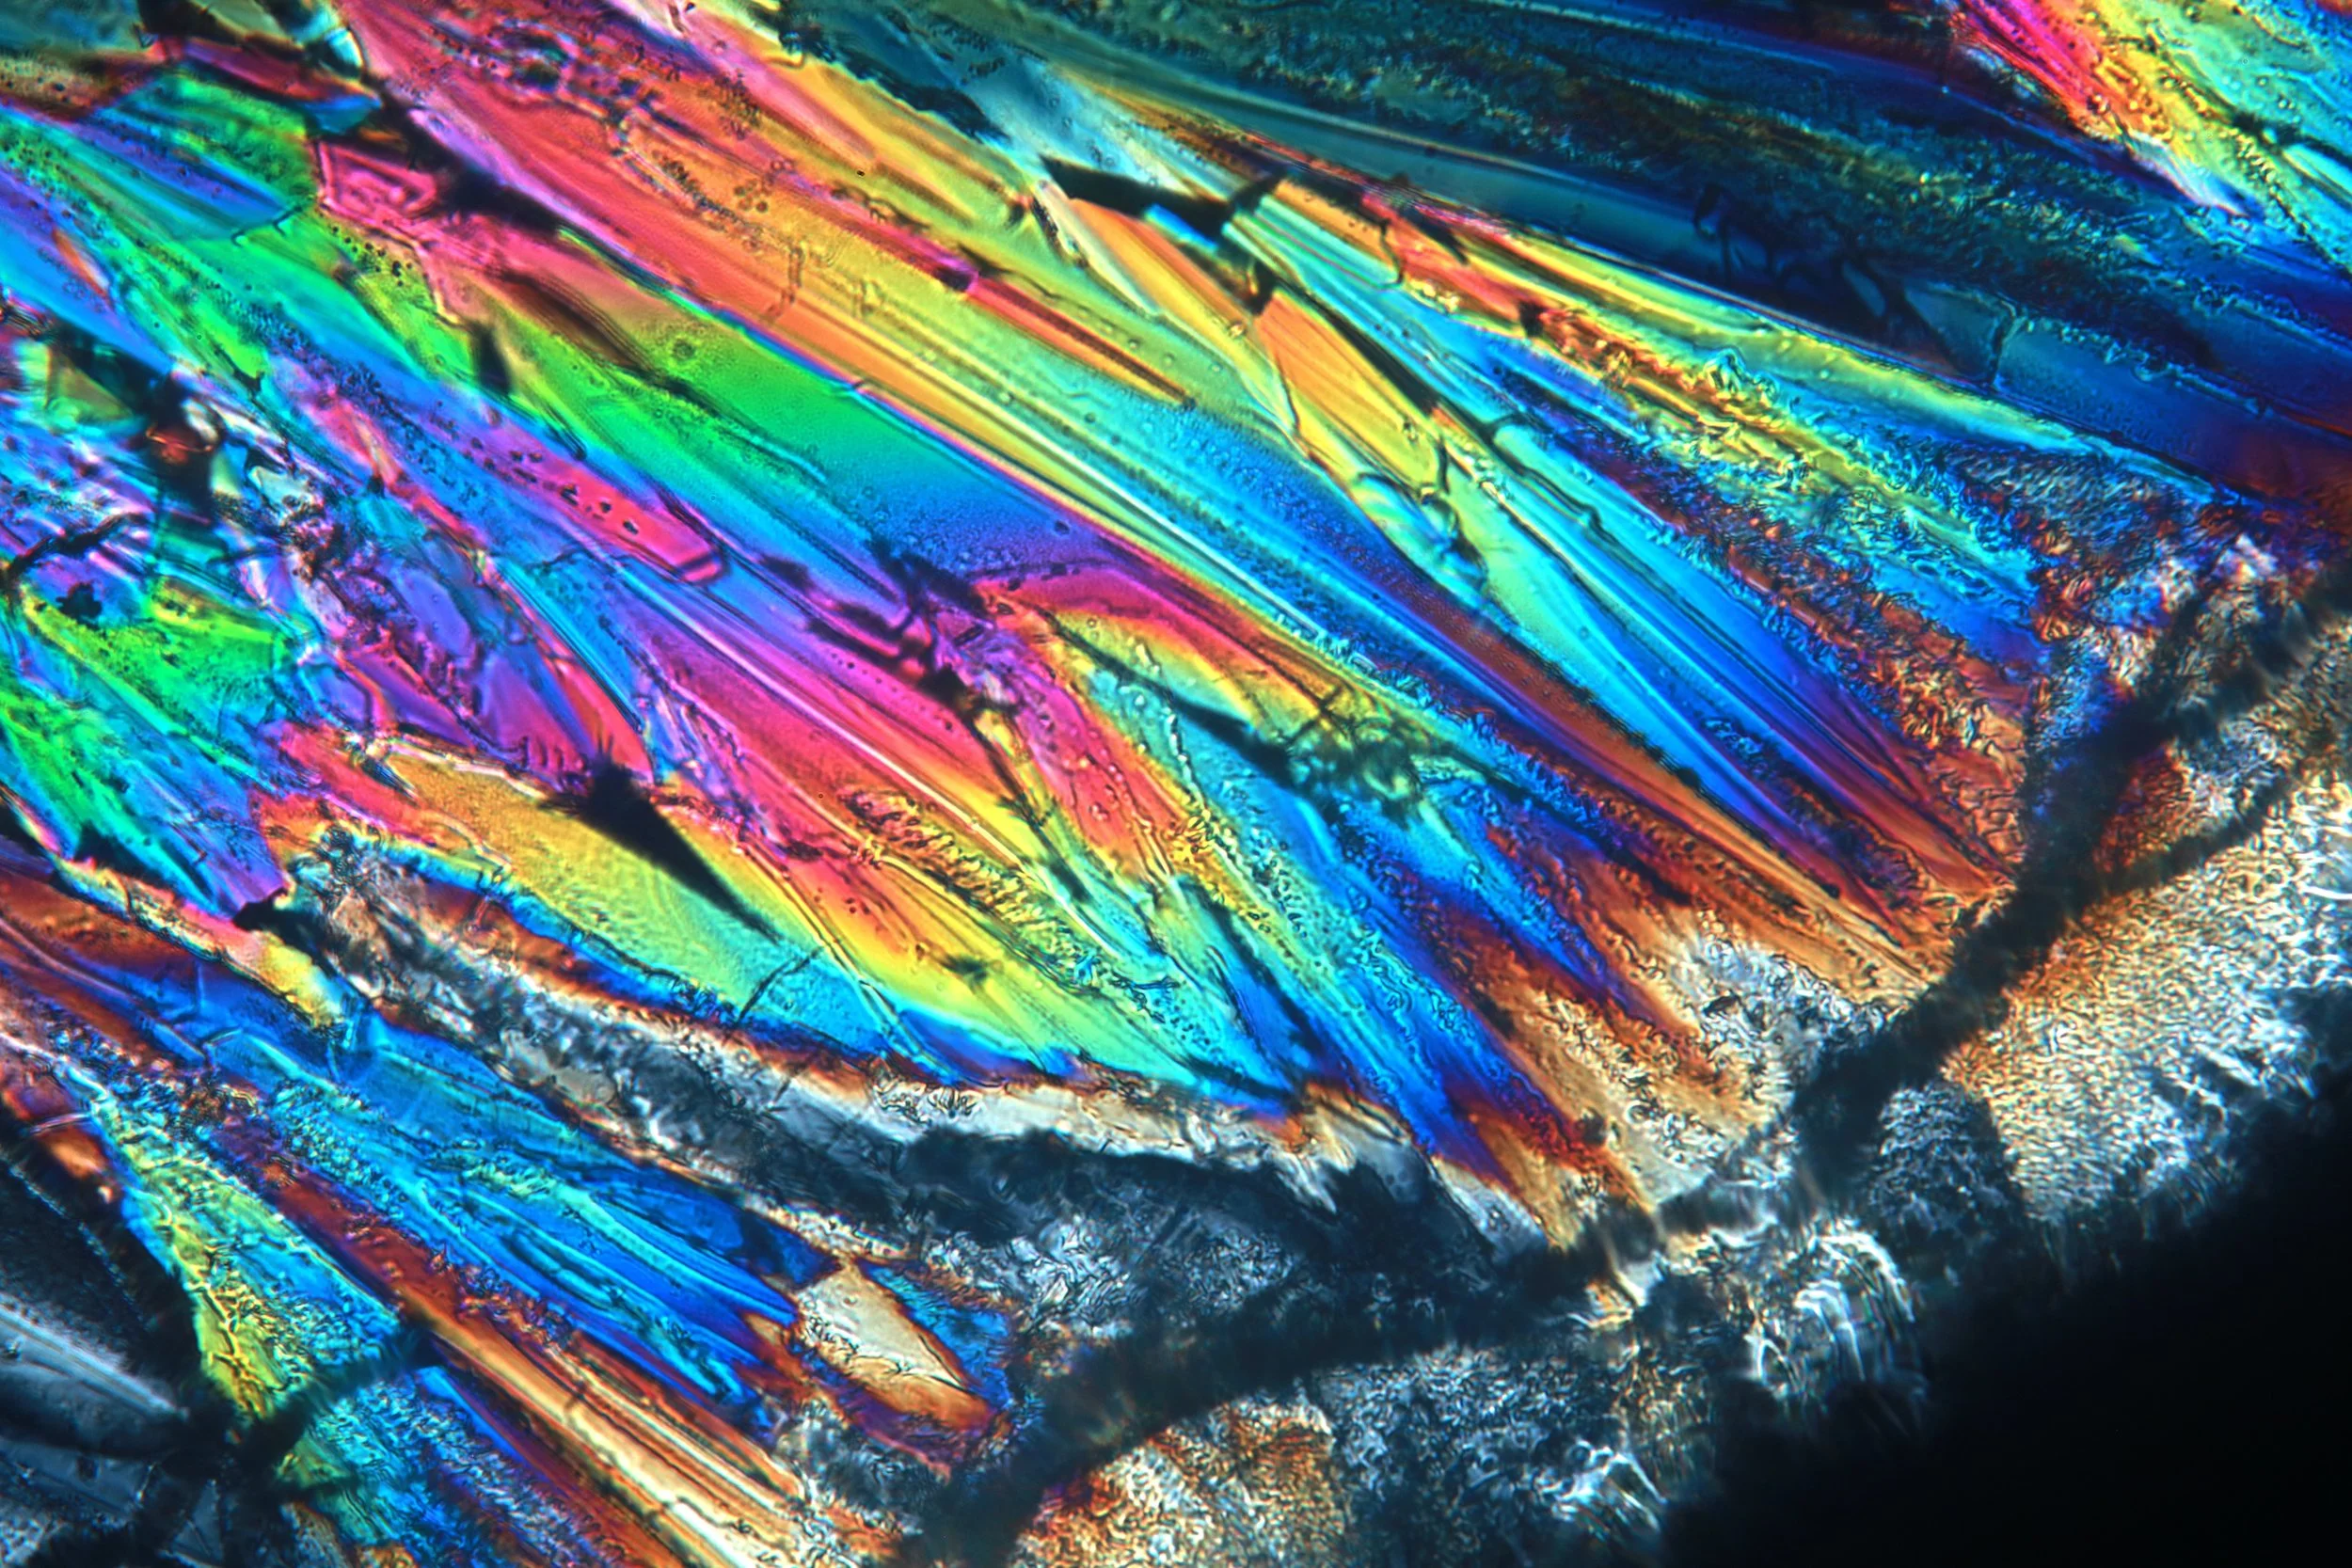
Now to look at some crystals! Sugar was an especially easy one to try. I saturated a sugar solution, put a few drops on a slide and put it in the oven to bake and crystalize. I also put some under cover glass, though this failed to crystalize due to slow diffusion and crystal growth rates.
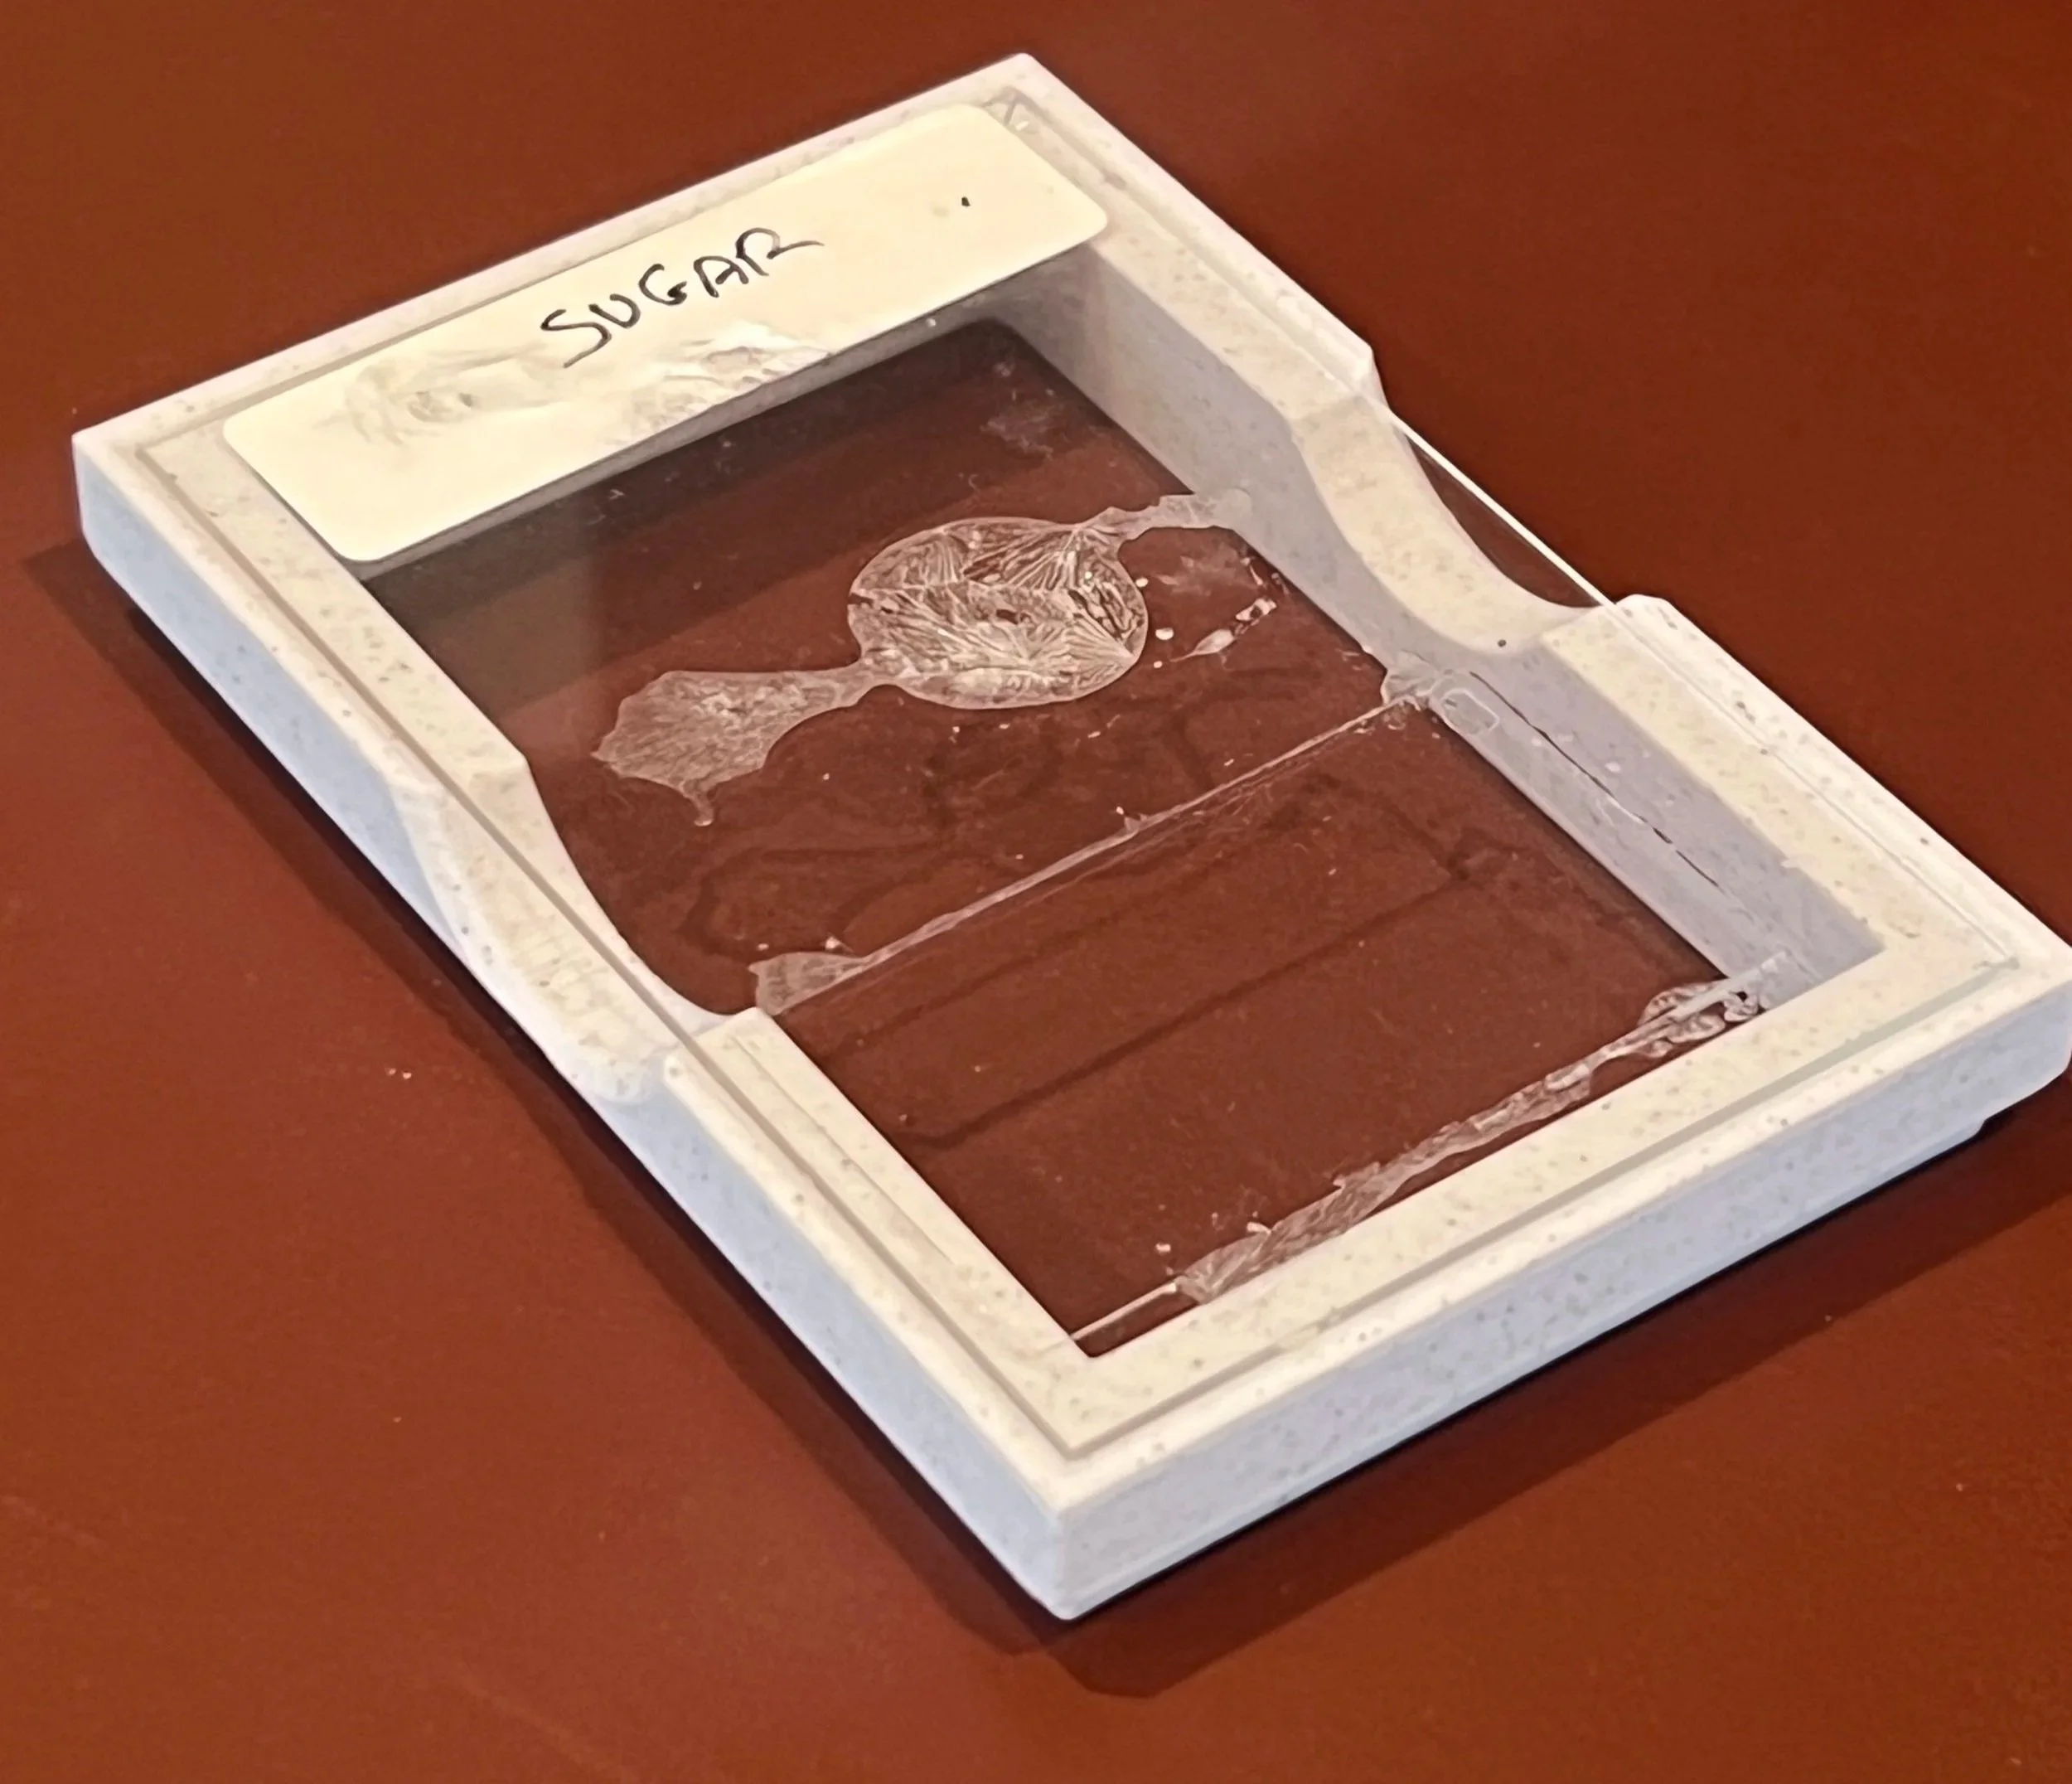
sugar
Some samples below are of sugar under cover glass. The growth of these crystals is an extremely slow process due to the viscosity of highly concentrated sugar solution, and it is diffusion-limited. These have been growing for many months.
There are arrows to scroll images on the sides!
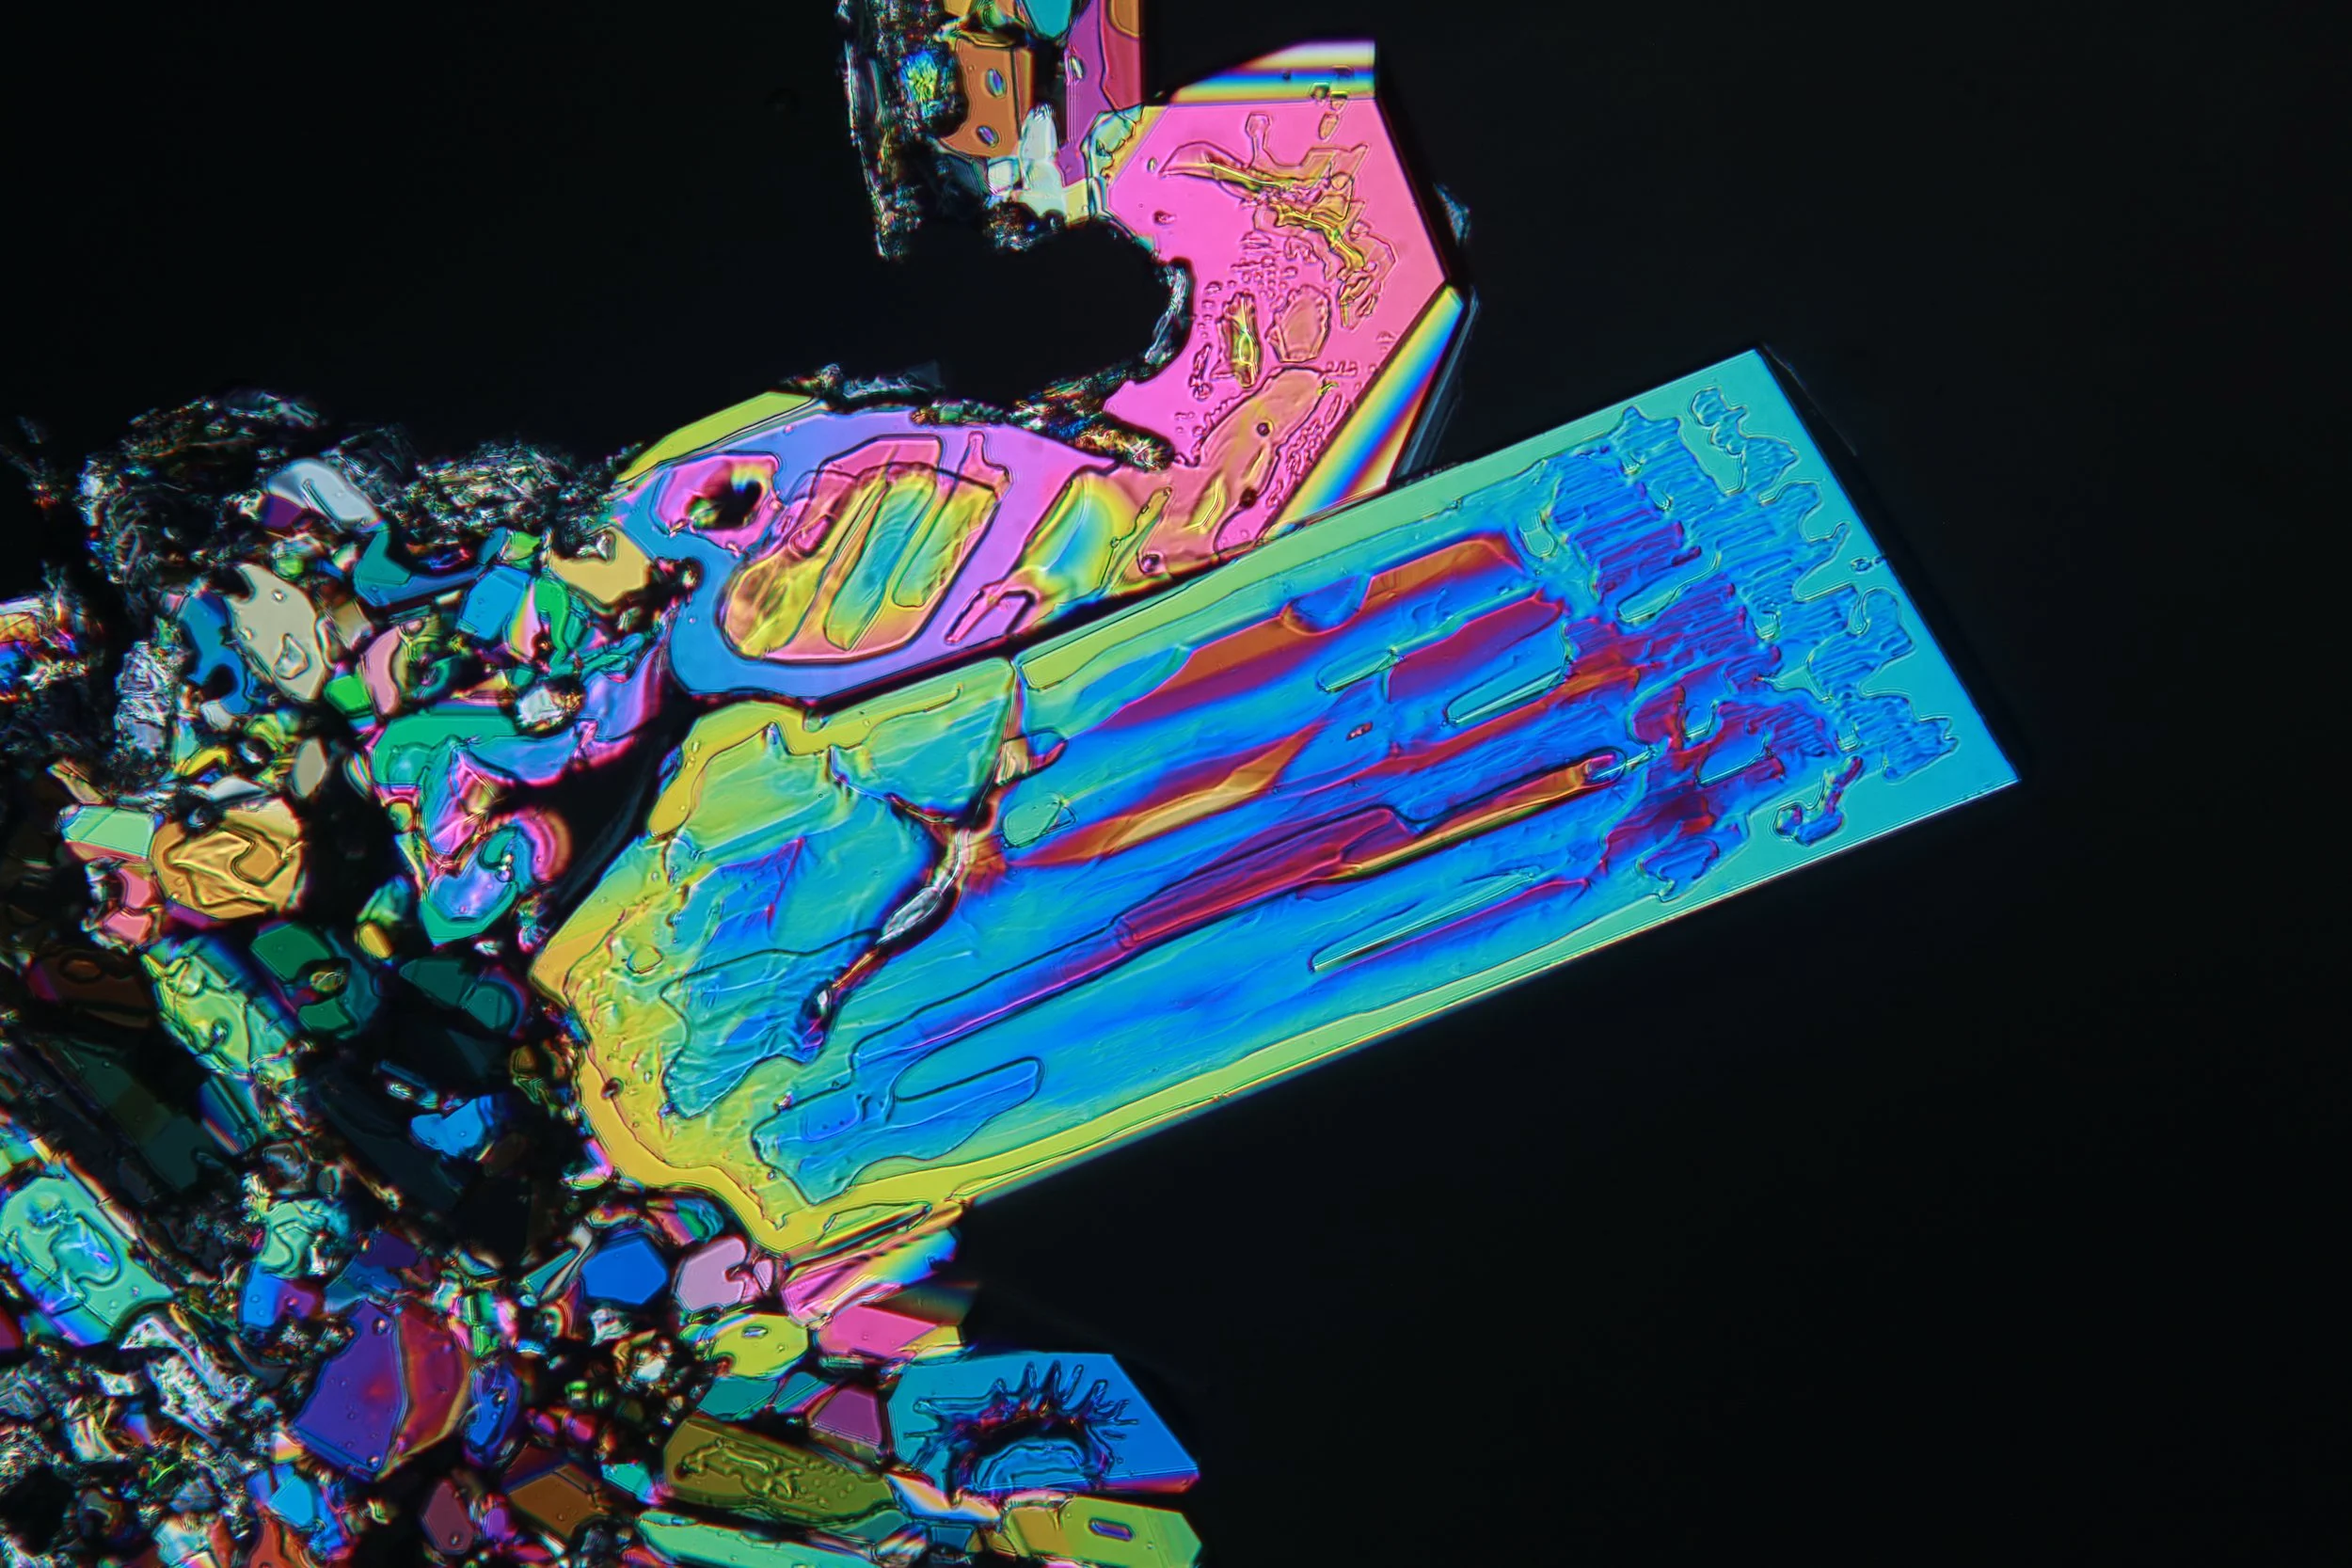
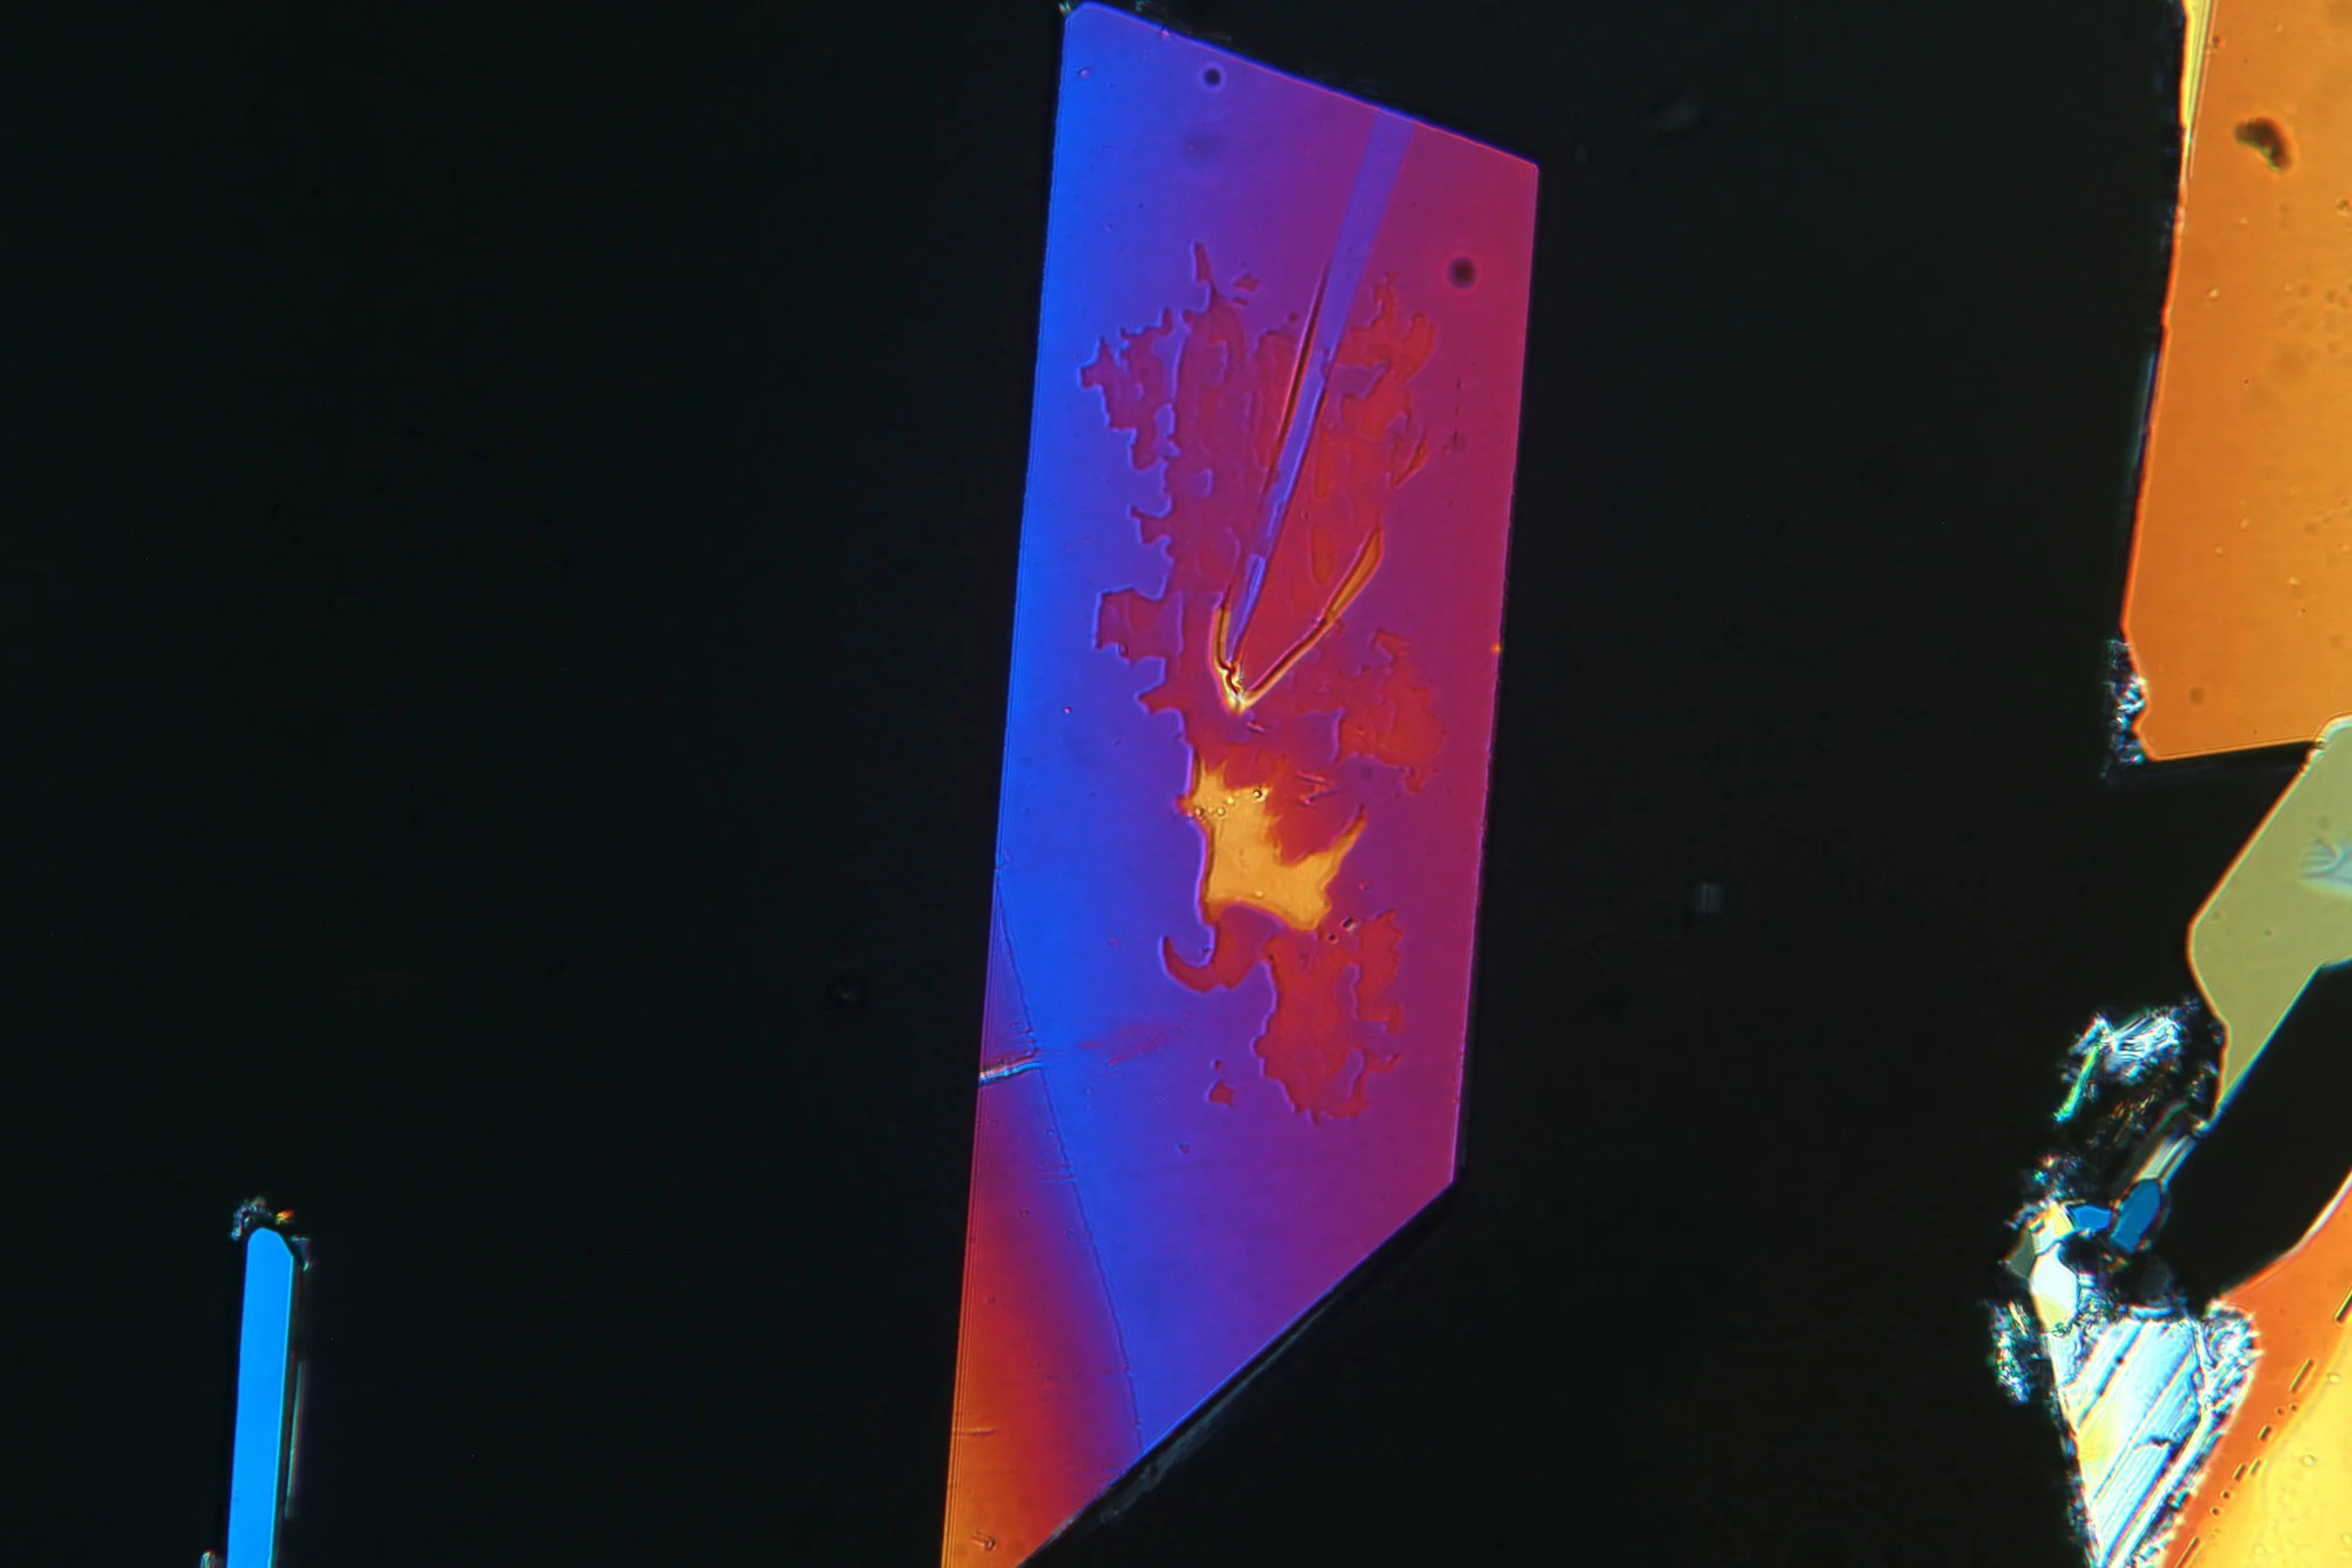
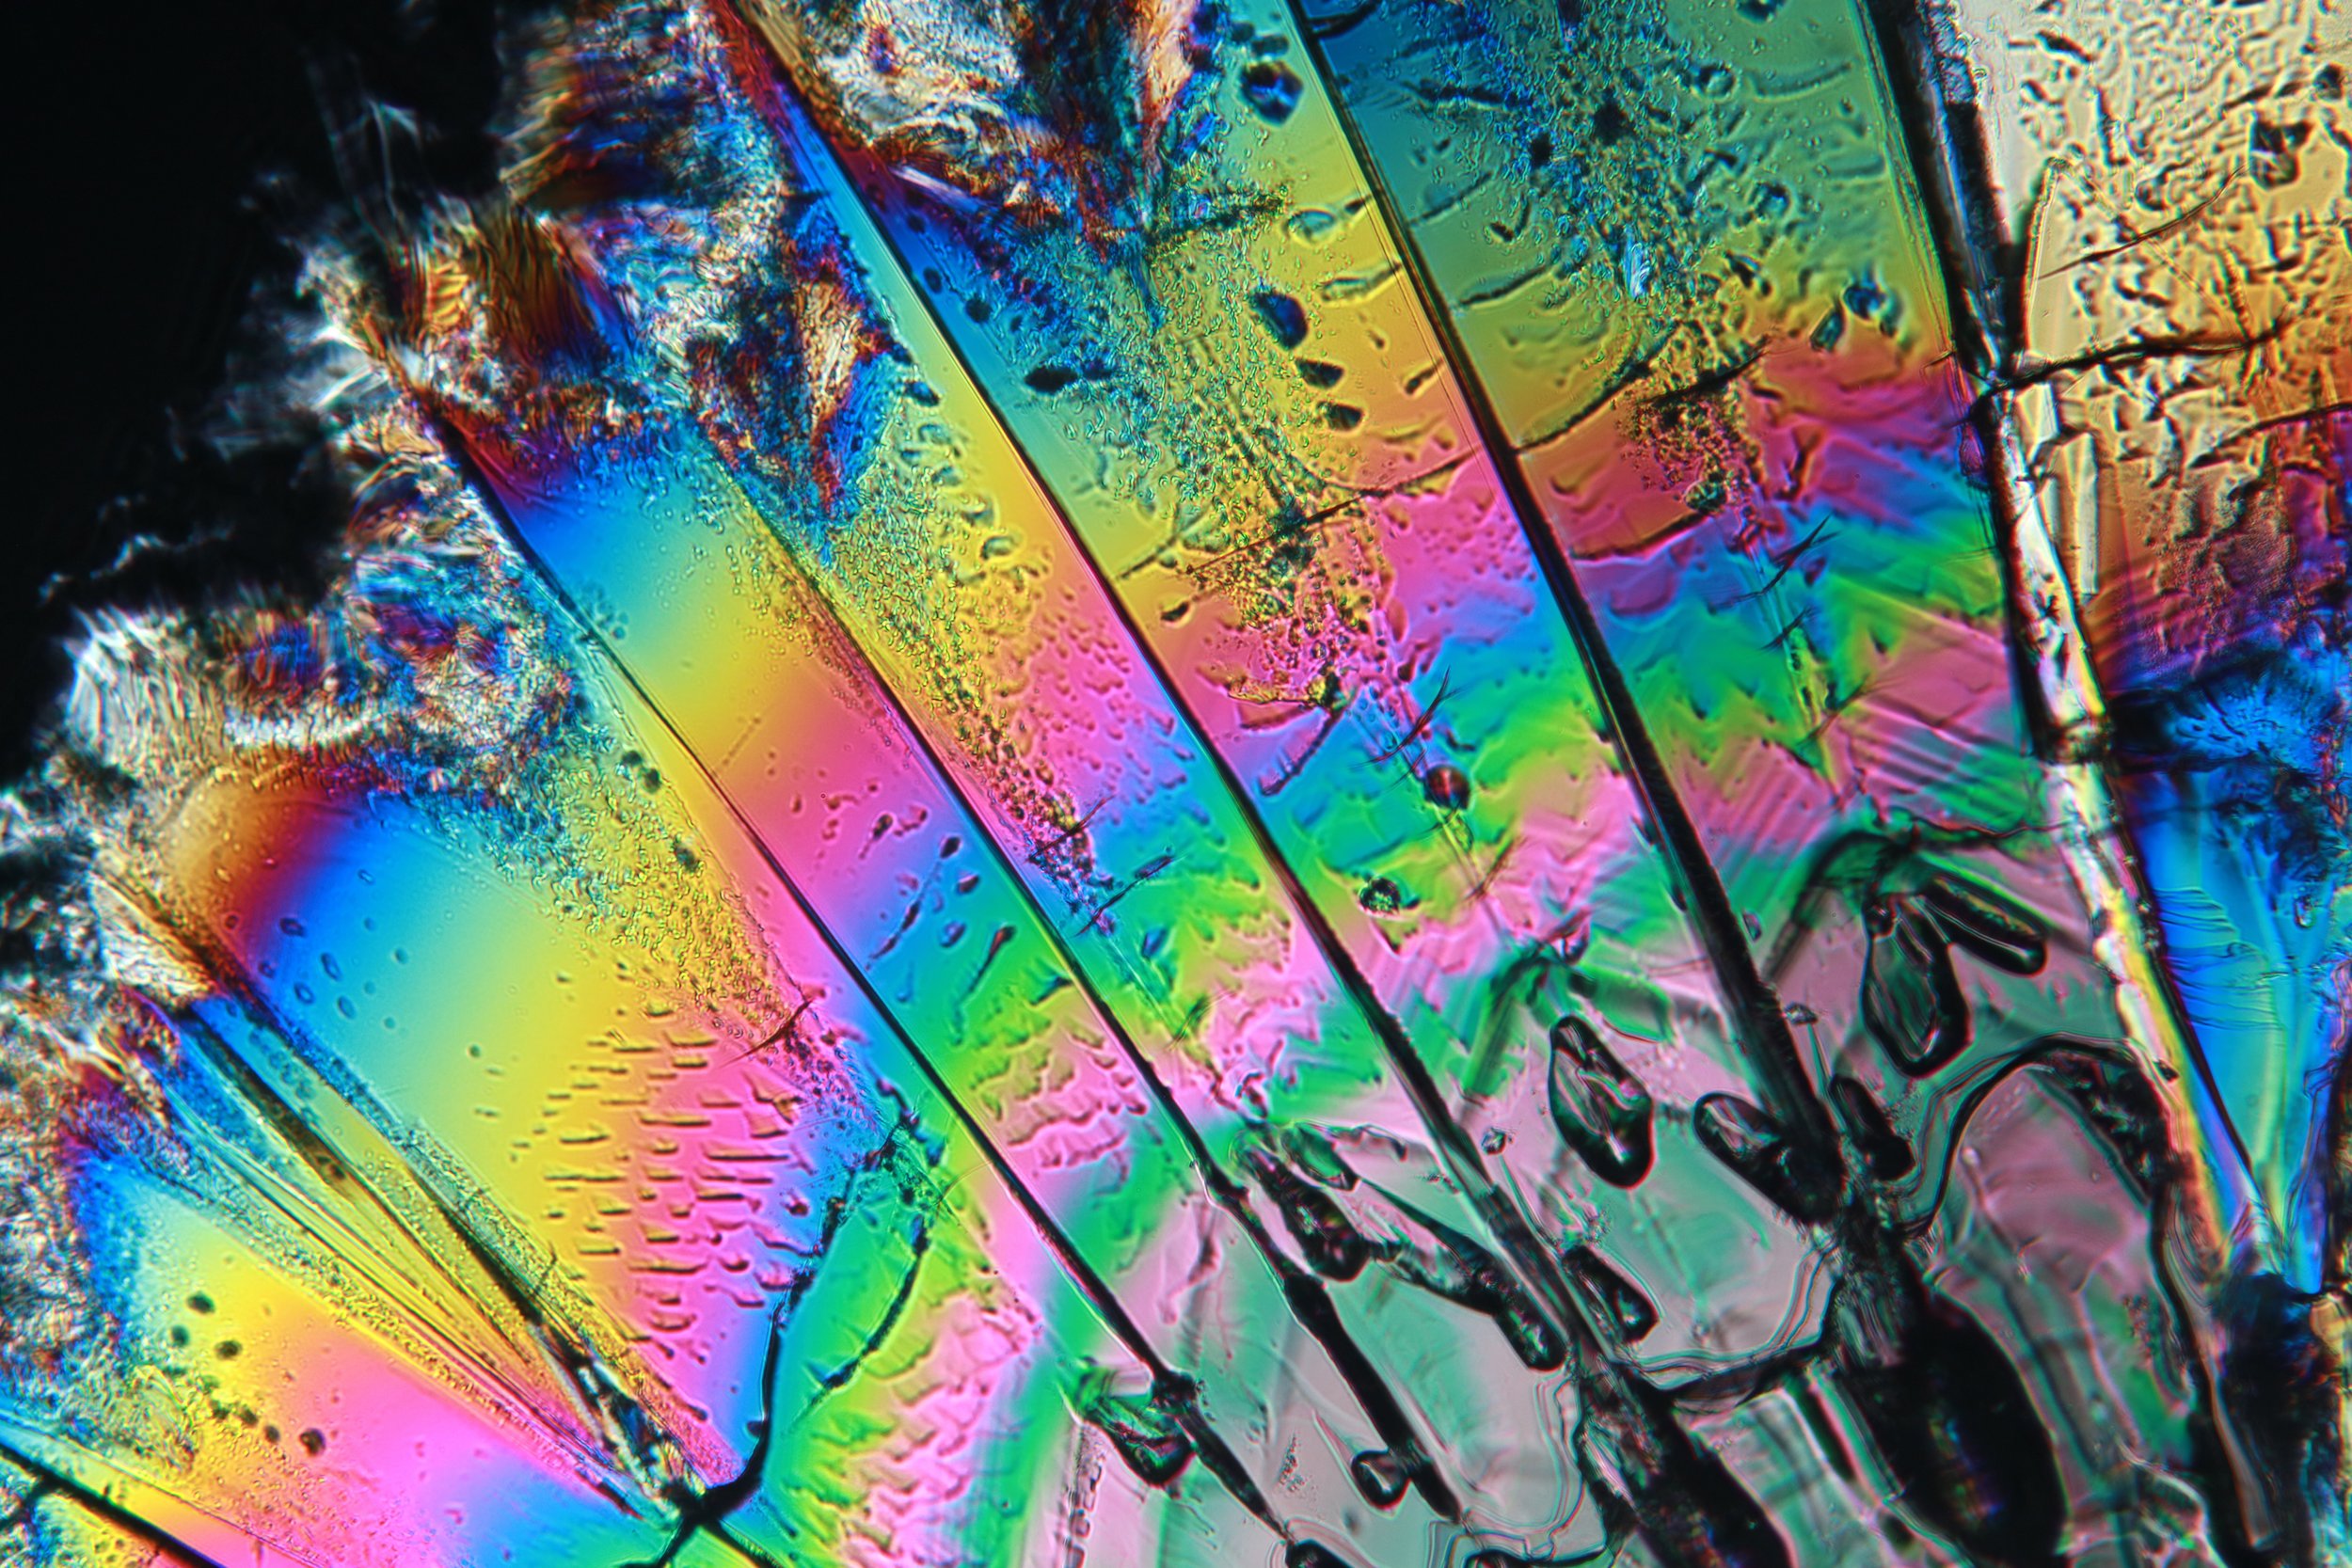
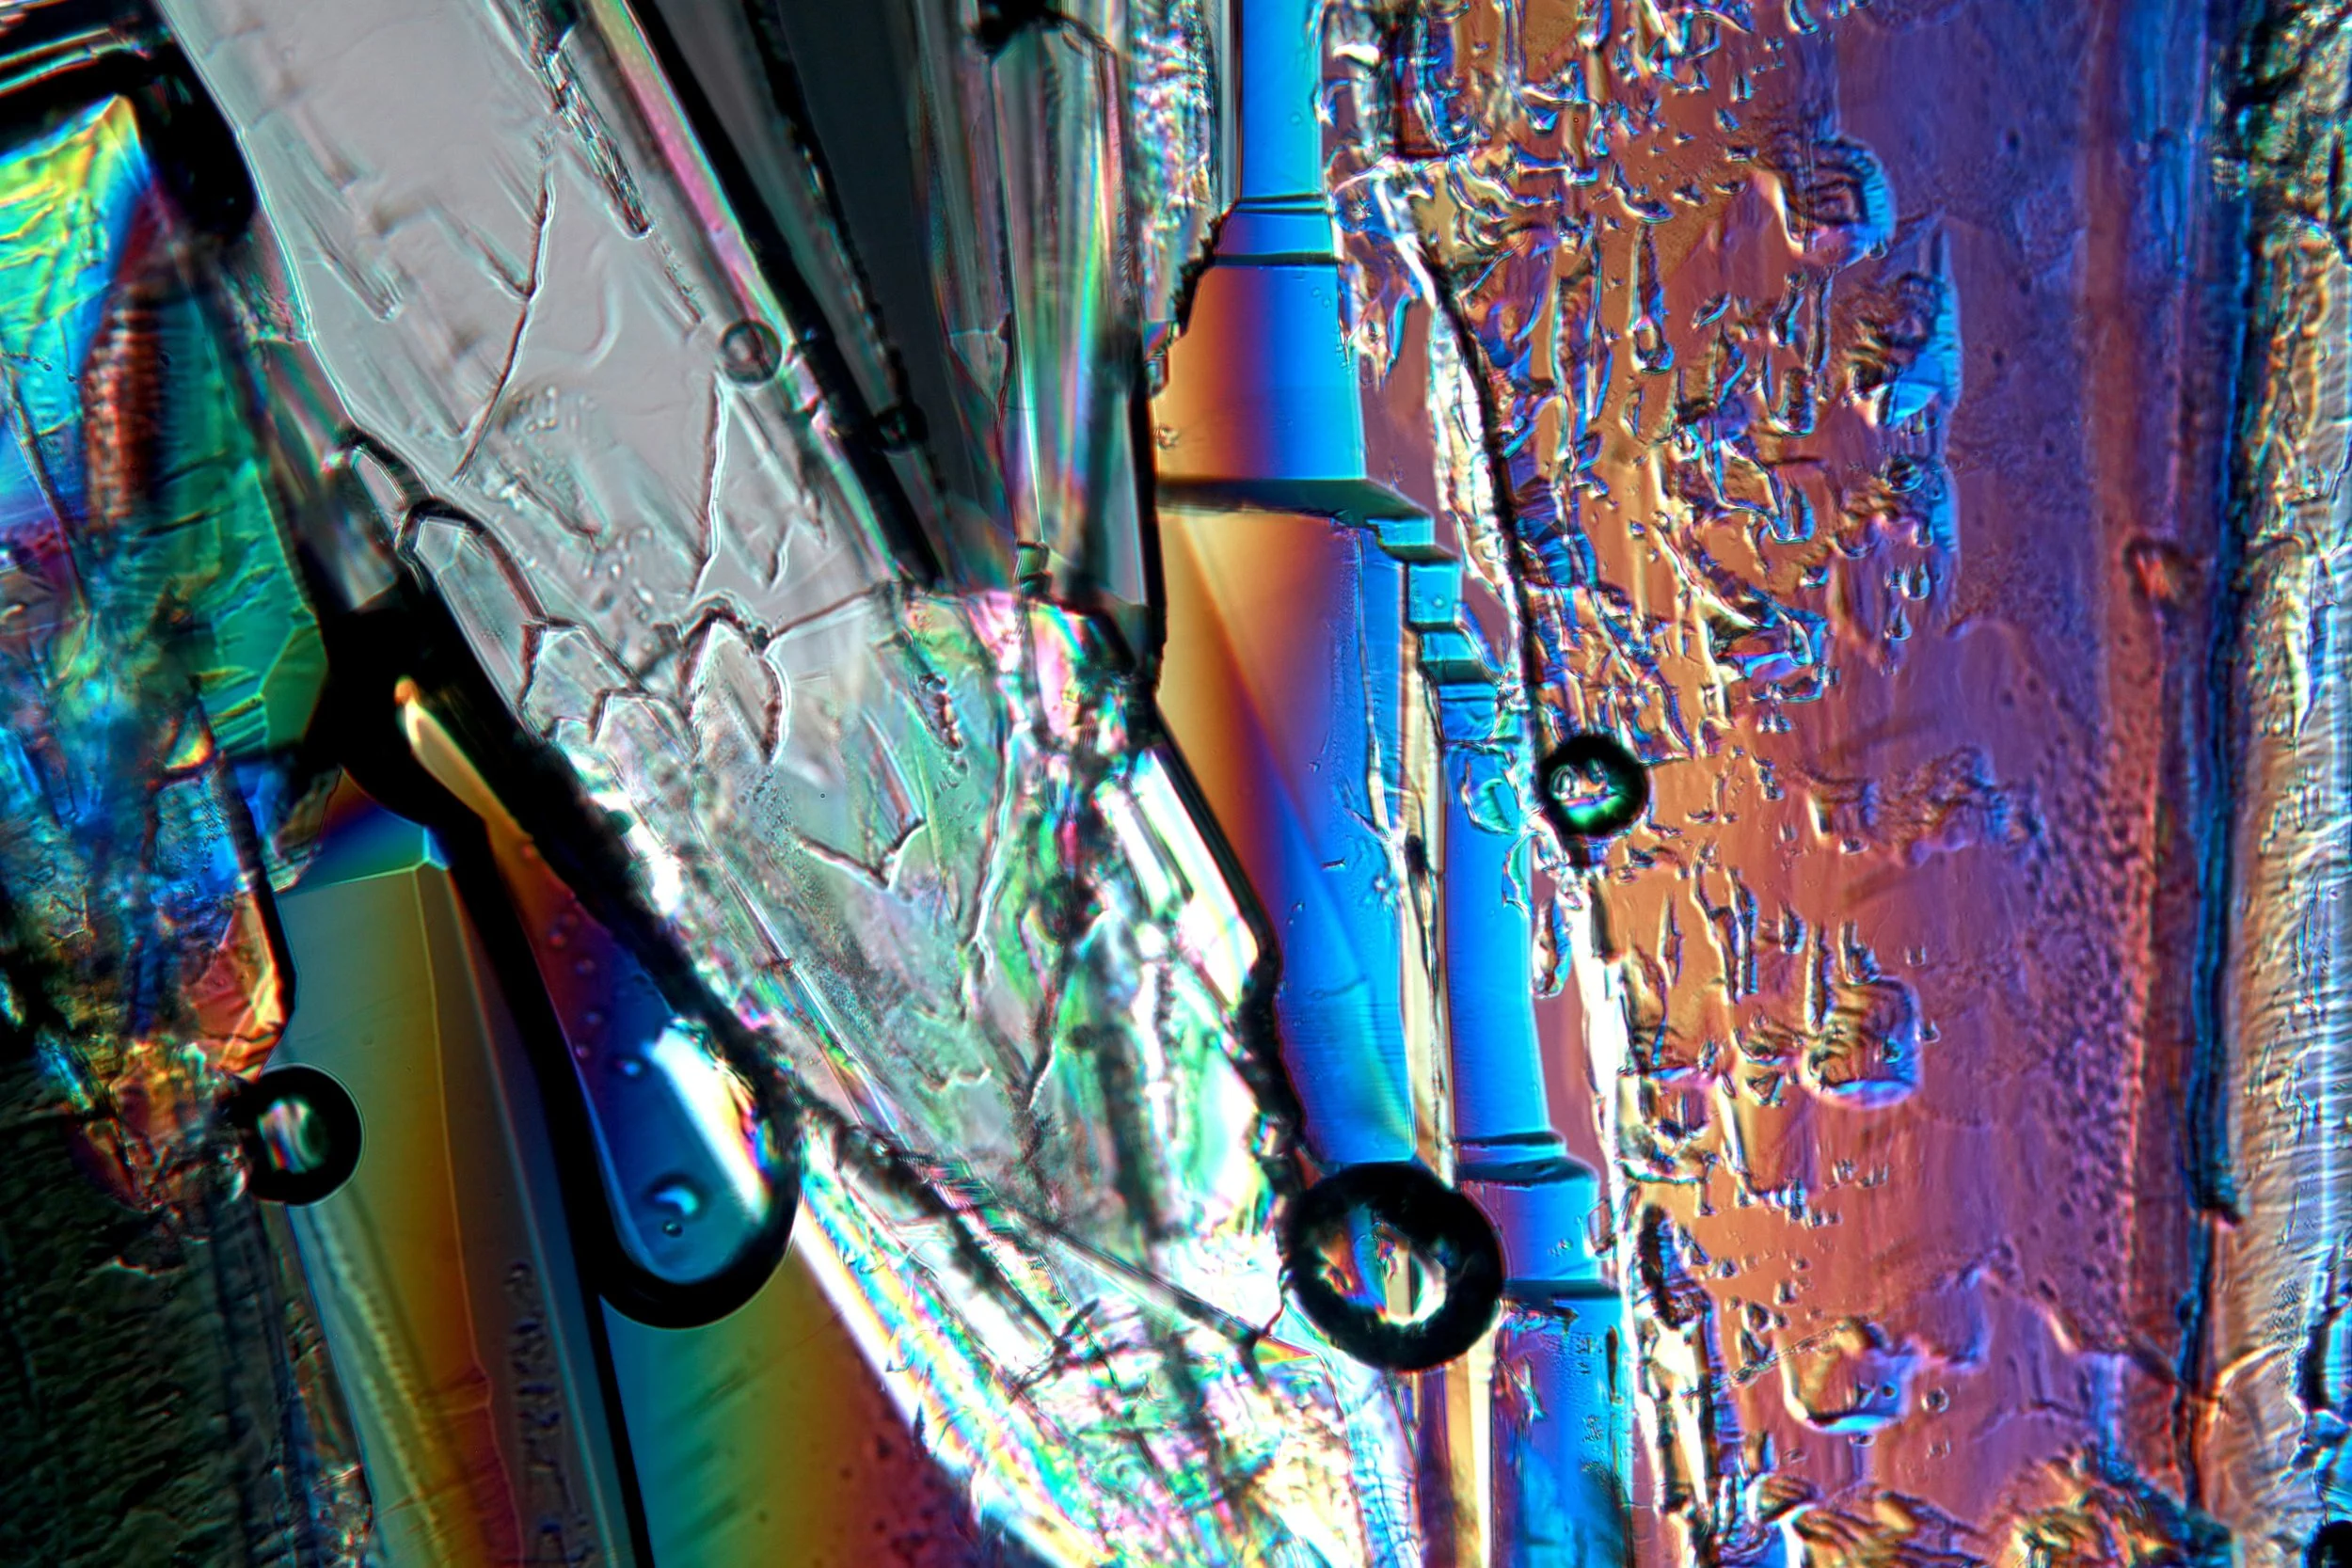
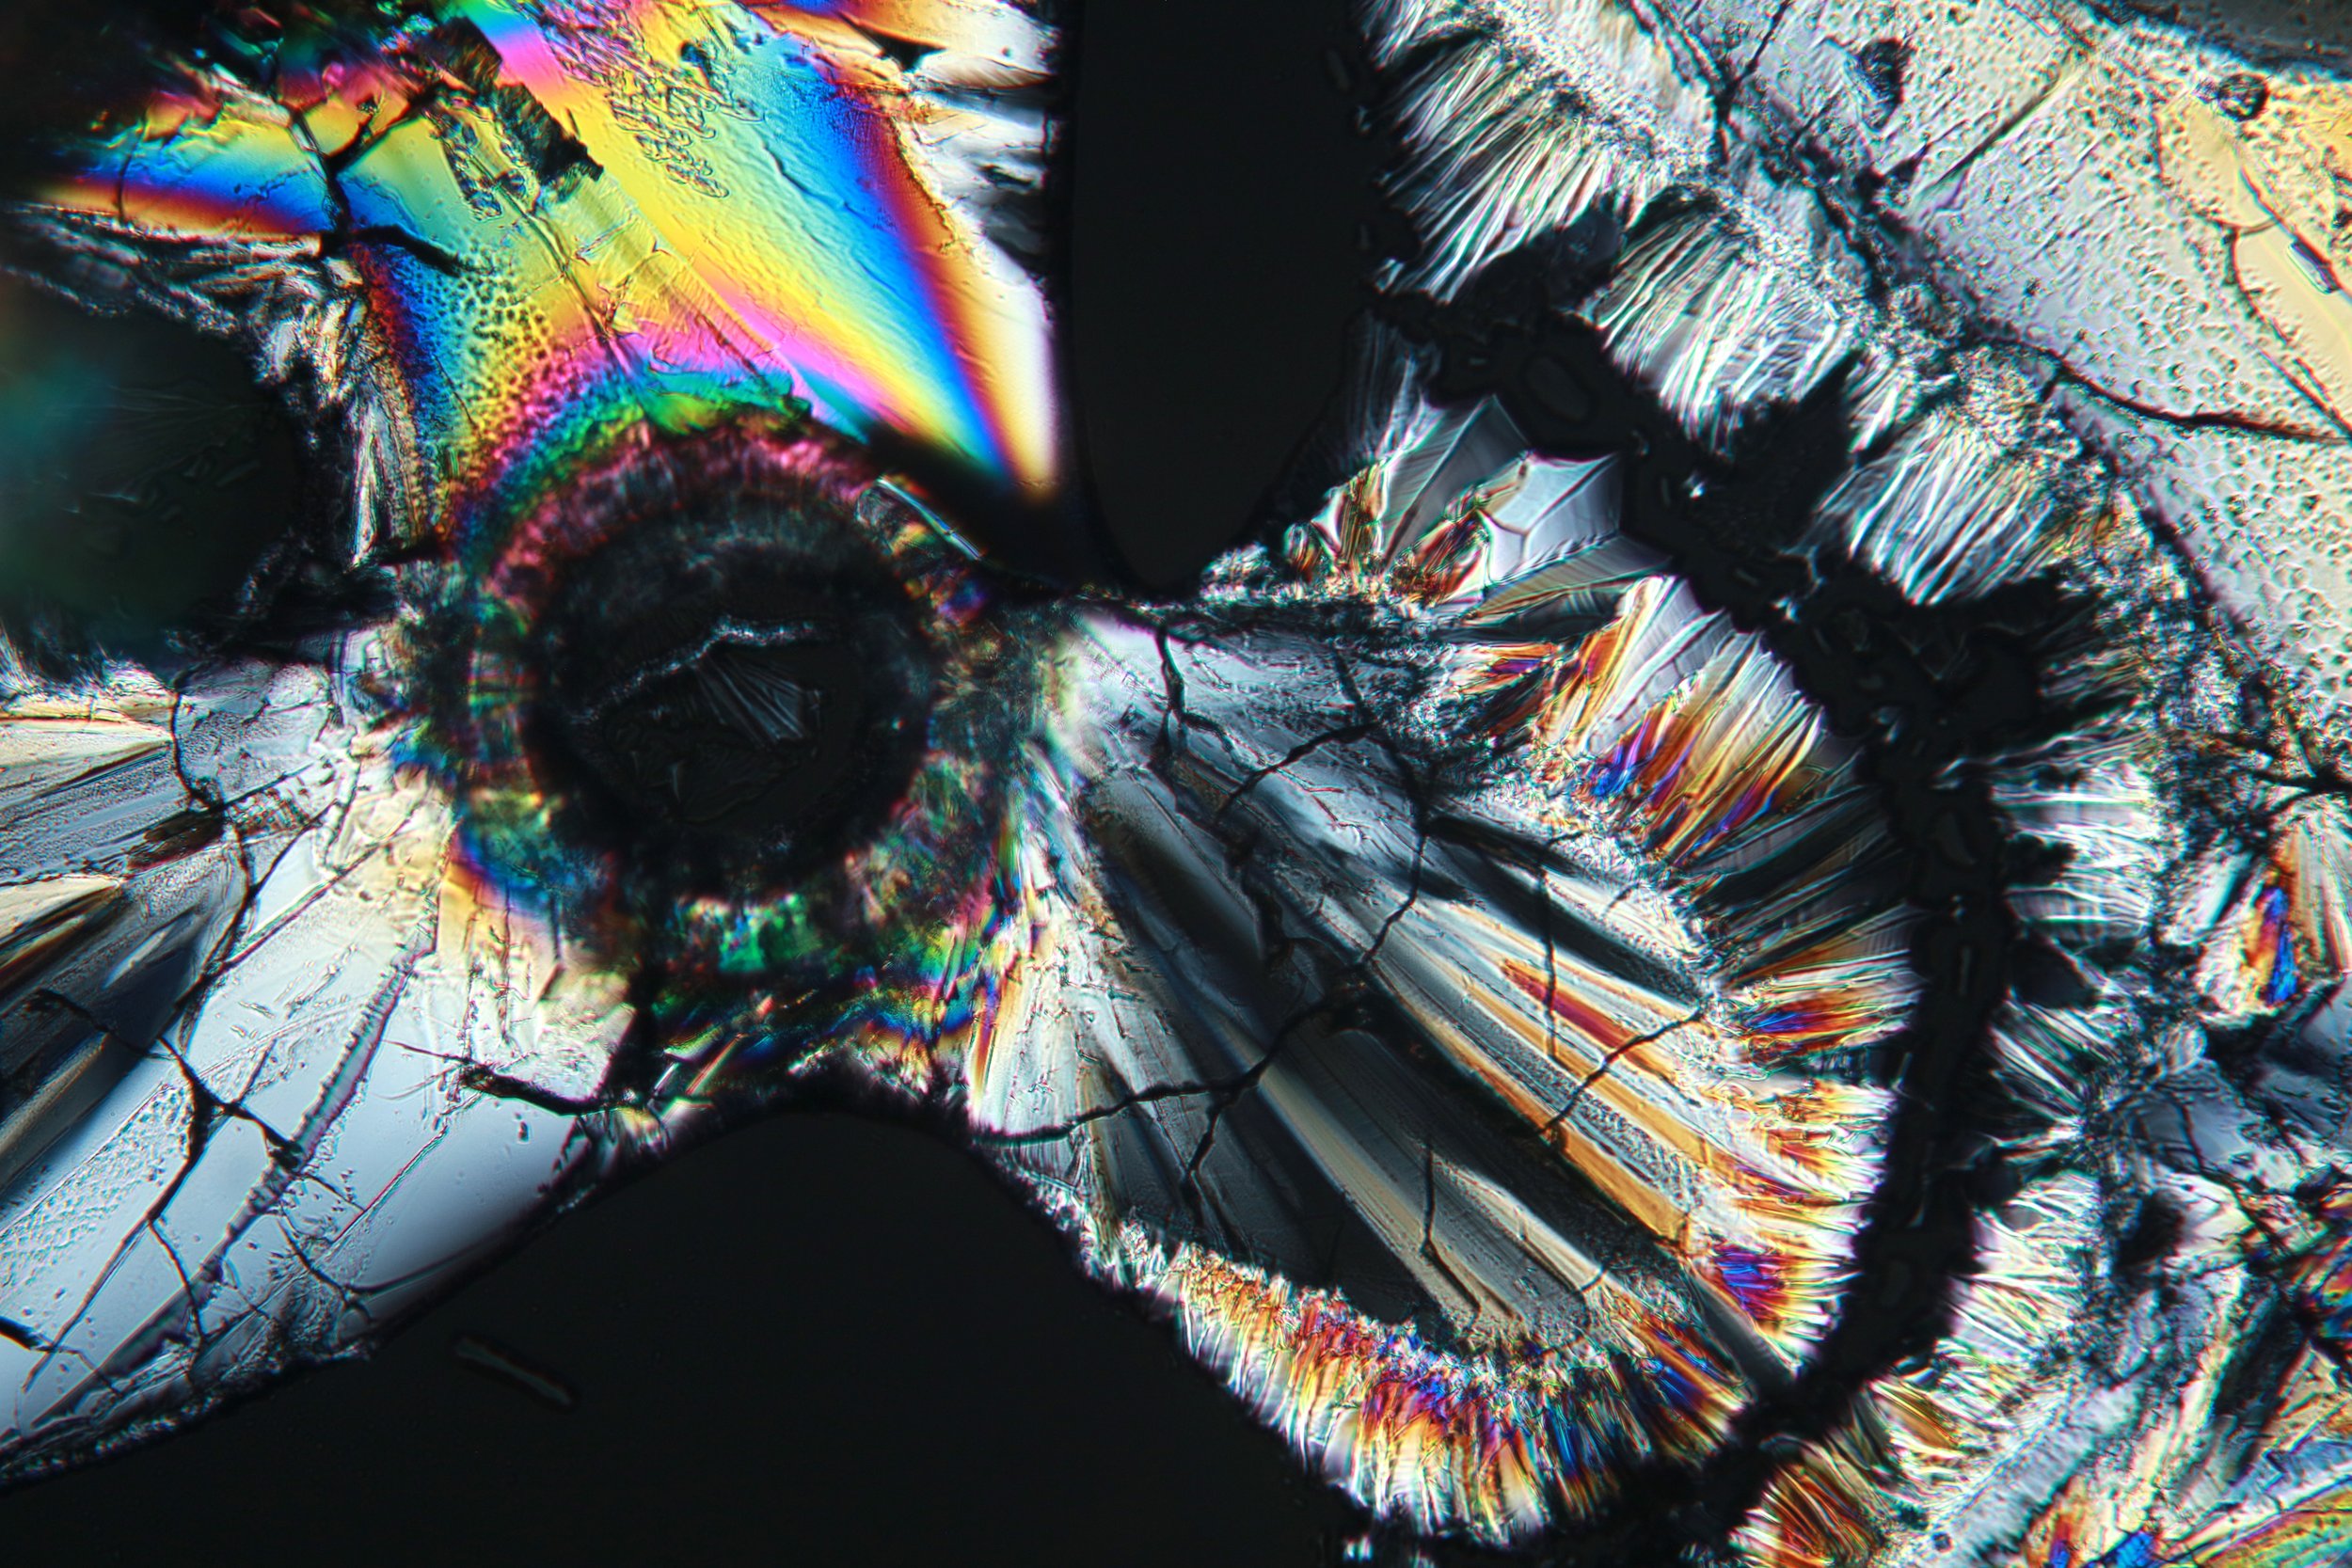
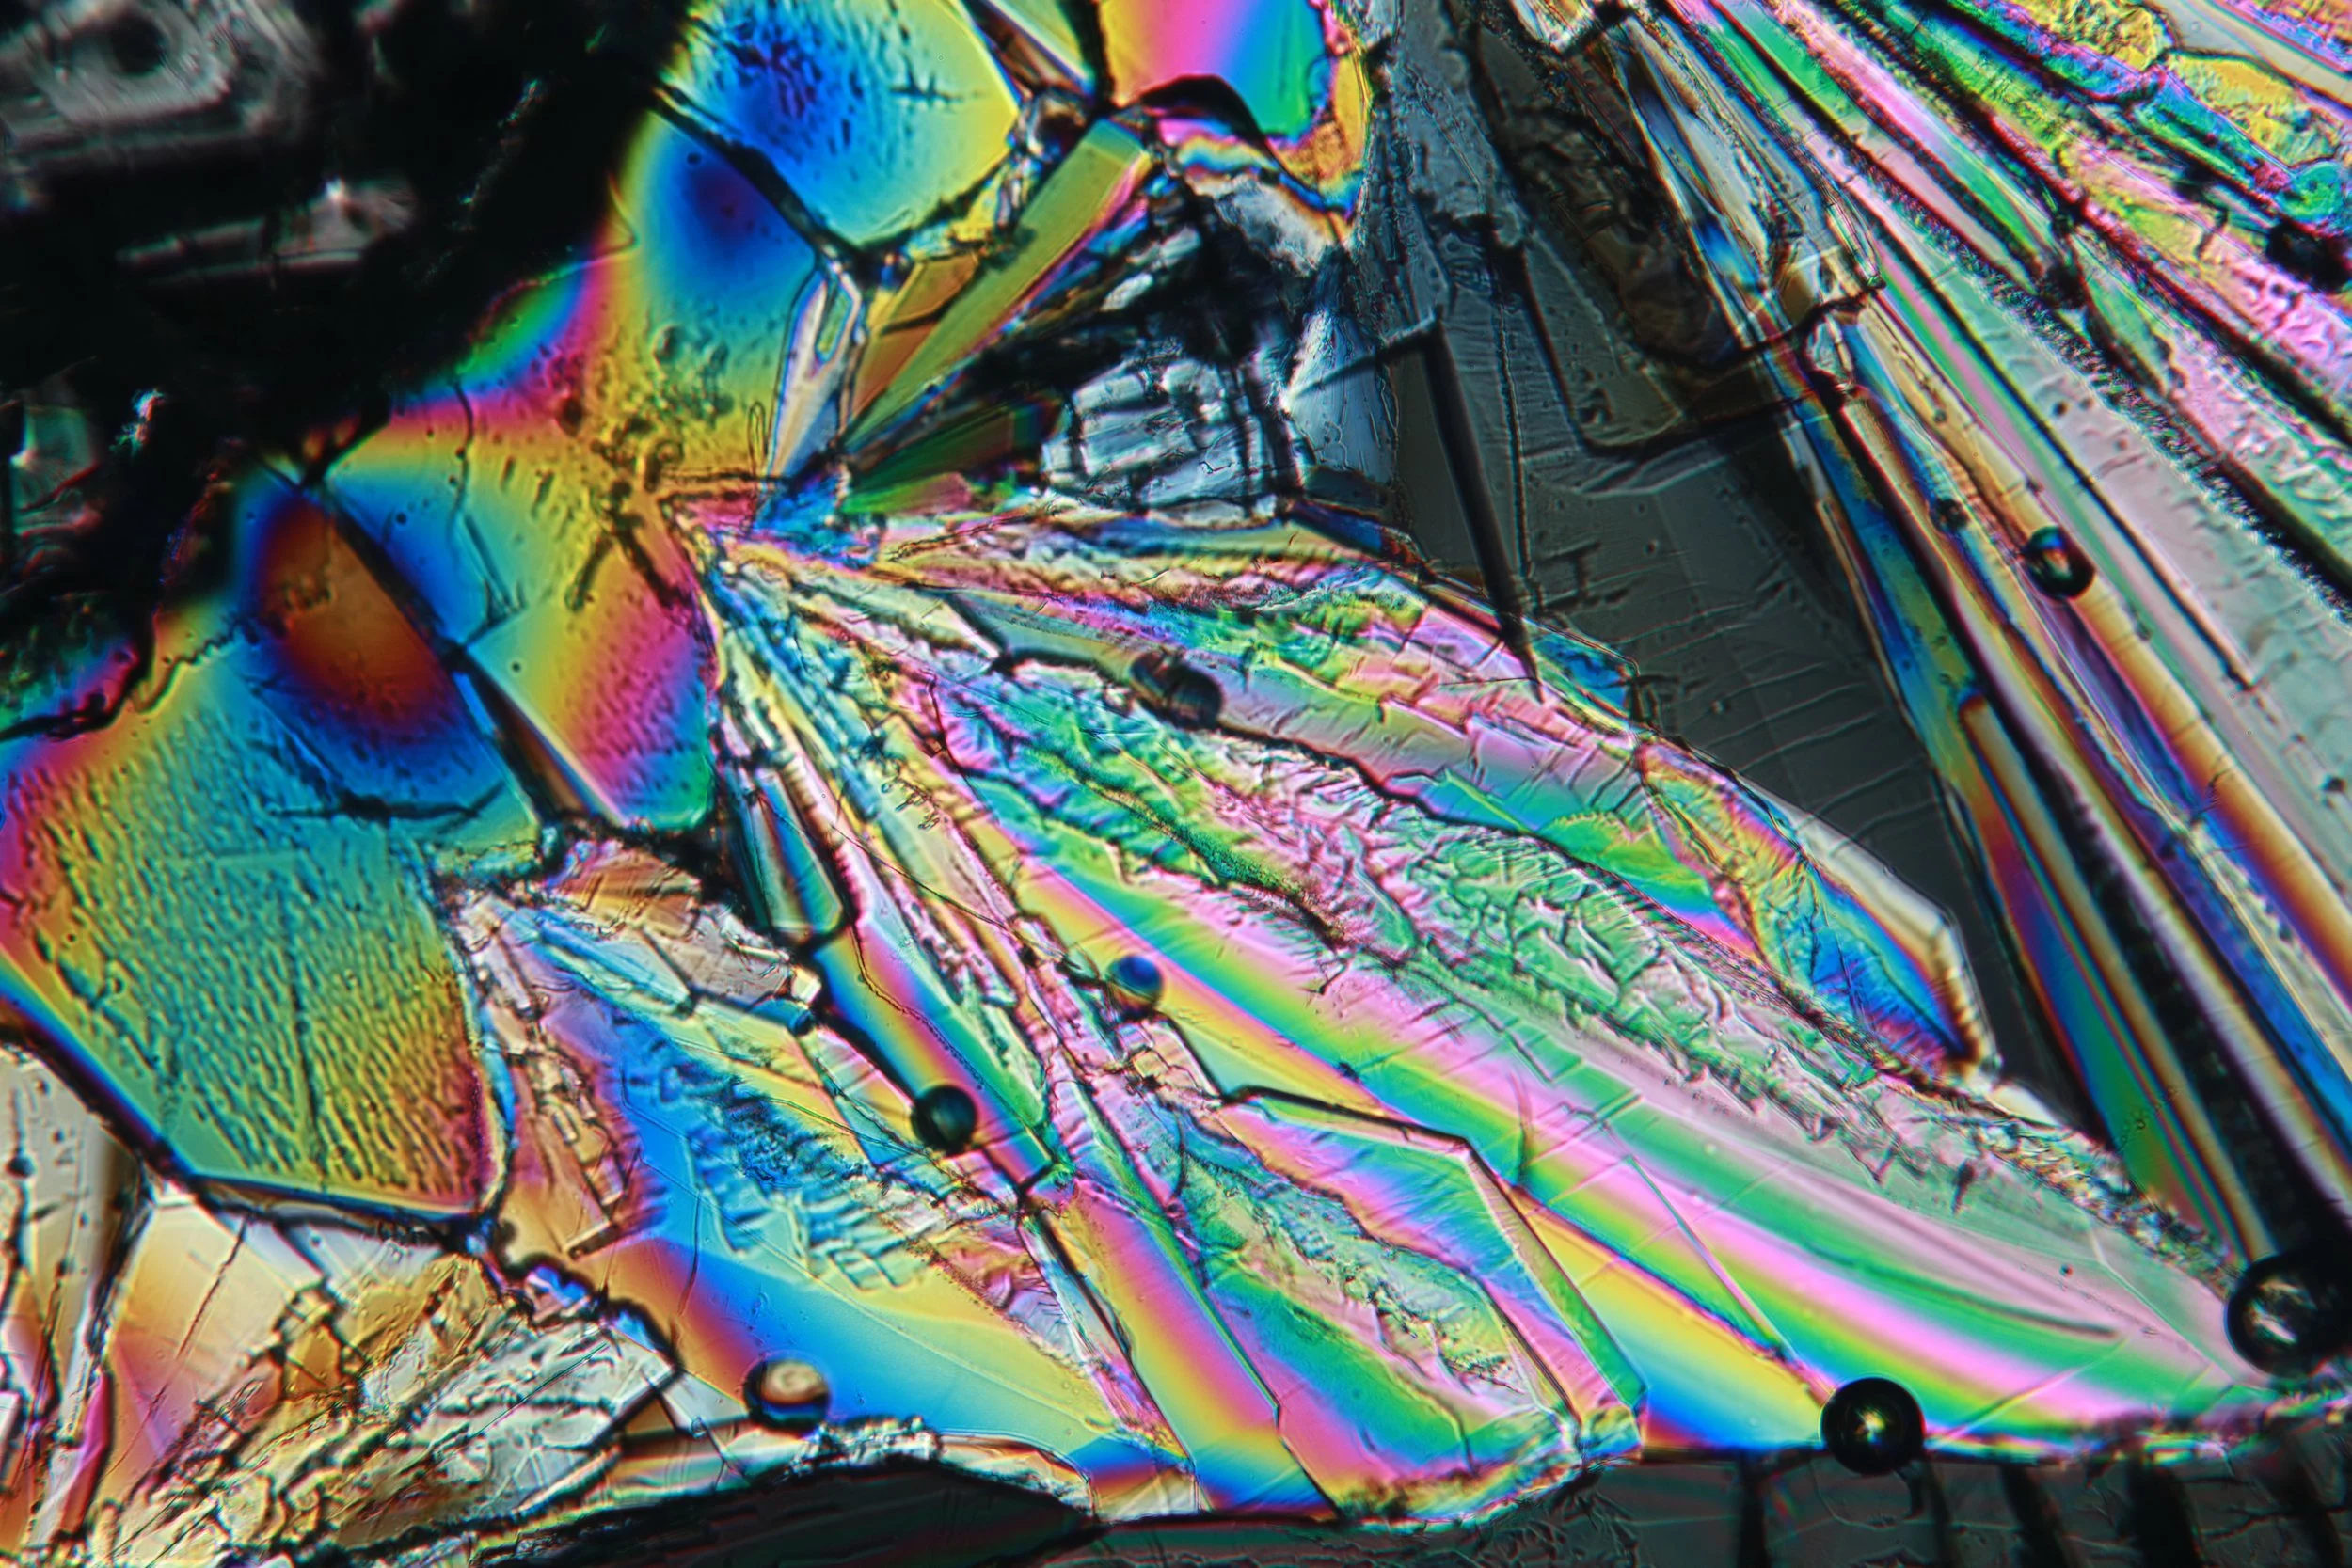
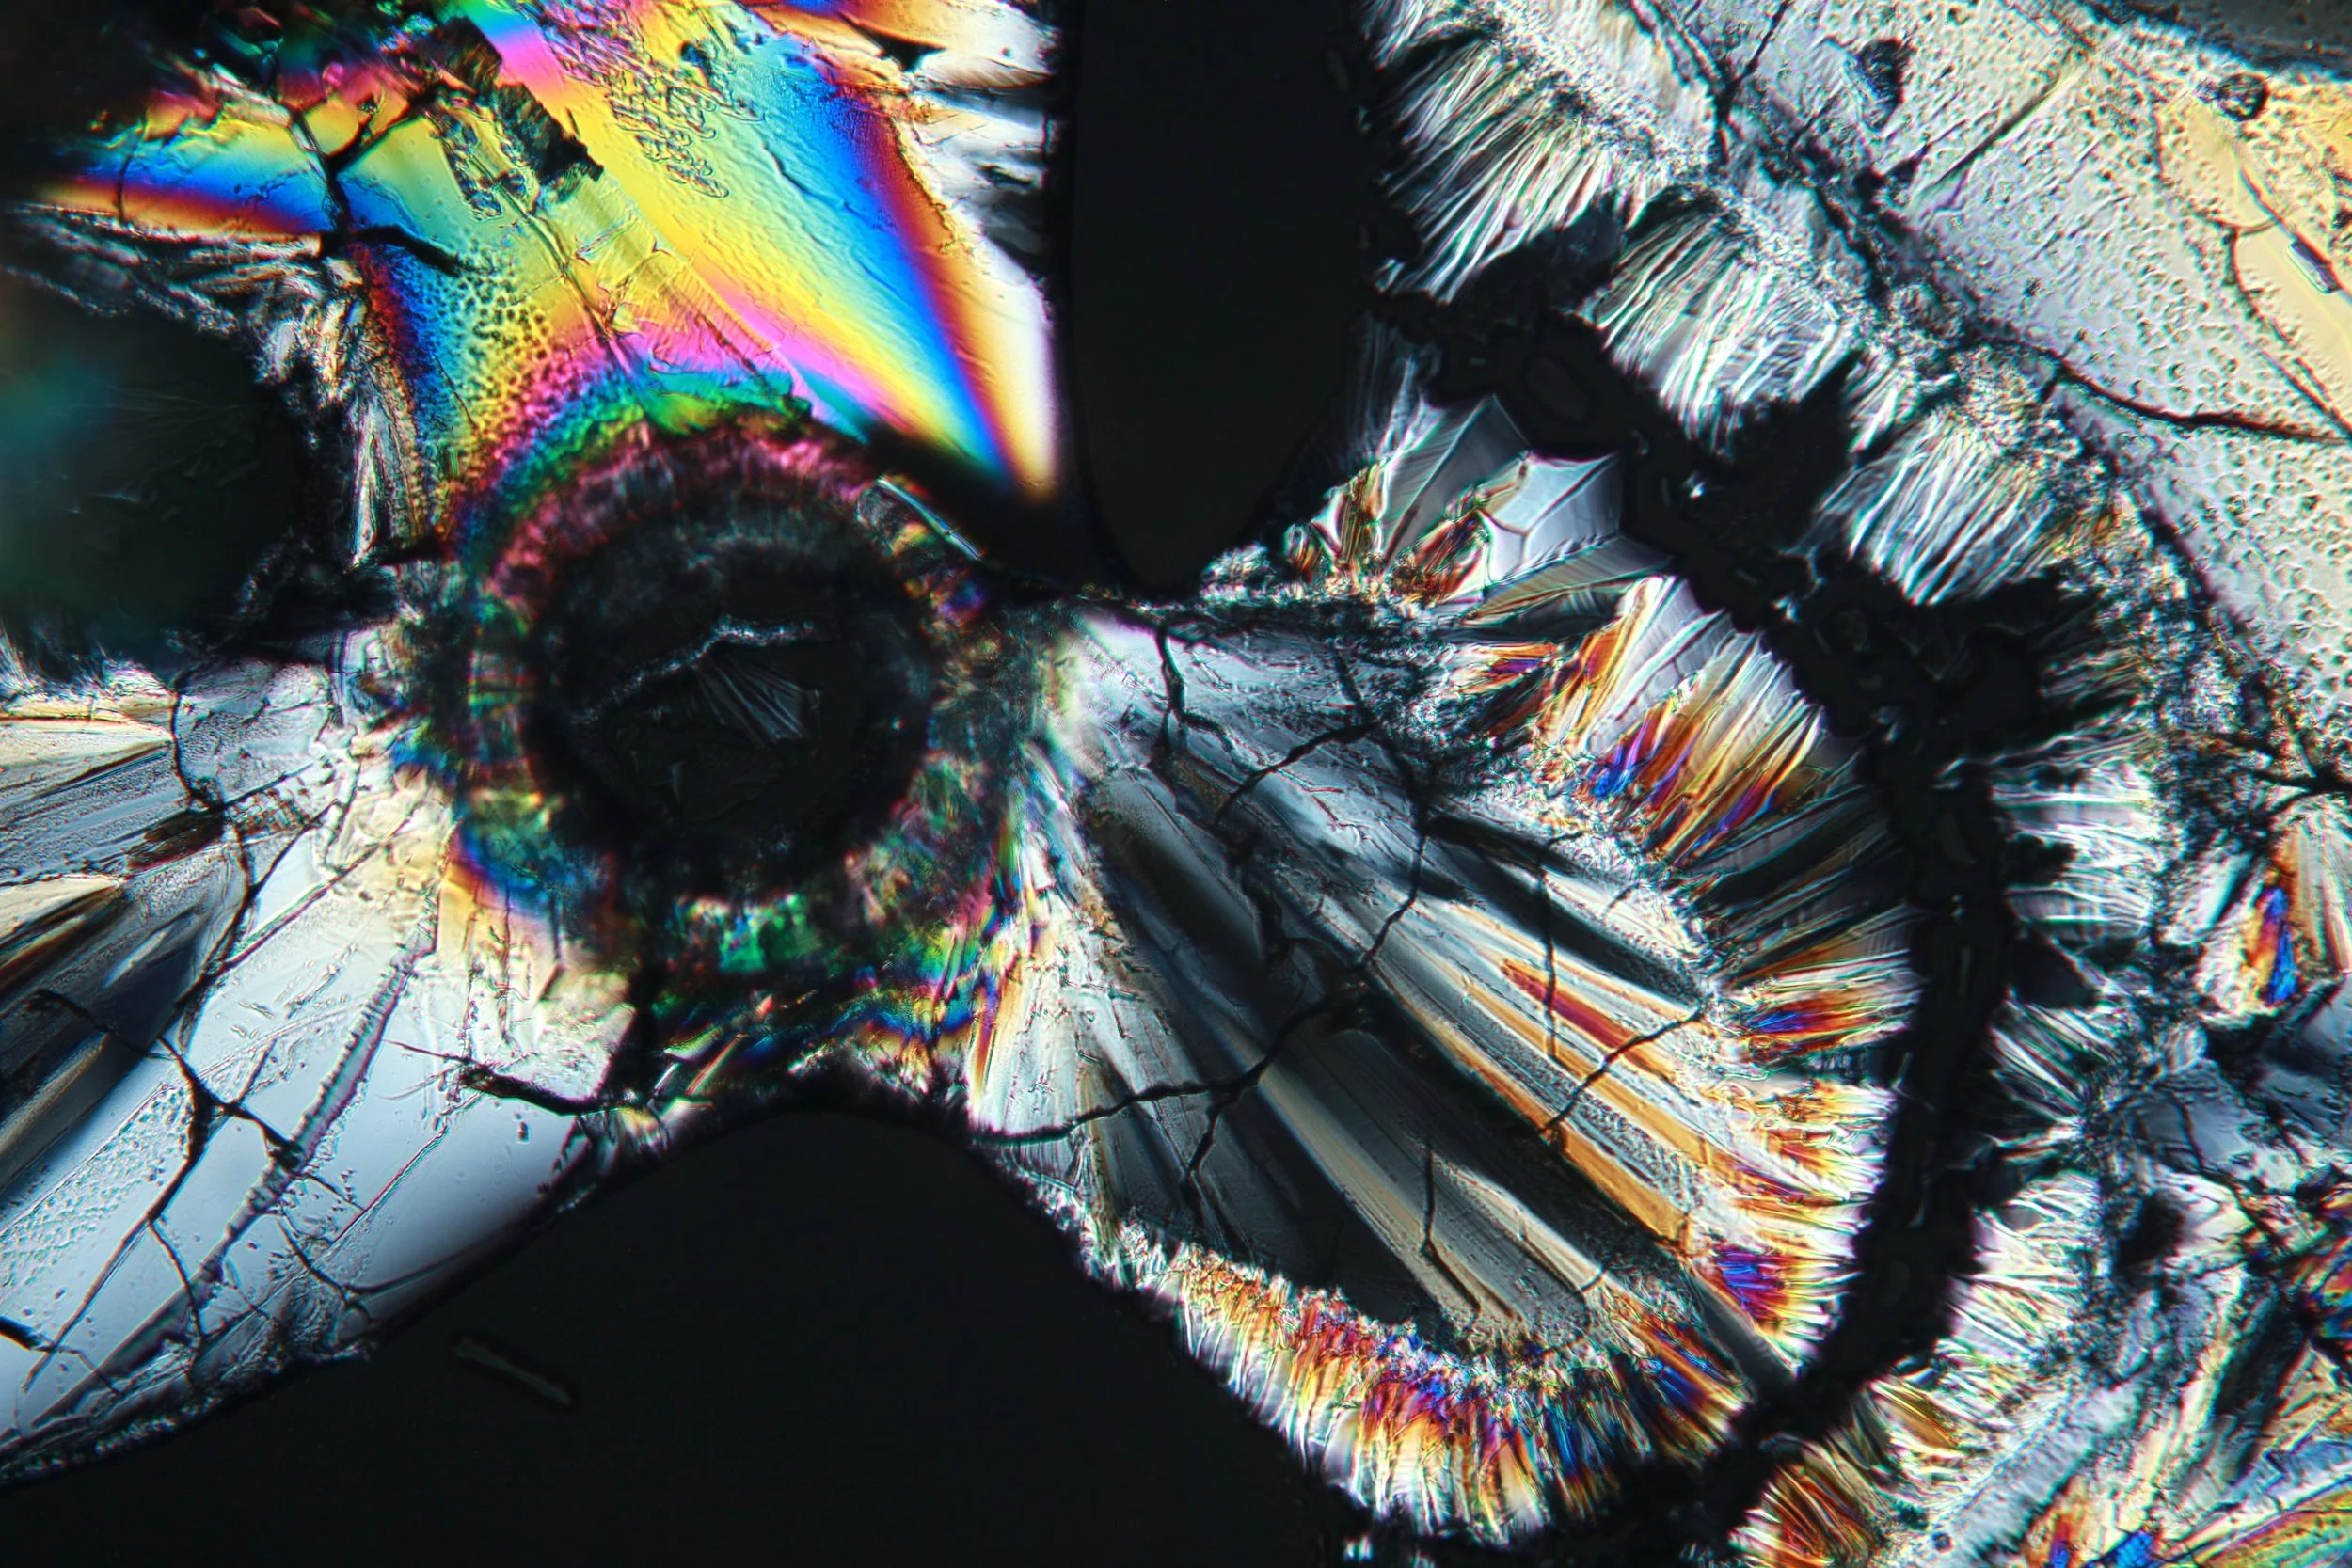
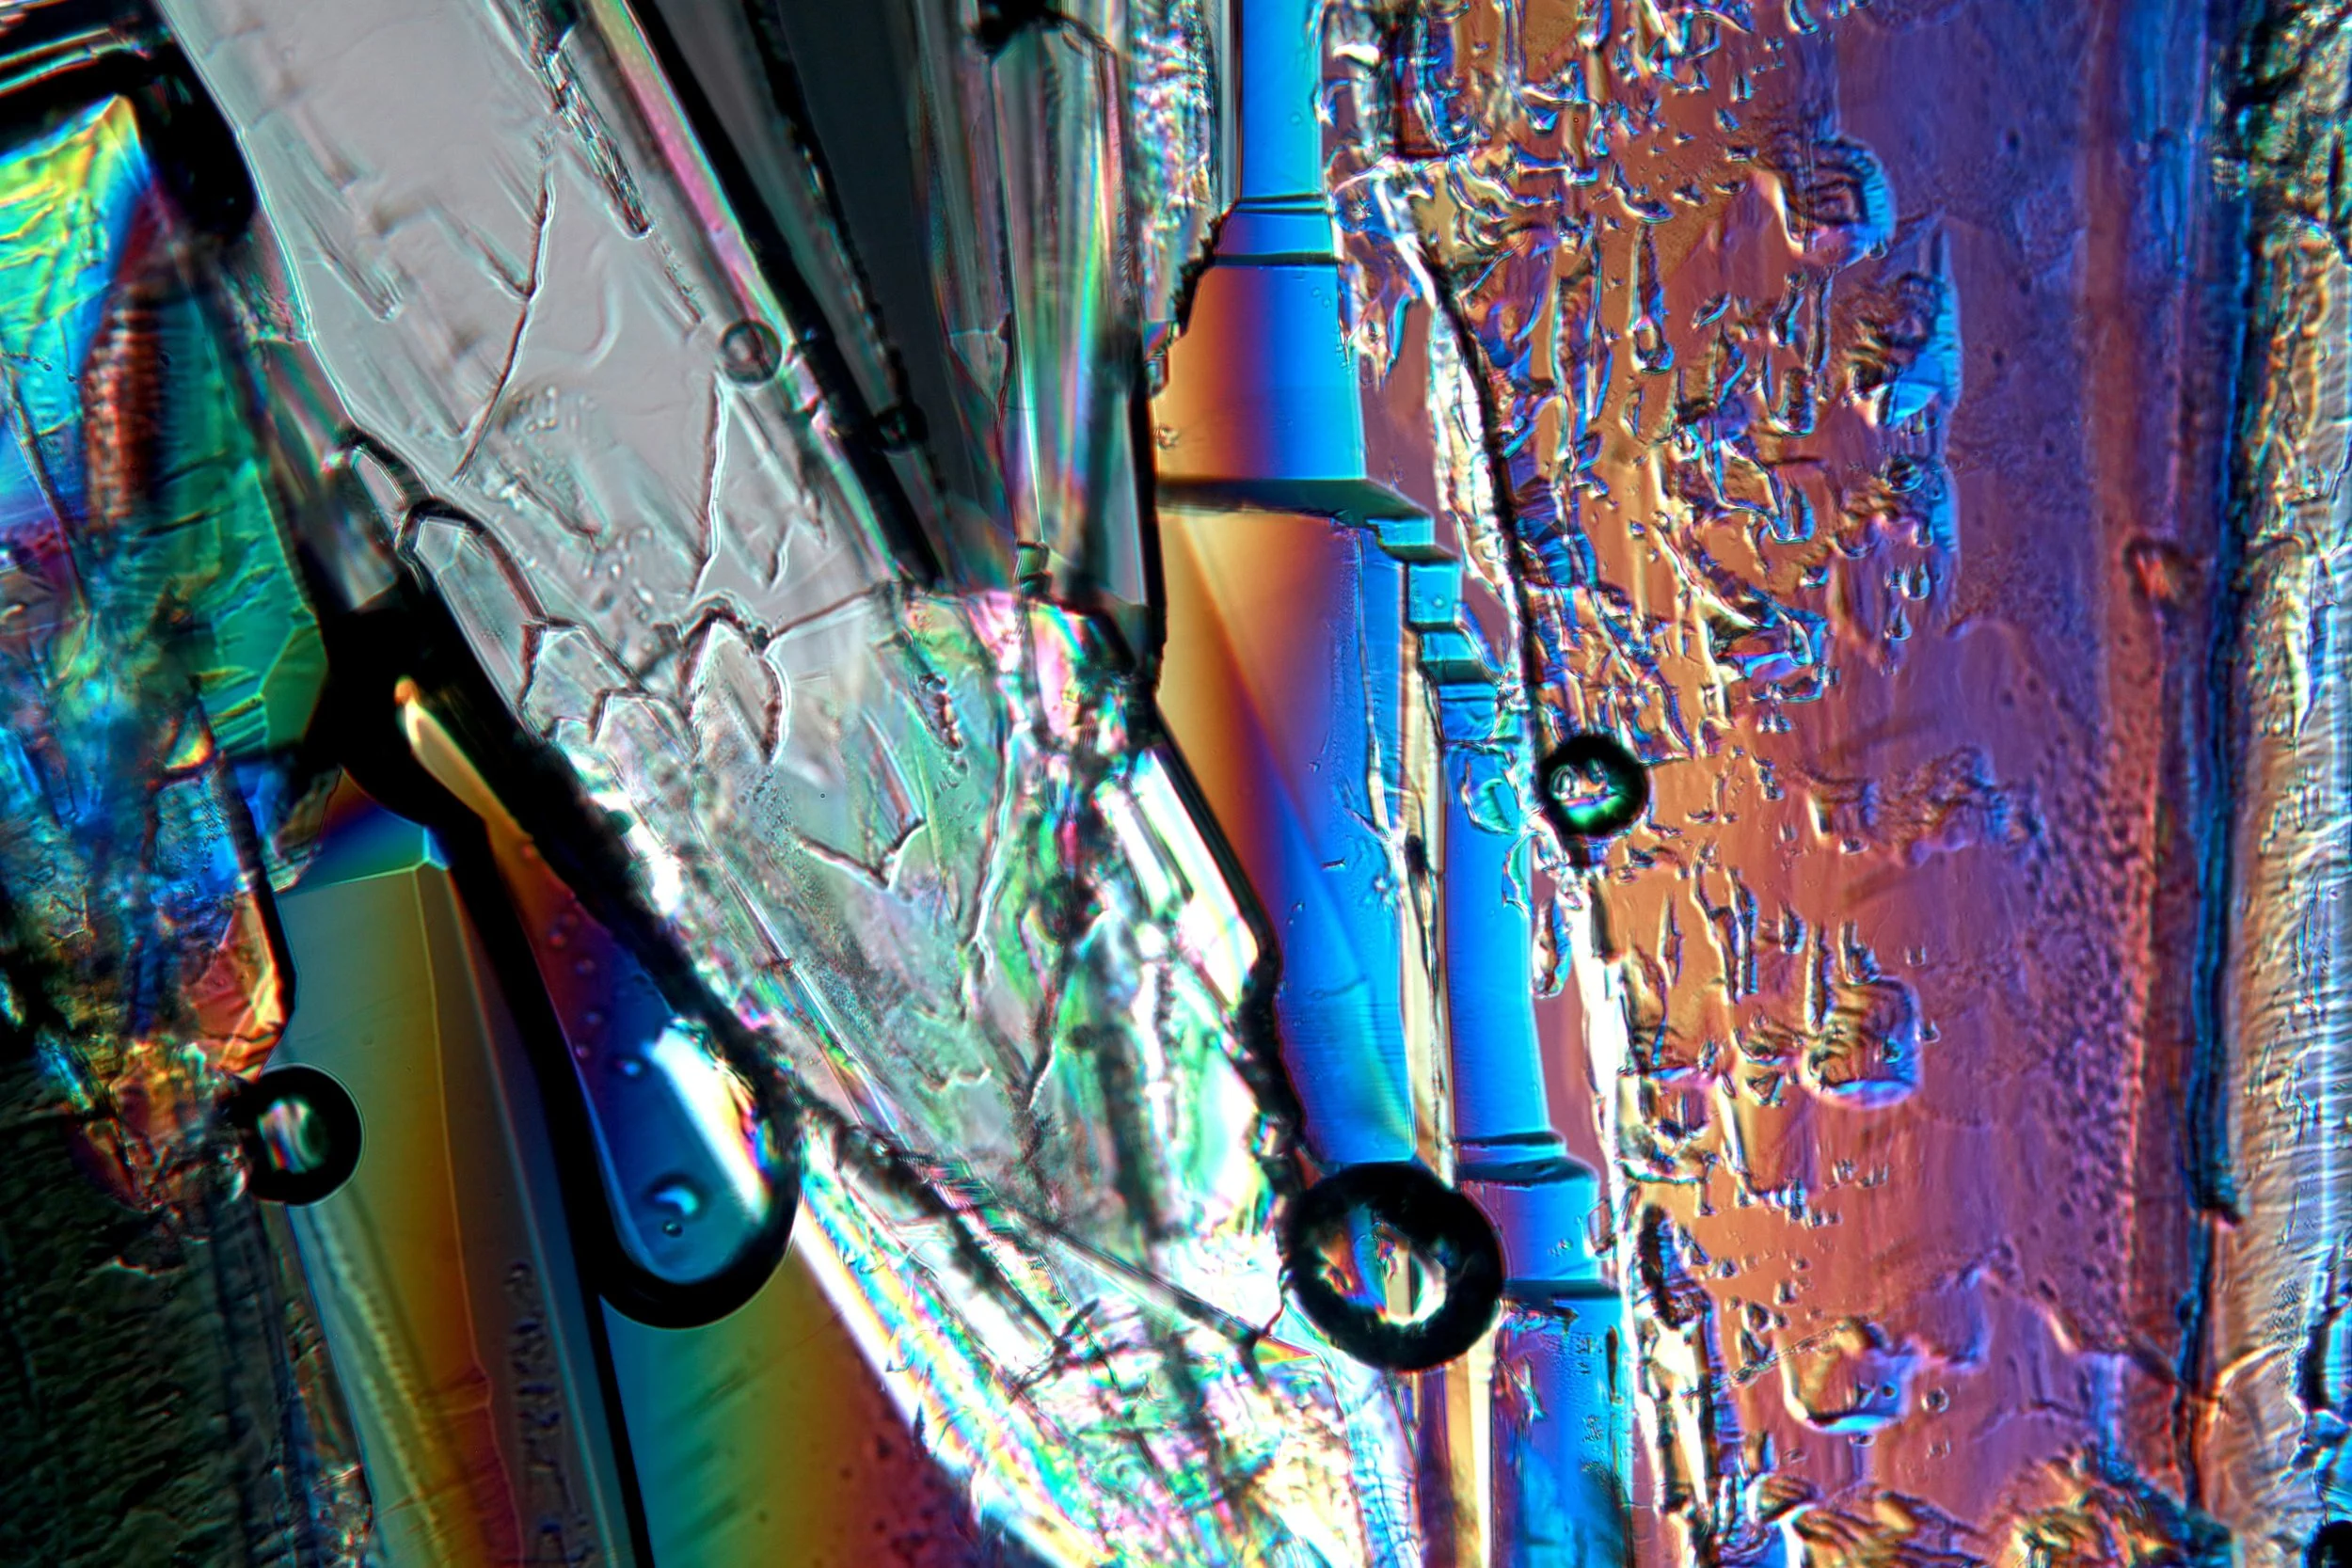
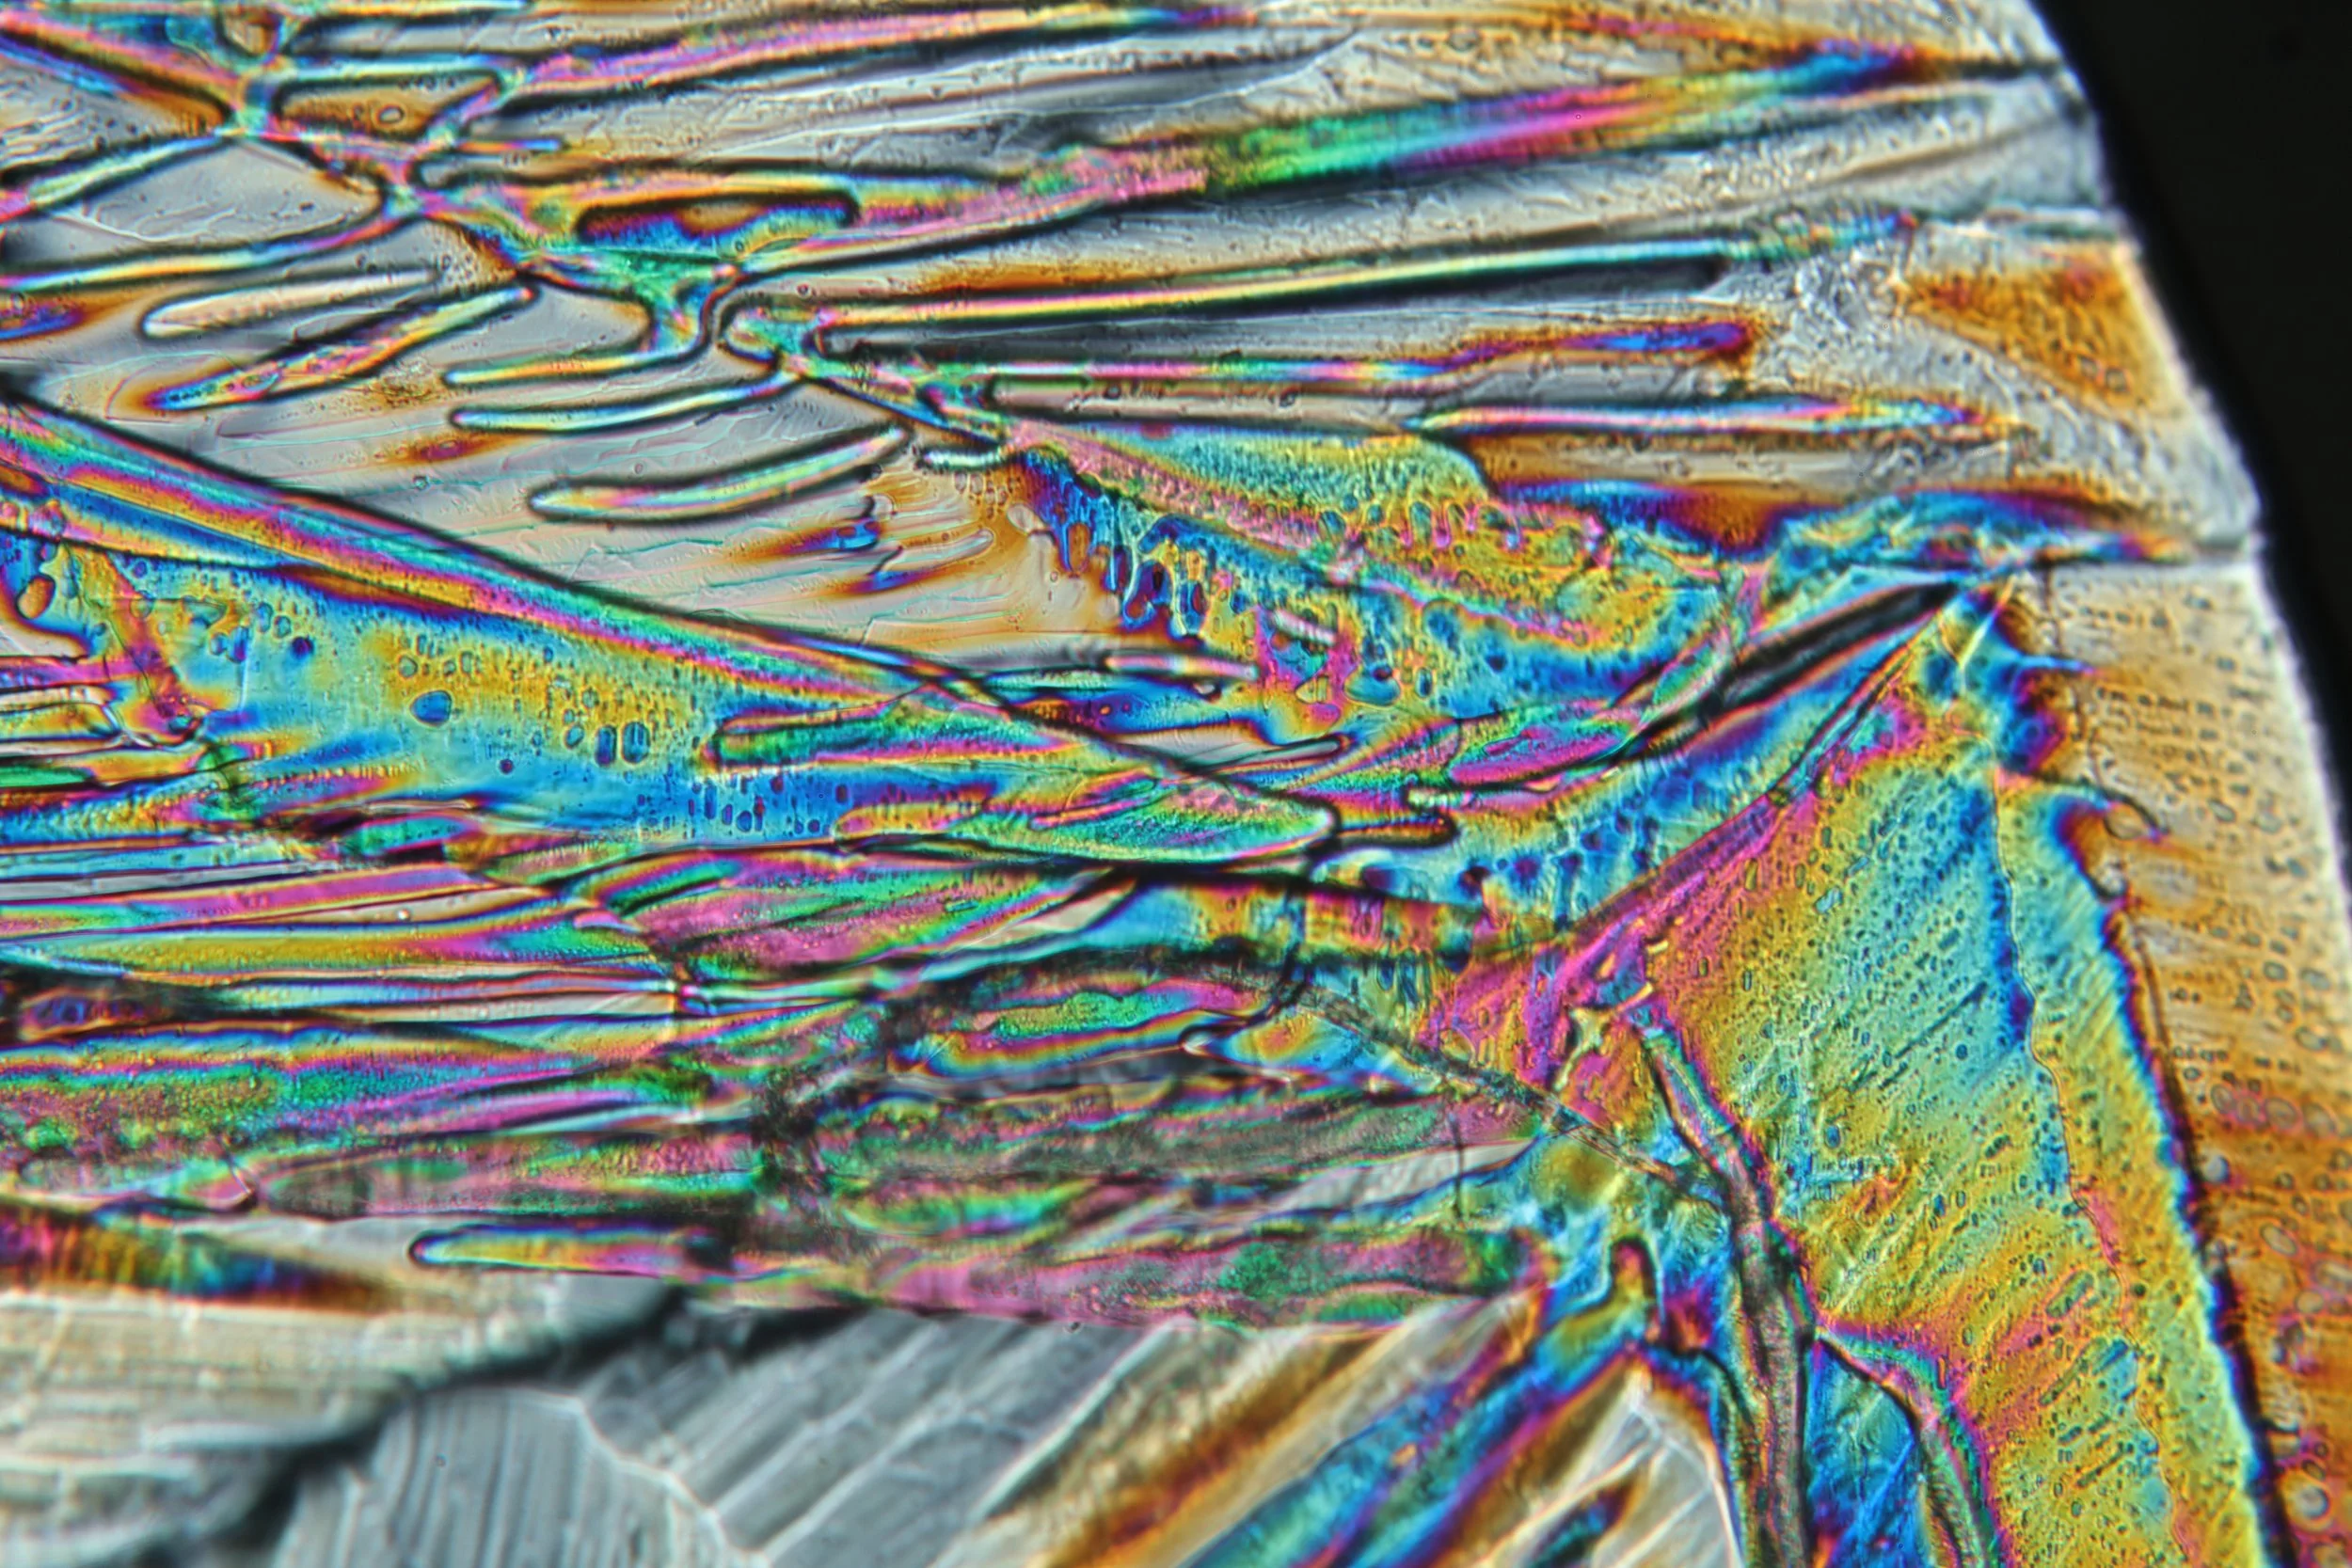
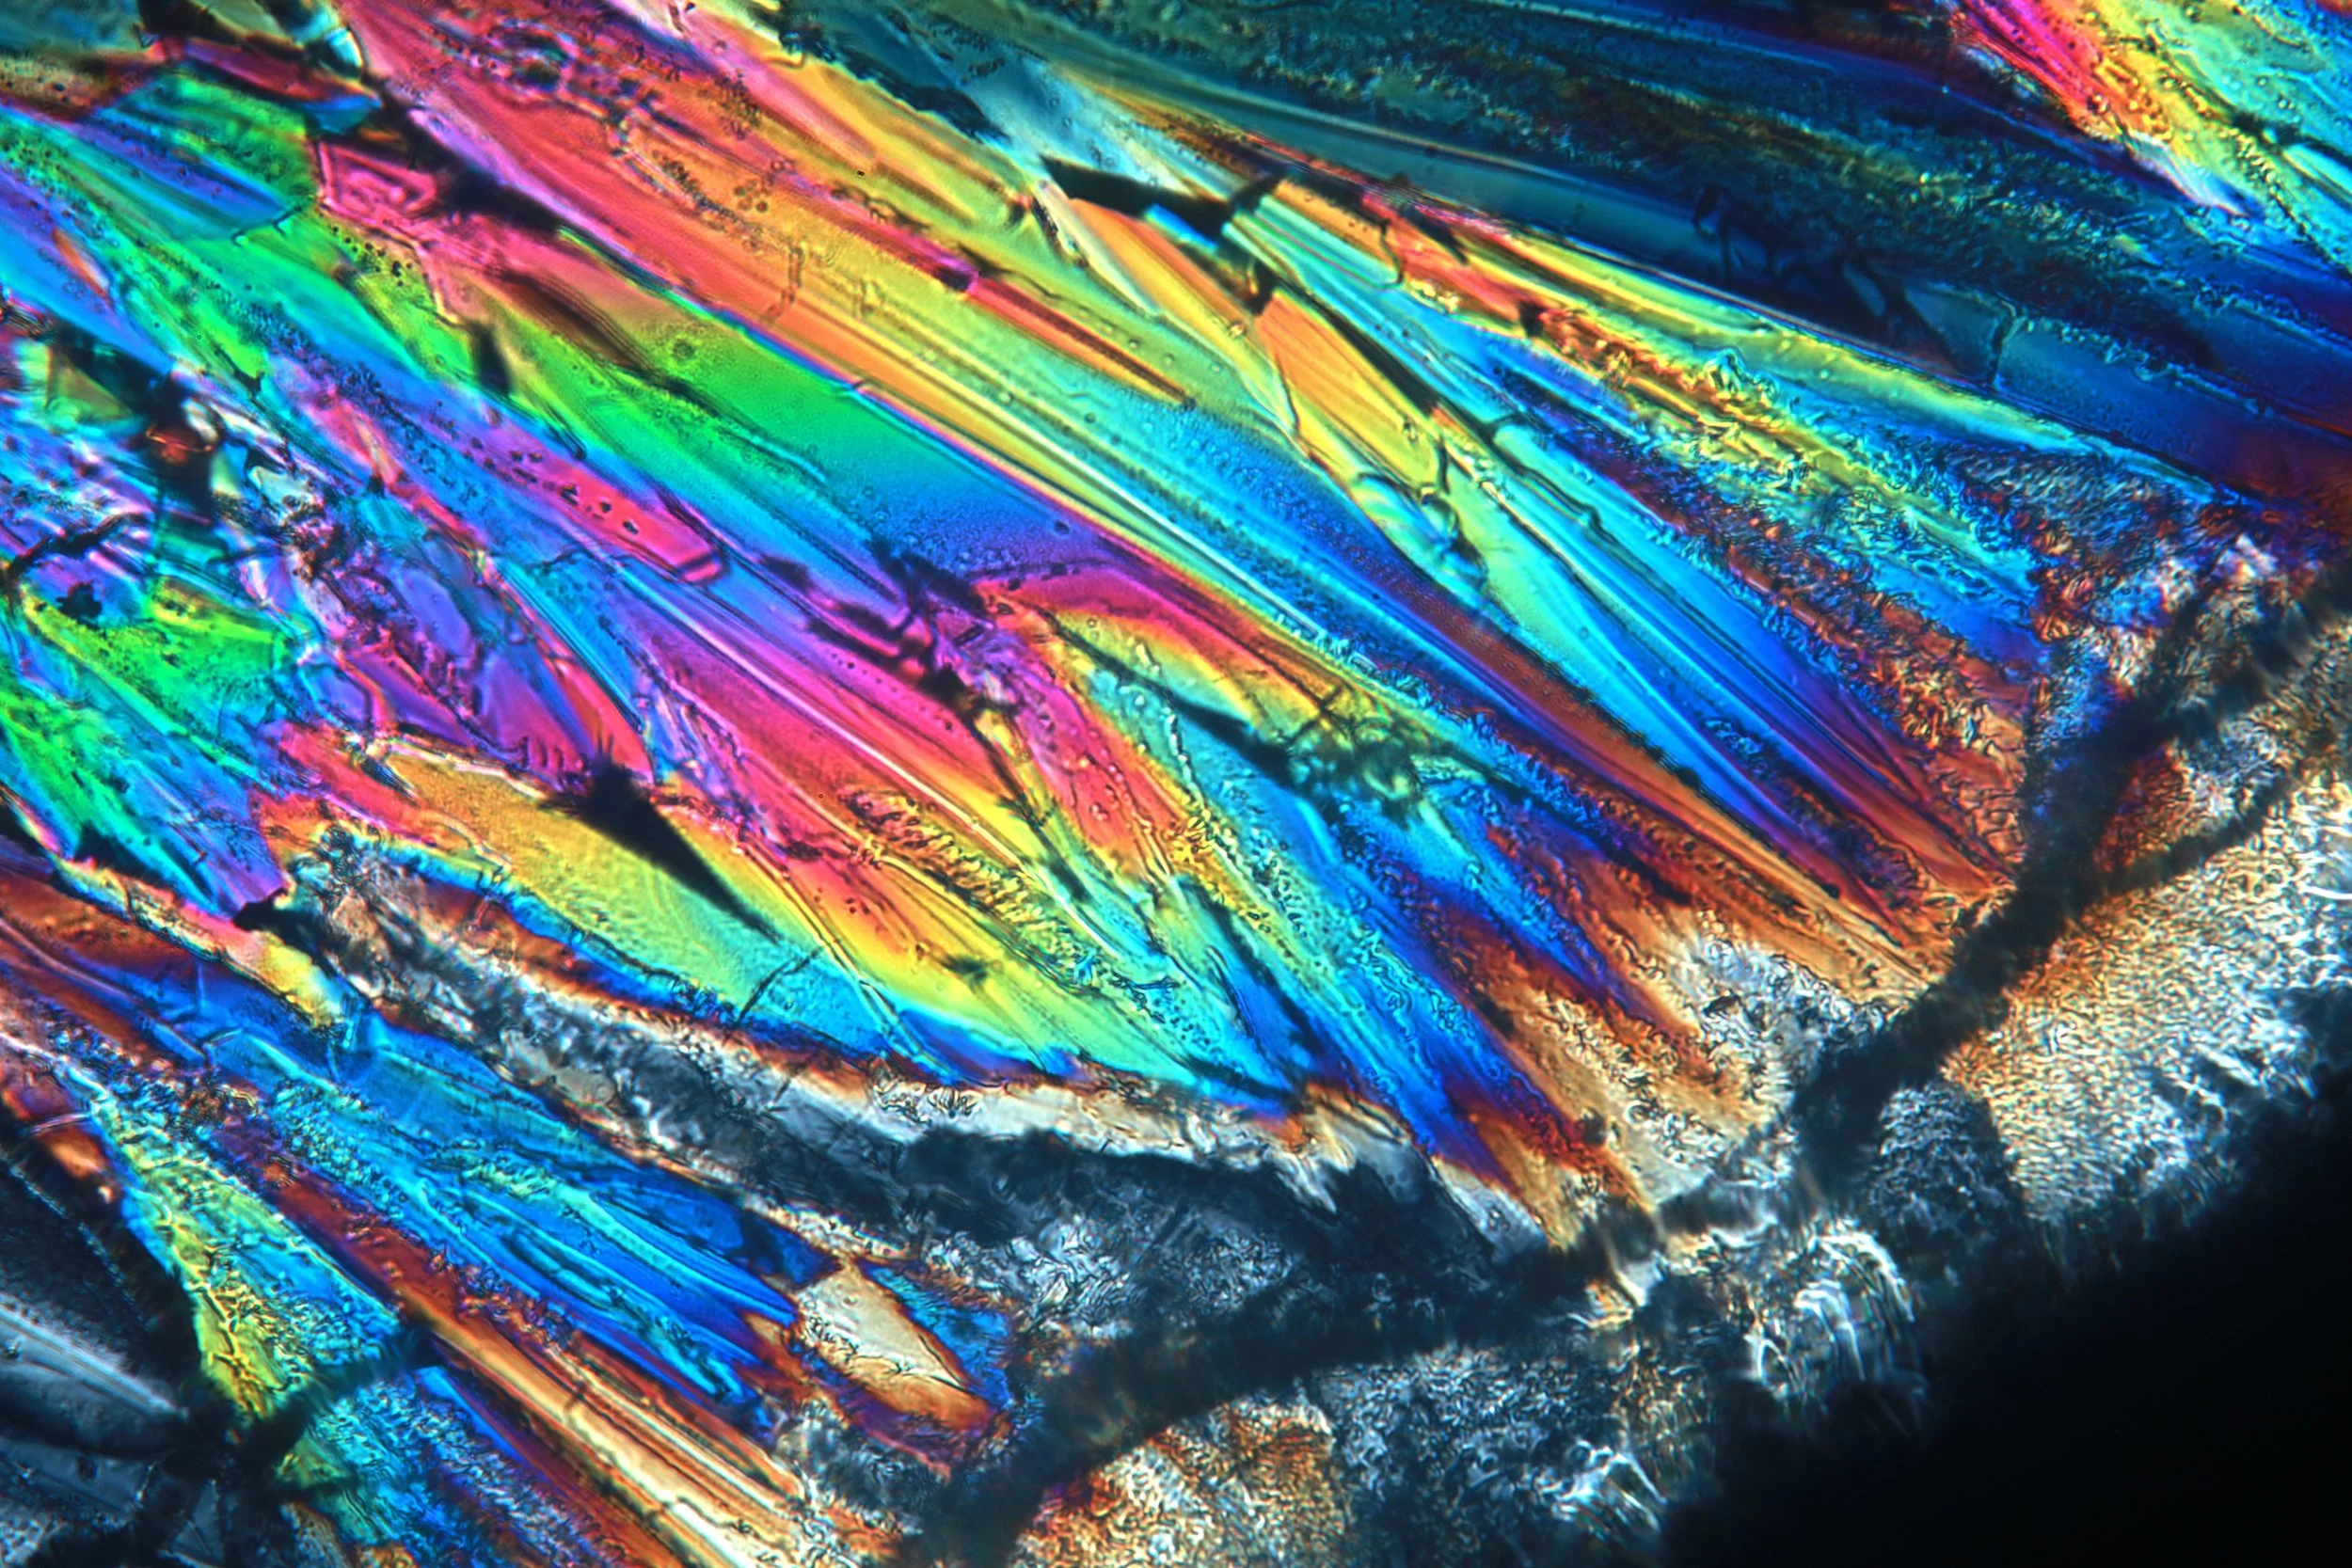
Sodium acetate
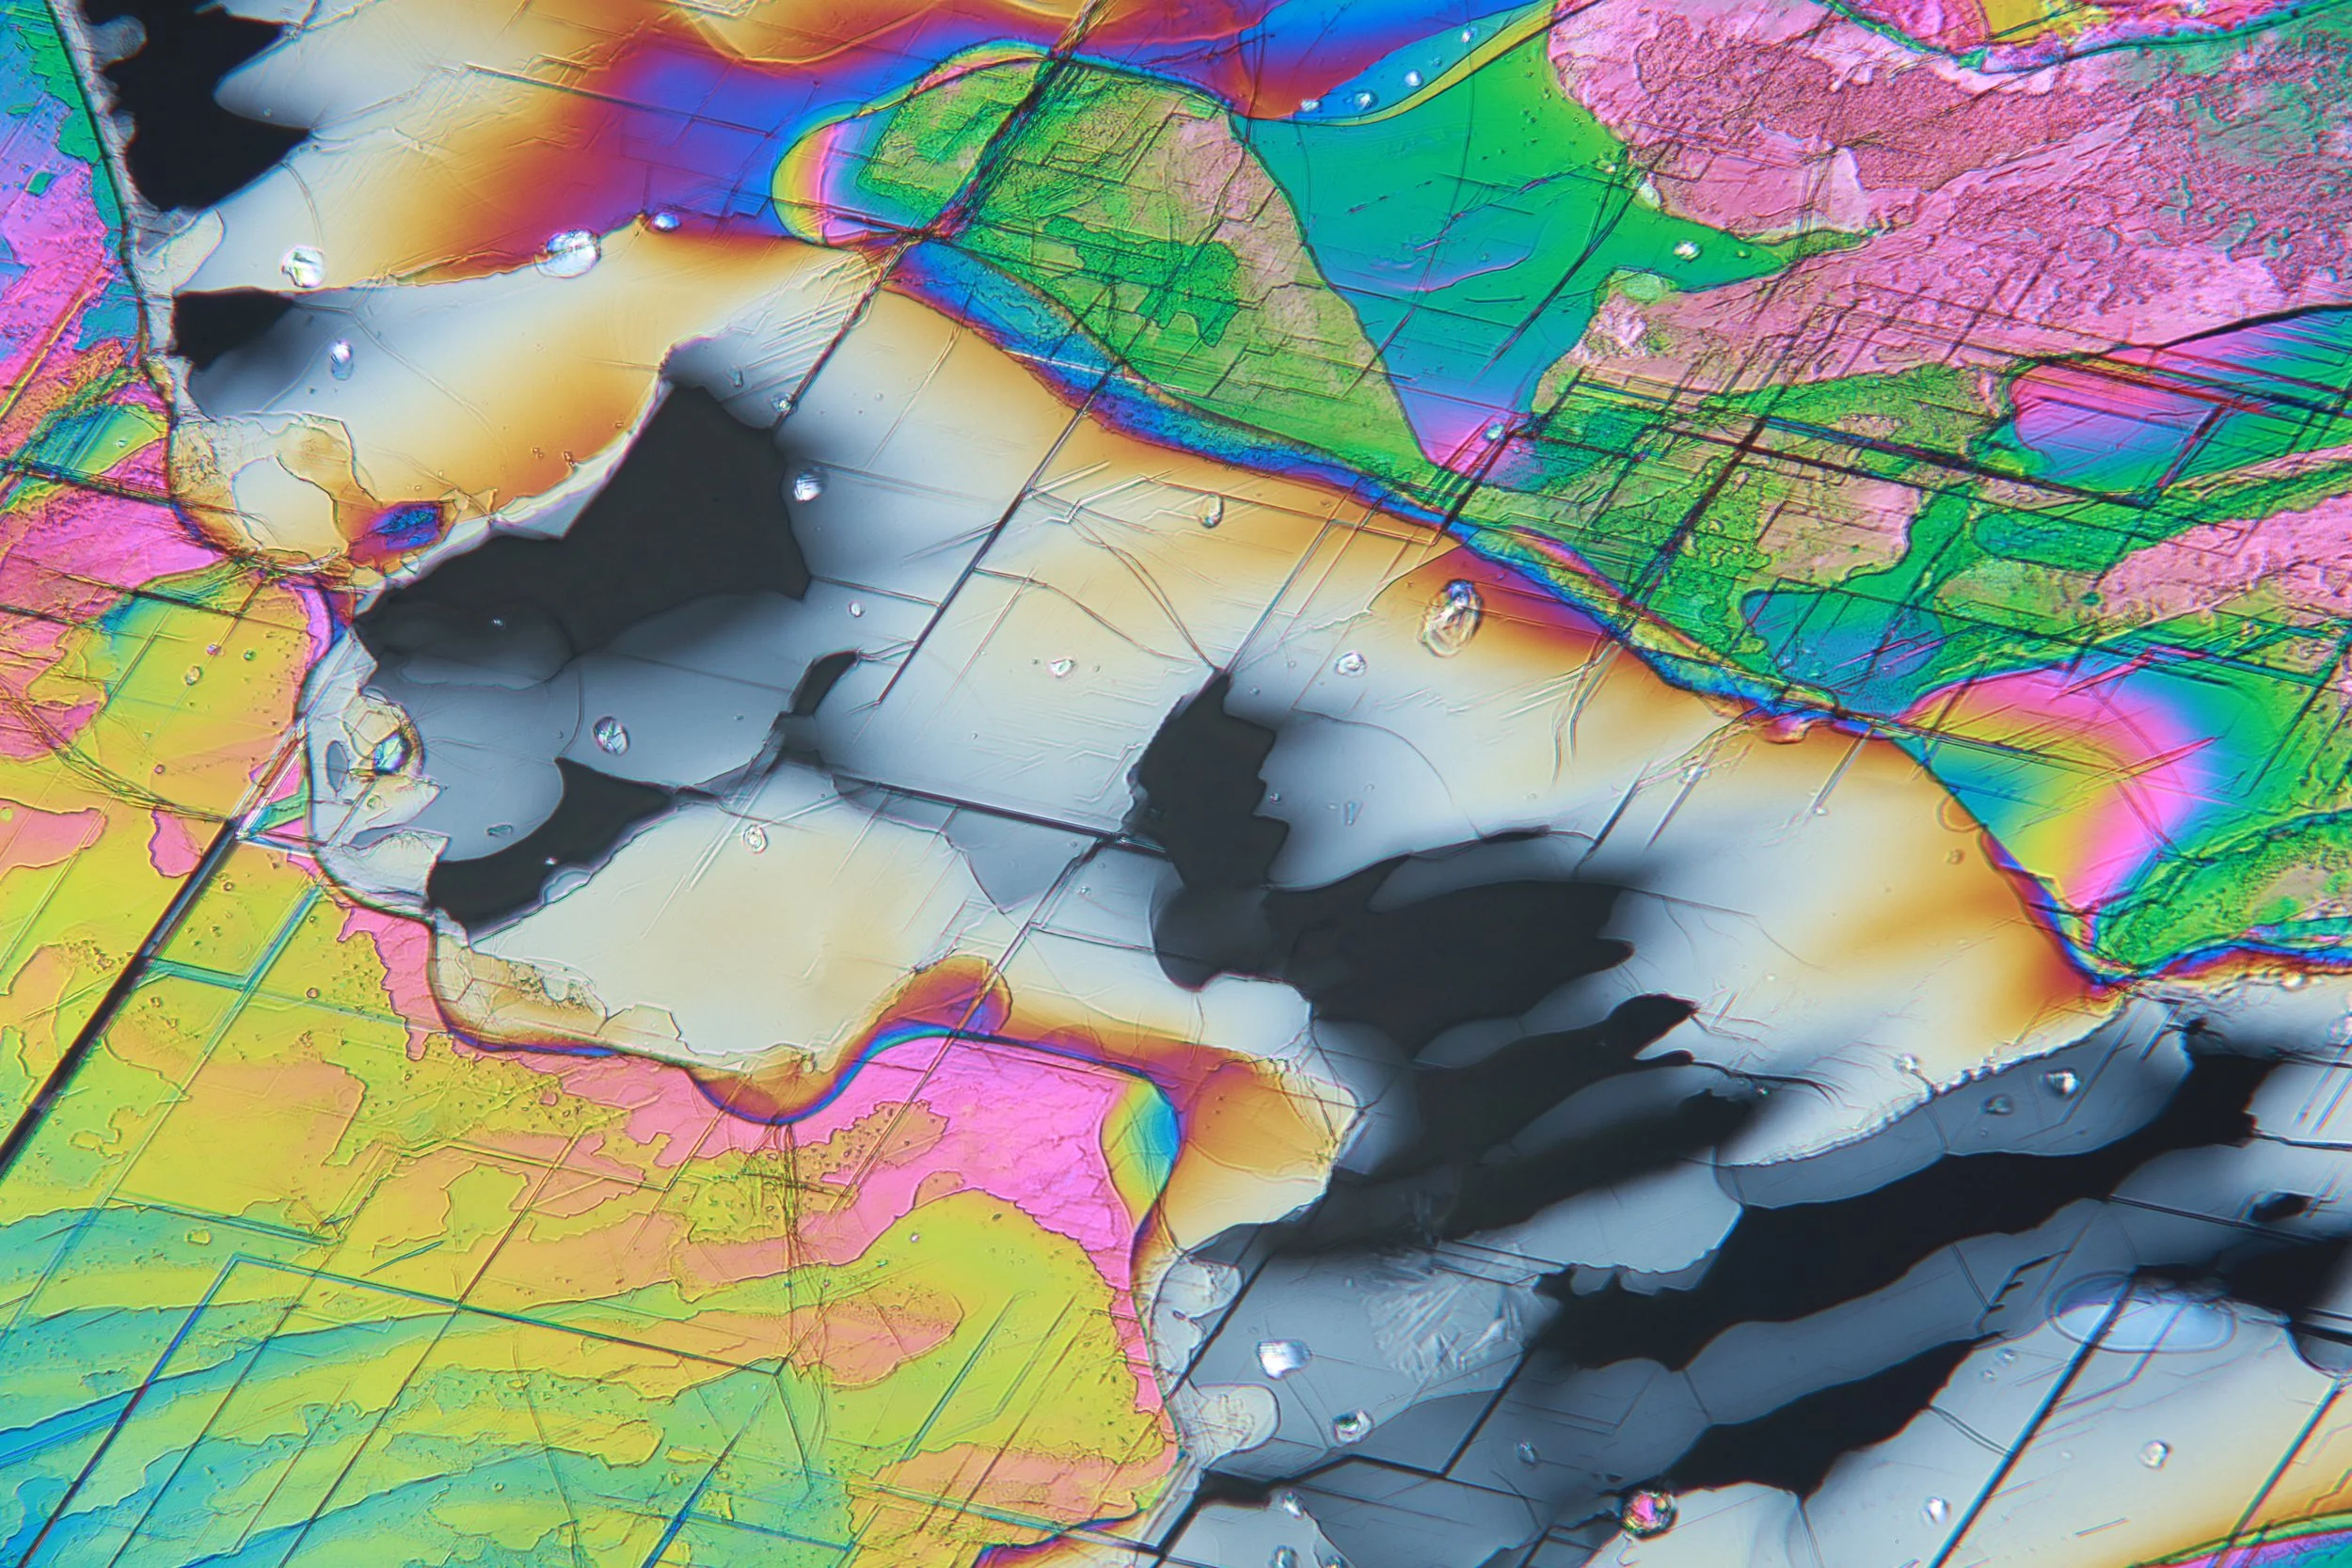
Preparing these samples was more unique. Sodium acetate often crystallizes (and is sold) in its trihydrate form, meaning in its crystalline structure involves water trapped there. This is not terribly special: Epsom salt is a heptahydrate (7 water molecules per magnesium sulfate!).
Sodium acetate’s dehydration temperature (the temperature at which the water disassociates from the crystalline structure) is only around 76°C. In addition, sodium acetate is very soluble in water, and it turns out that this amount of water involved in the crystal structure is enough to saturate the now anhydrous salt. Thus, due to the low dehydration temperature and high solubility, when heated sodium acetate trihydrate will release its water, and then dissolve into that water, resulting in a perfectly saturated solution for recrystallization. If you accidentally boil off some water some sodium acetate will crystallize into its anhydrous form.
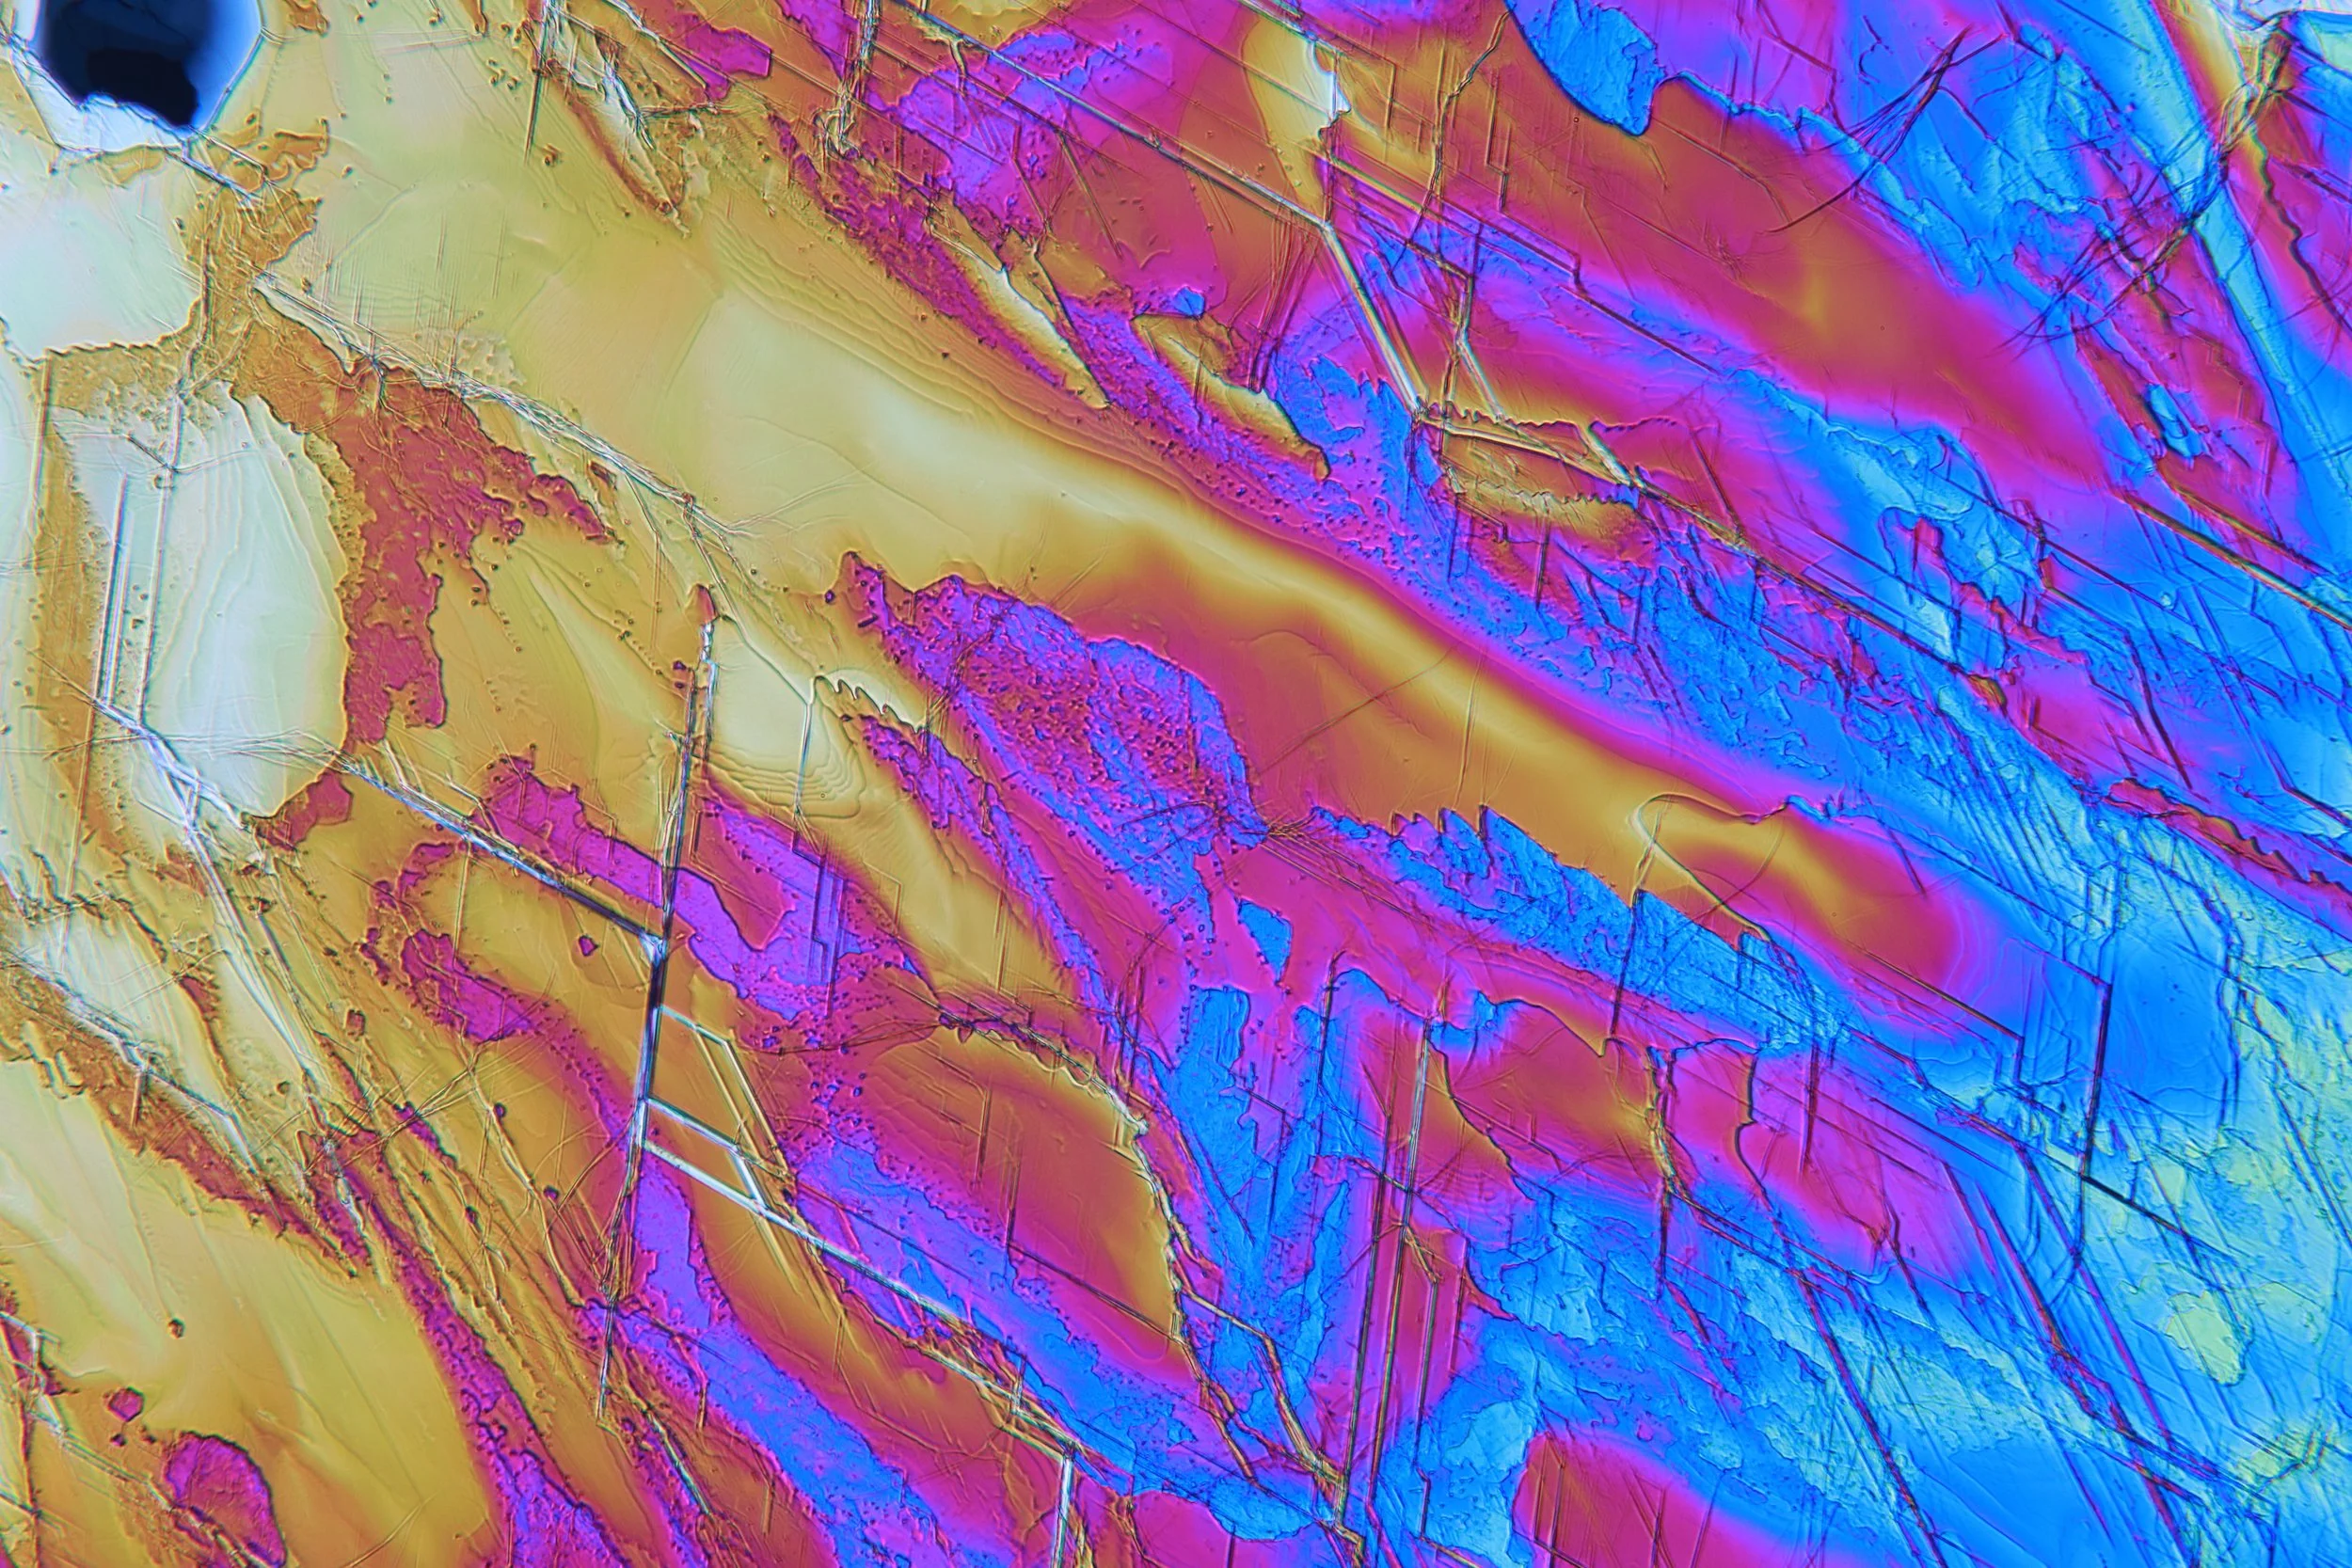
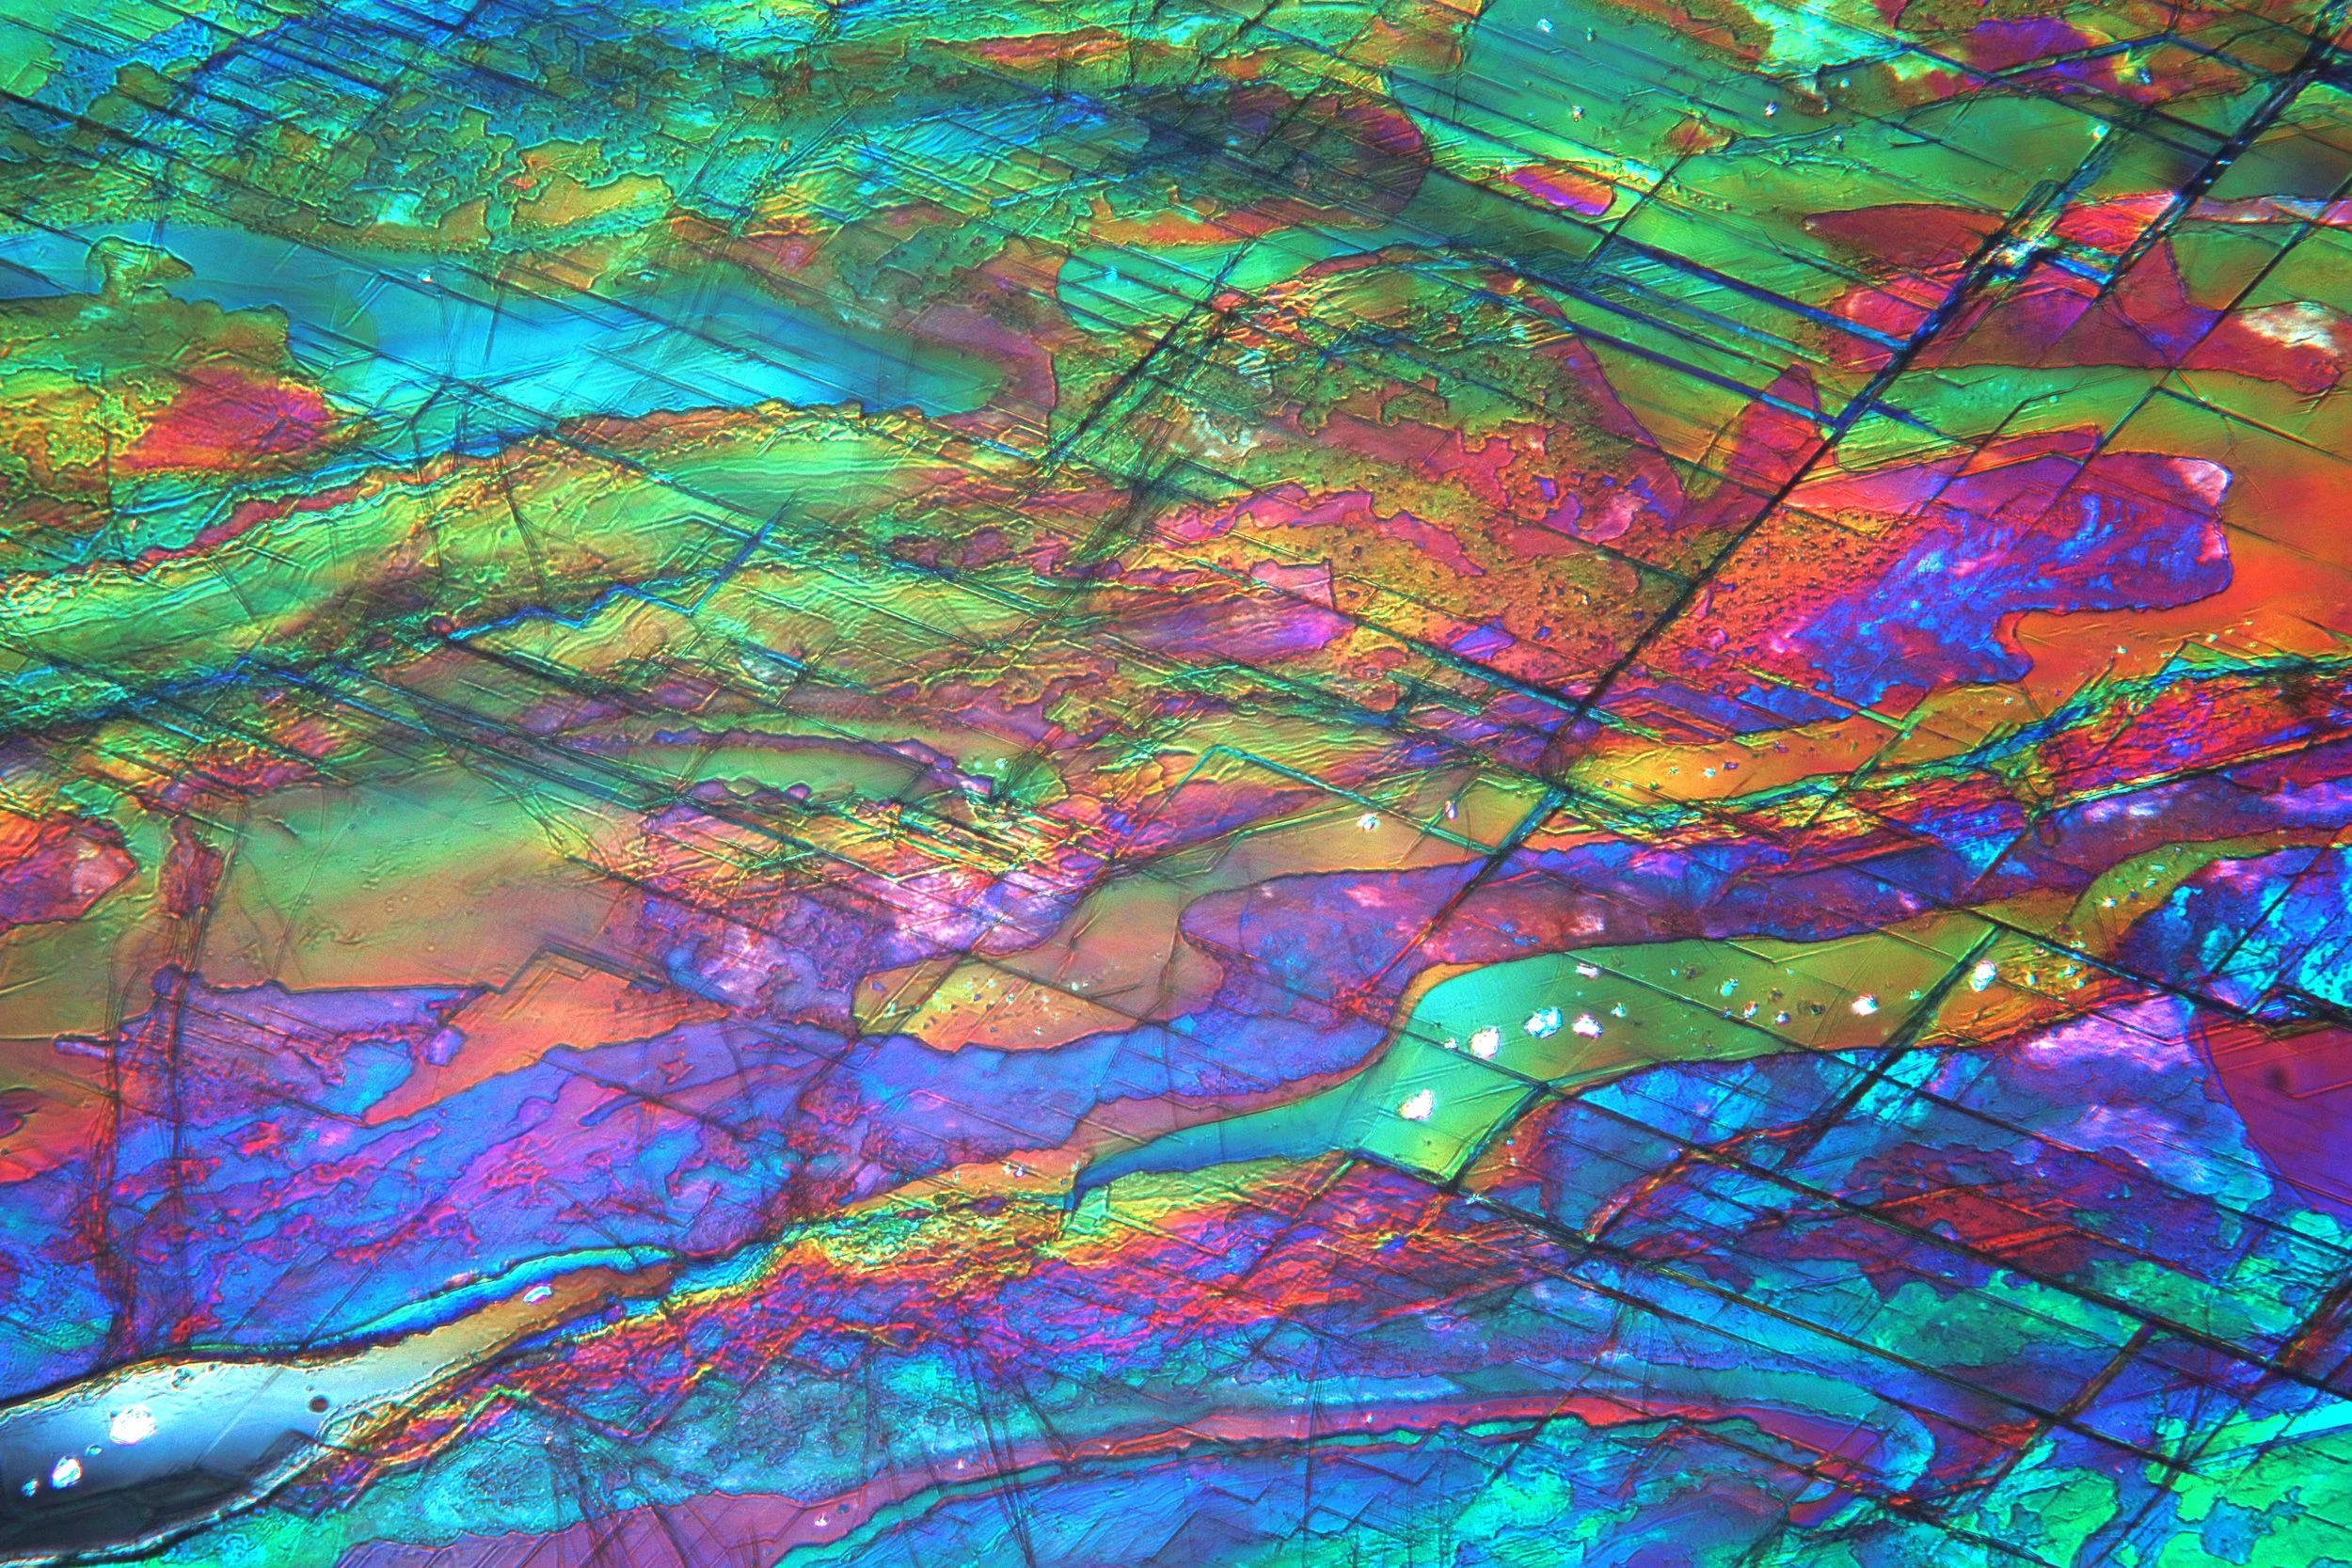
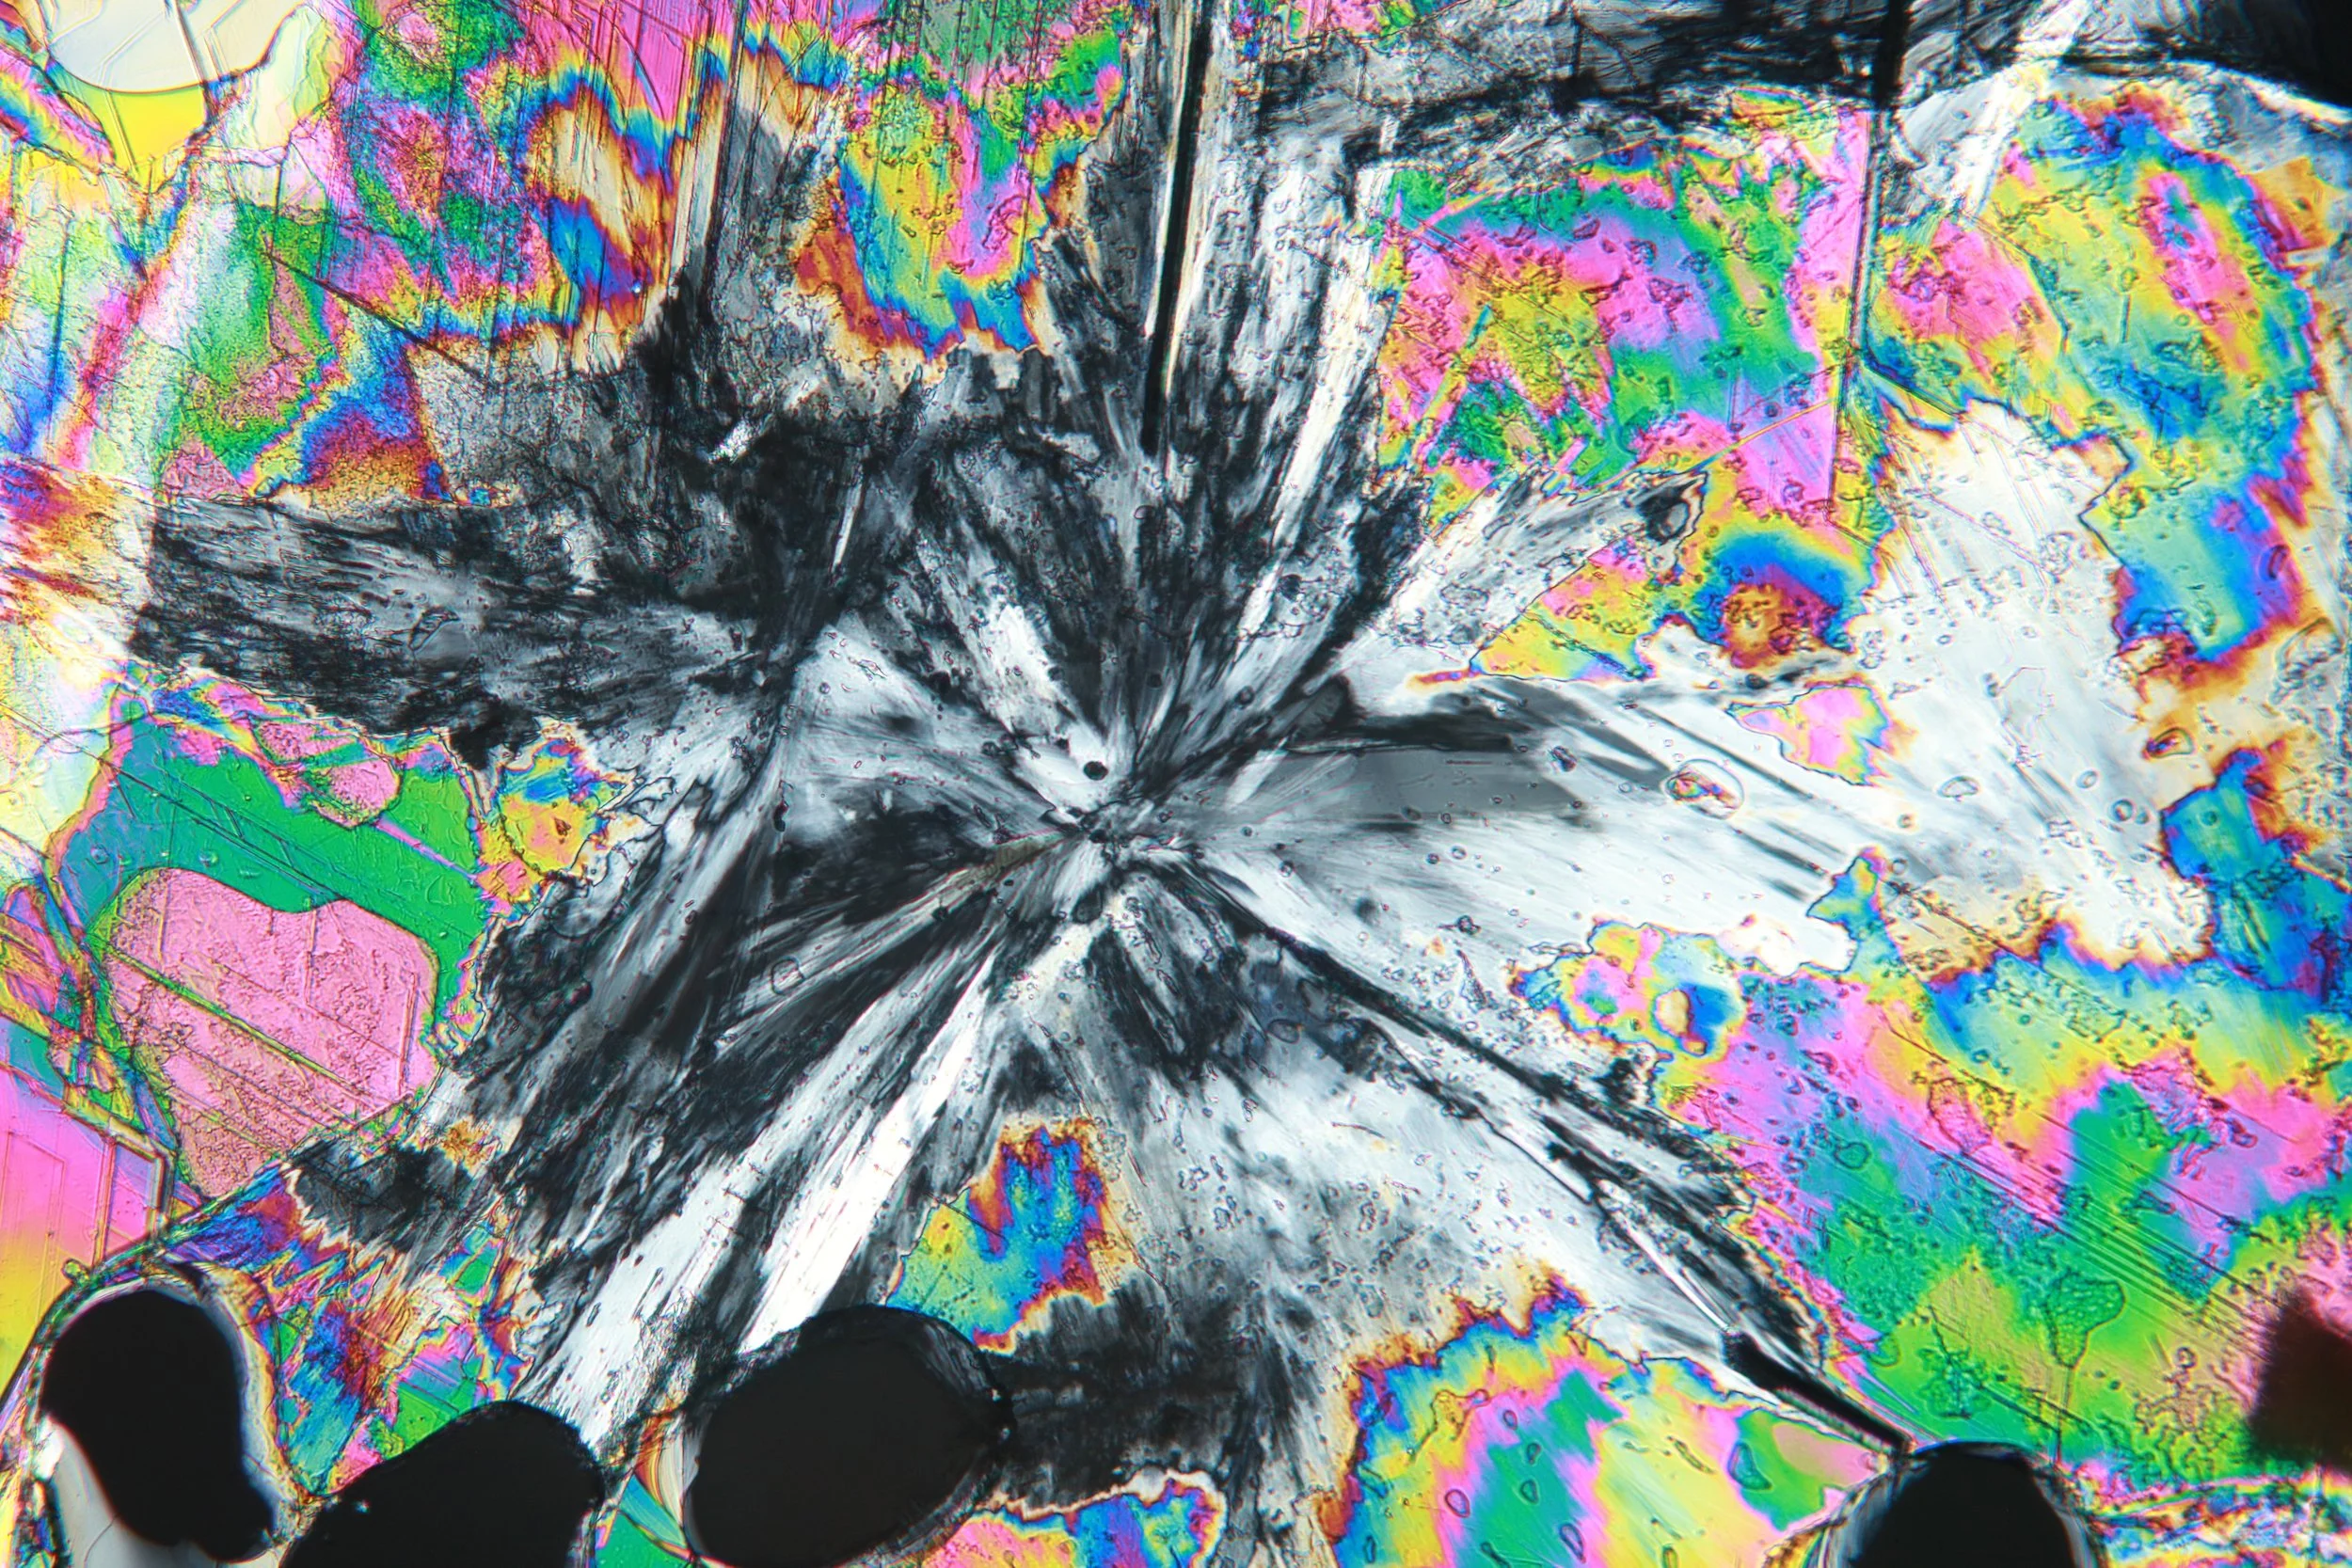
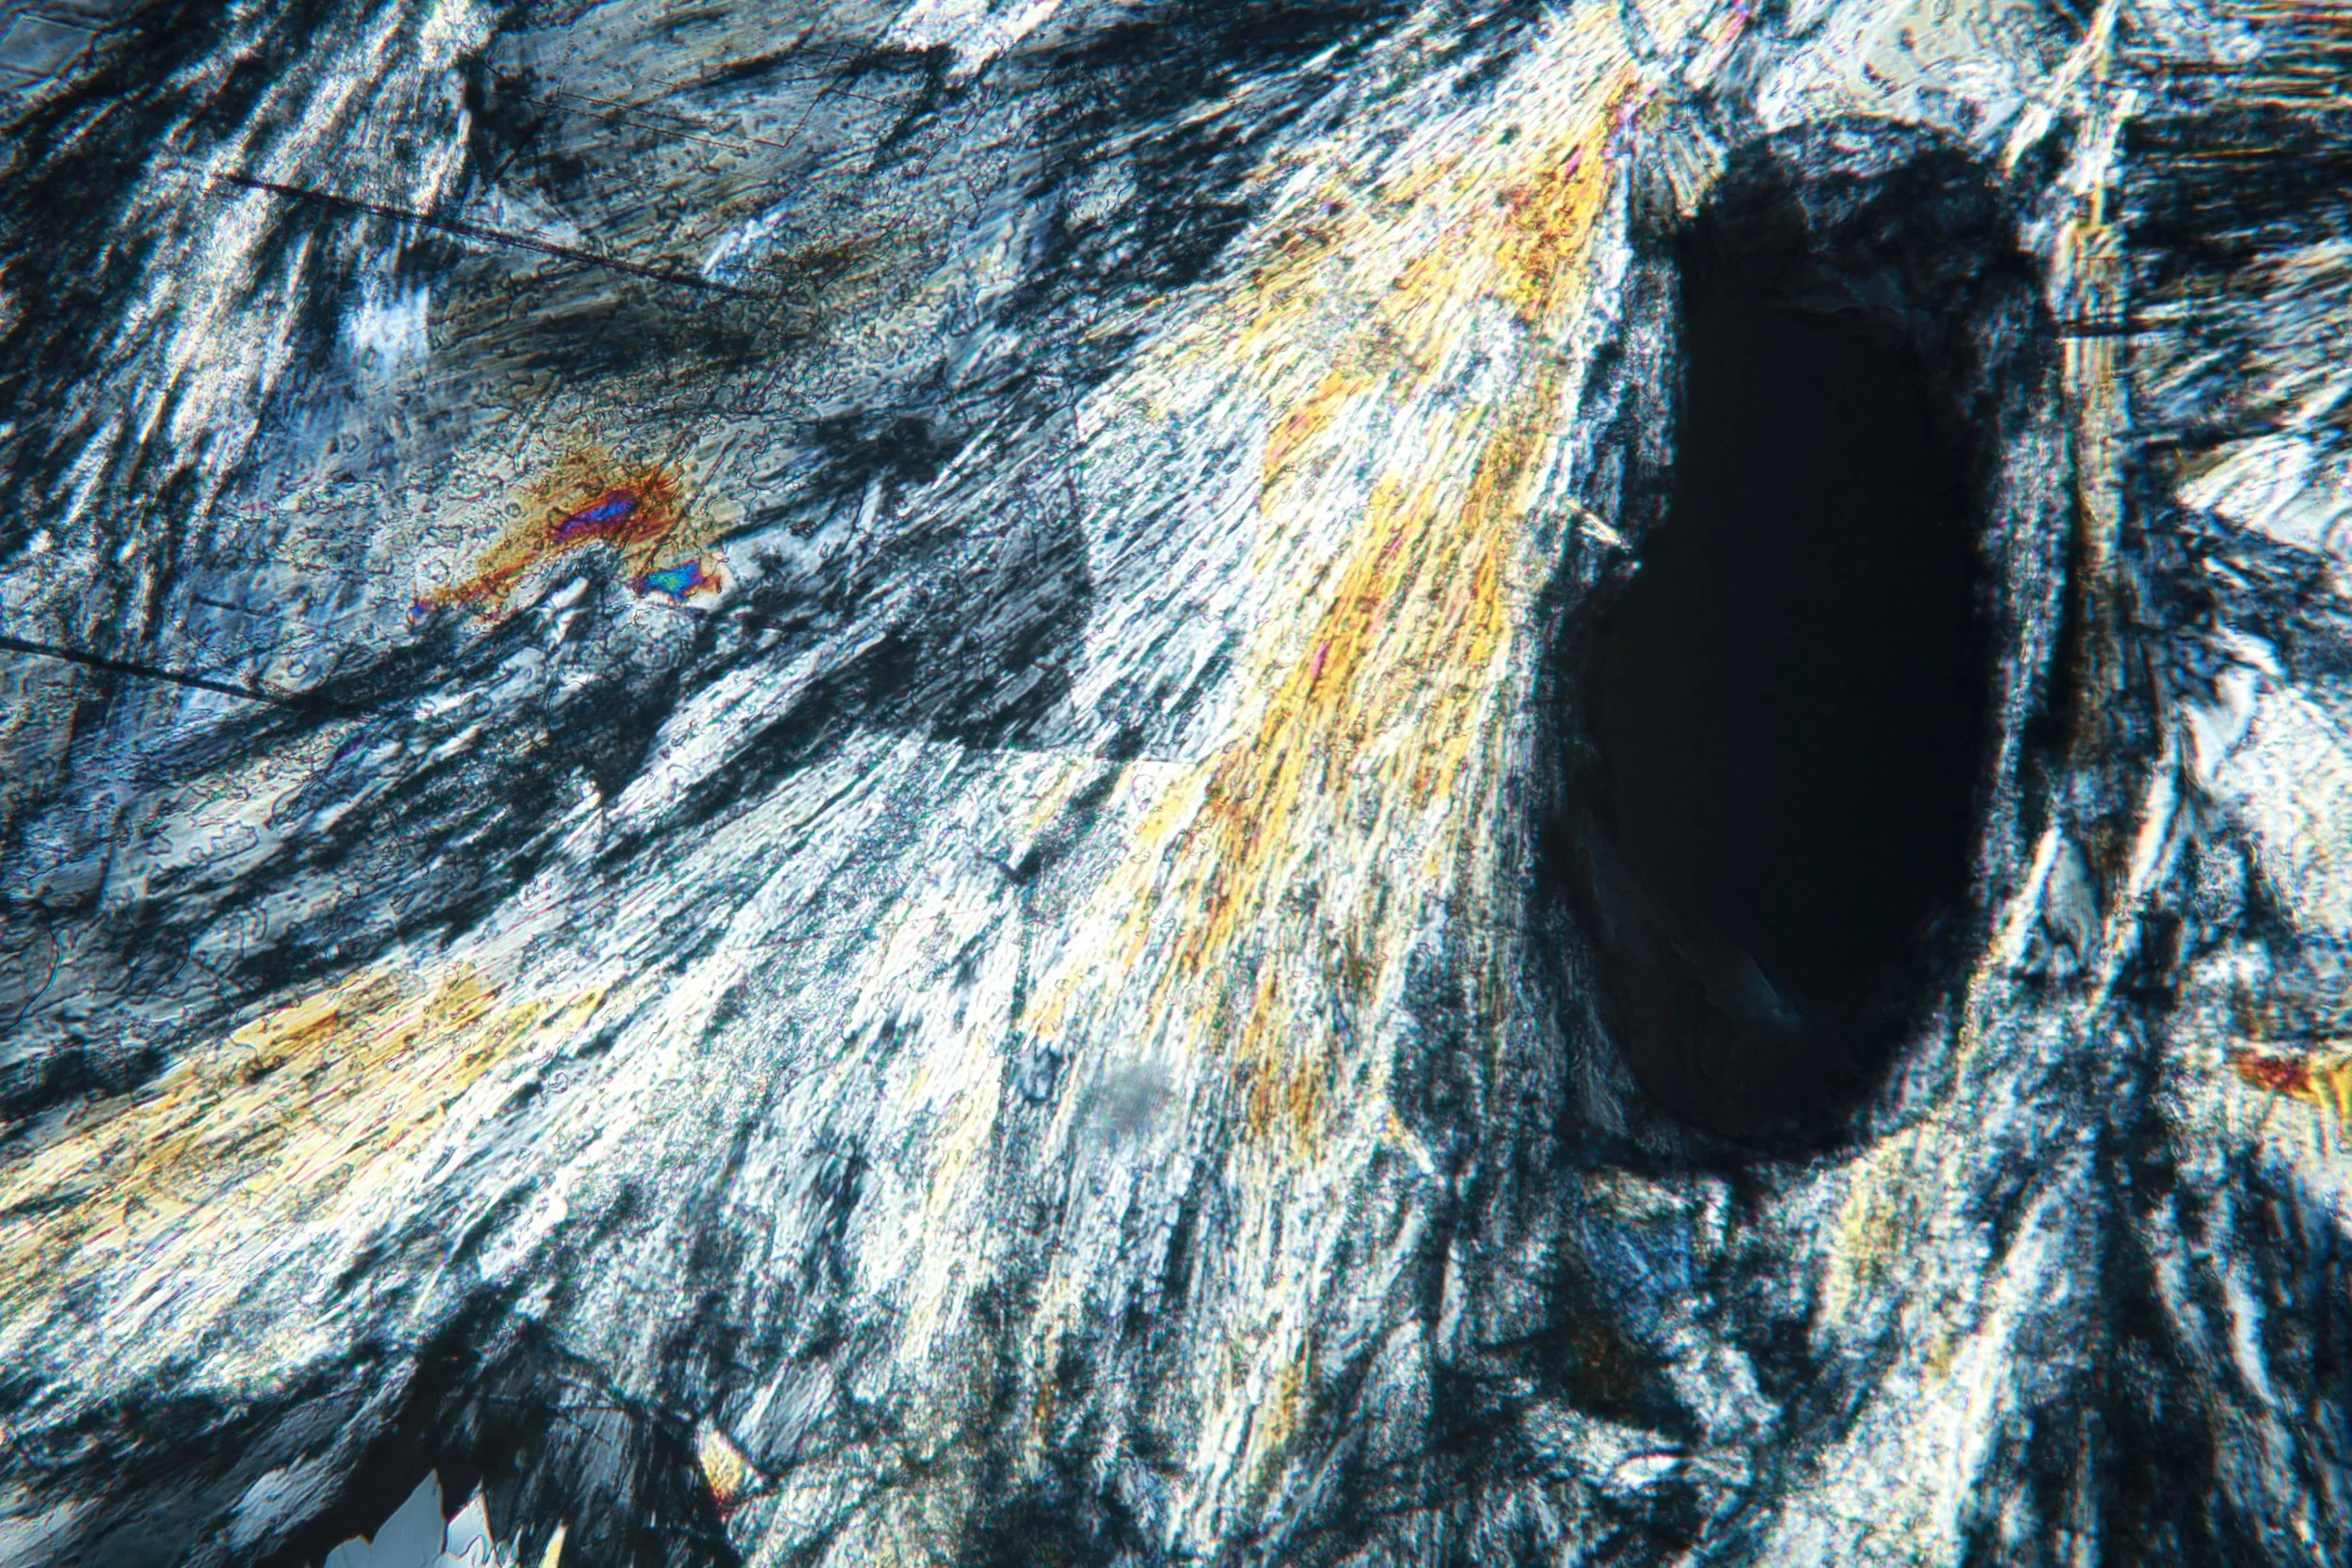
To prepare the samples, I placed some sodium acetate trihydrate on a slide and heated it over the stove until it dissolves itself. Then, after placing a cover slip and allowing it to cool, it recrystallizes with few voids. I was only able to create stunning patterns seen below once for an unknown reason; all other attempts have formed excessive dendrites. In addition, in this one sample a phase change slowly took over, seen as a feathery black and white blob. This still mystifies me.
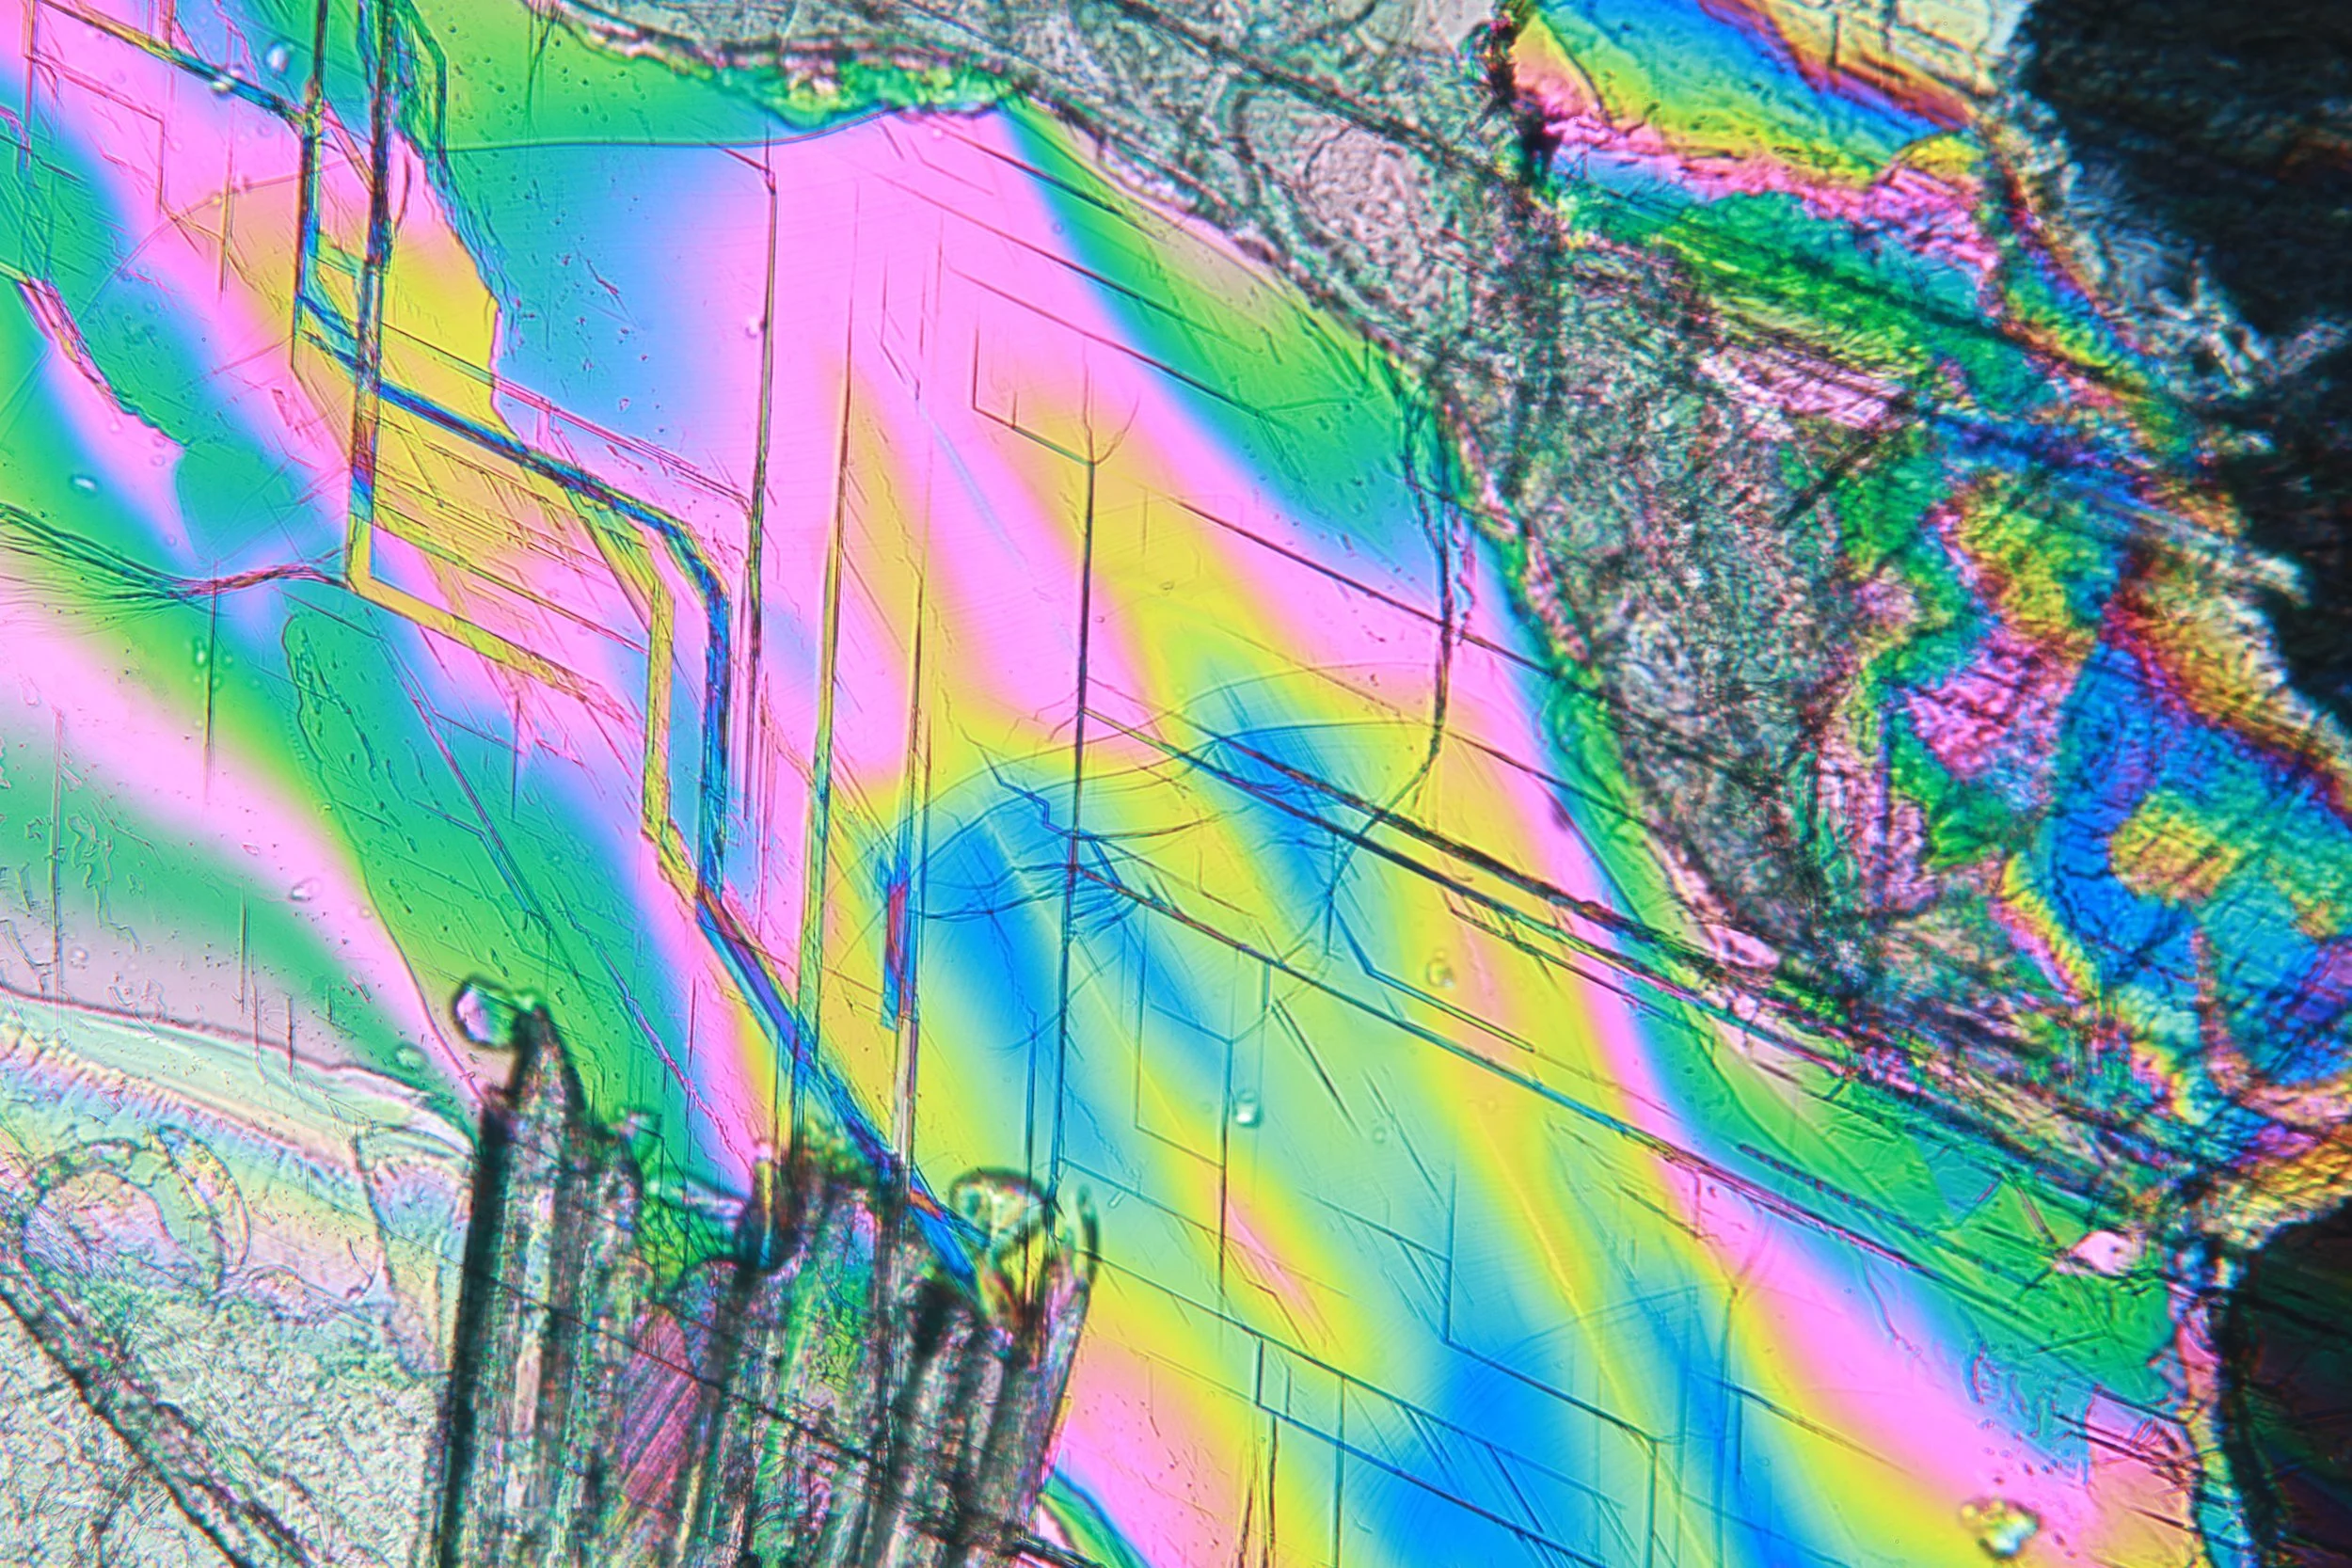
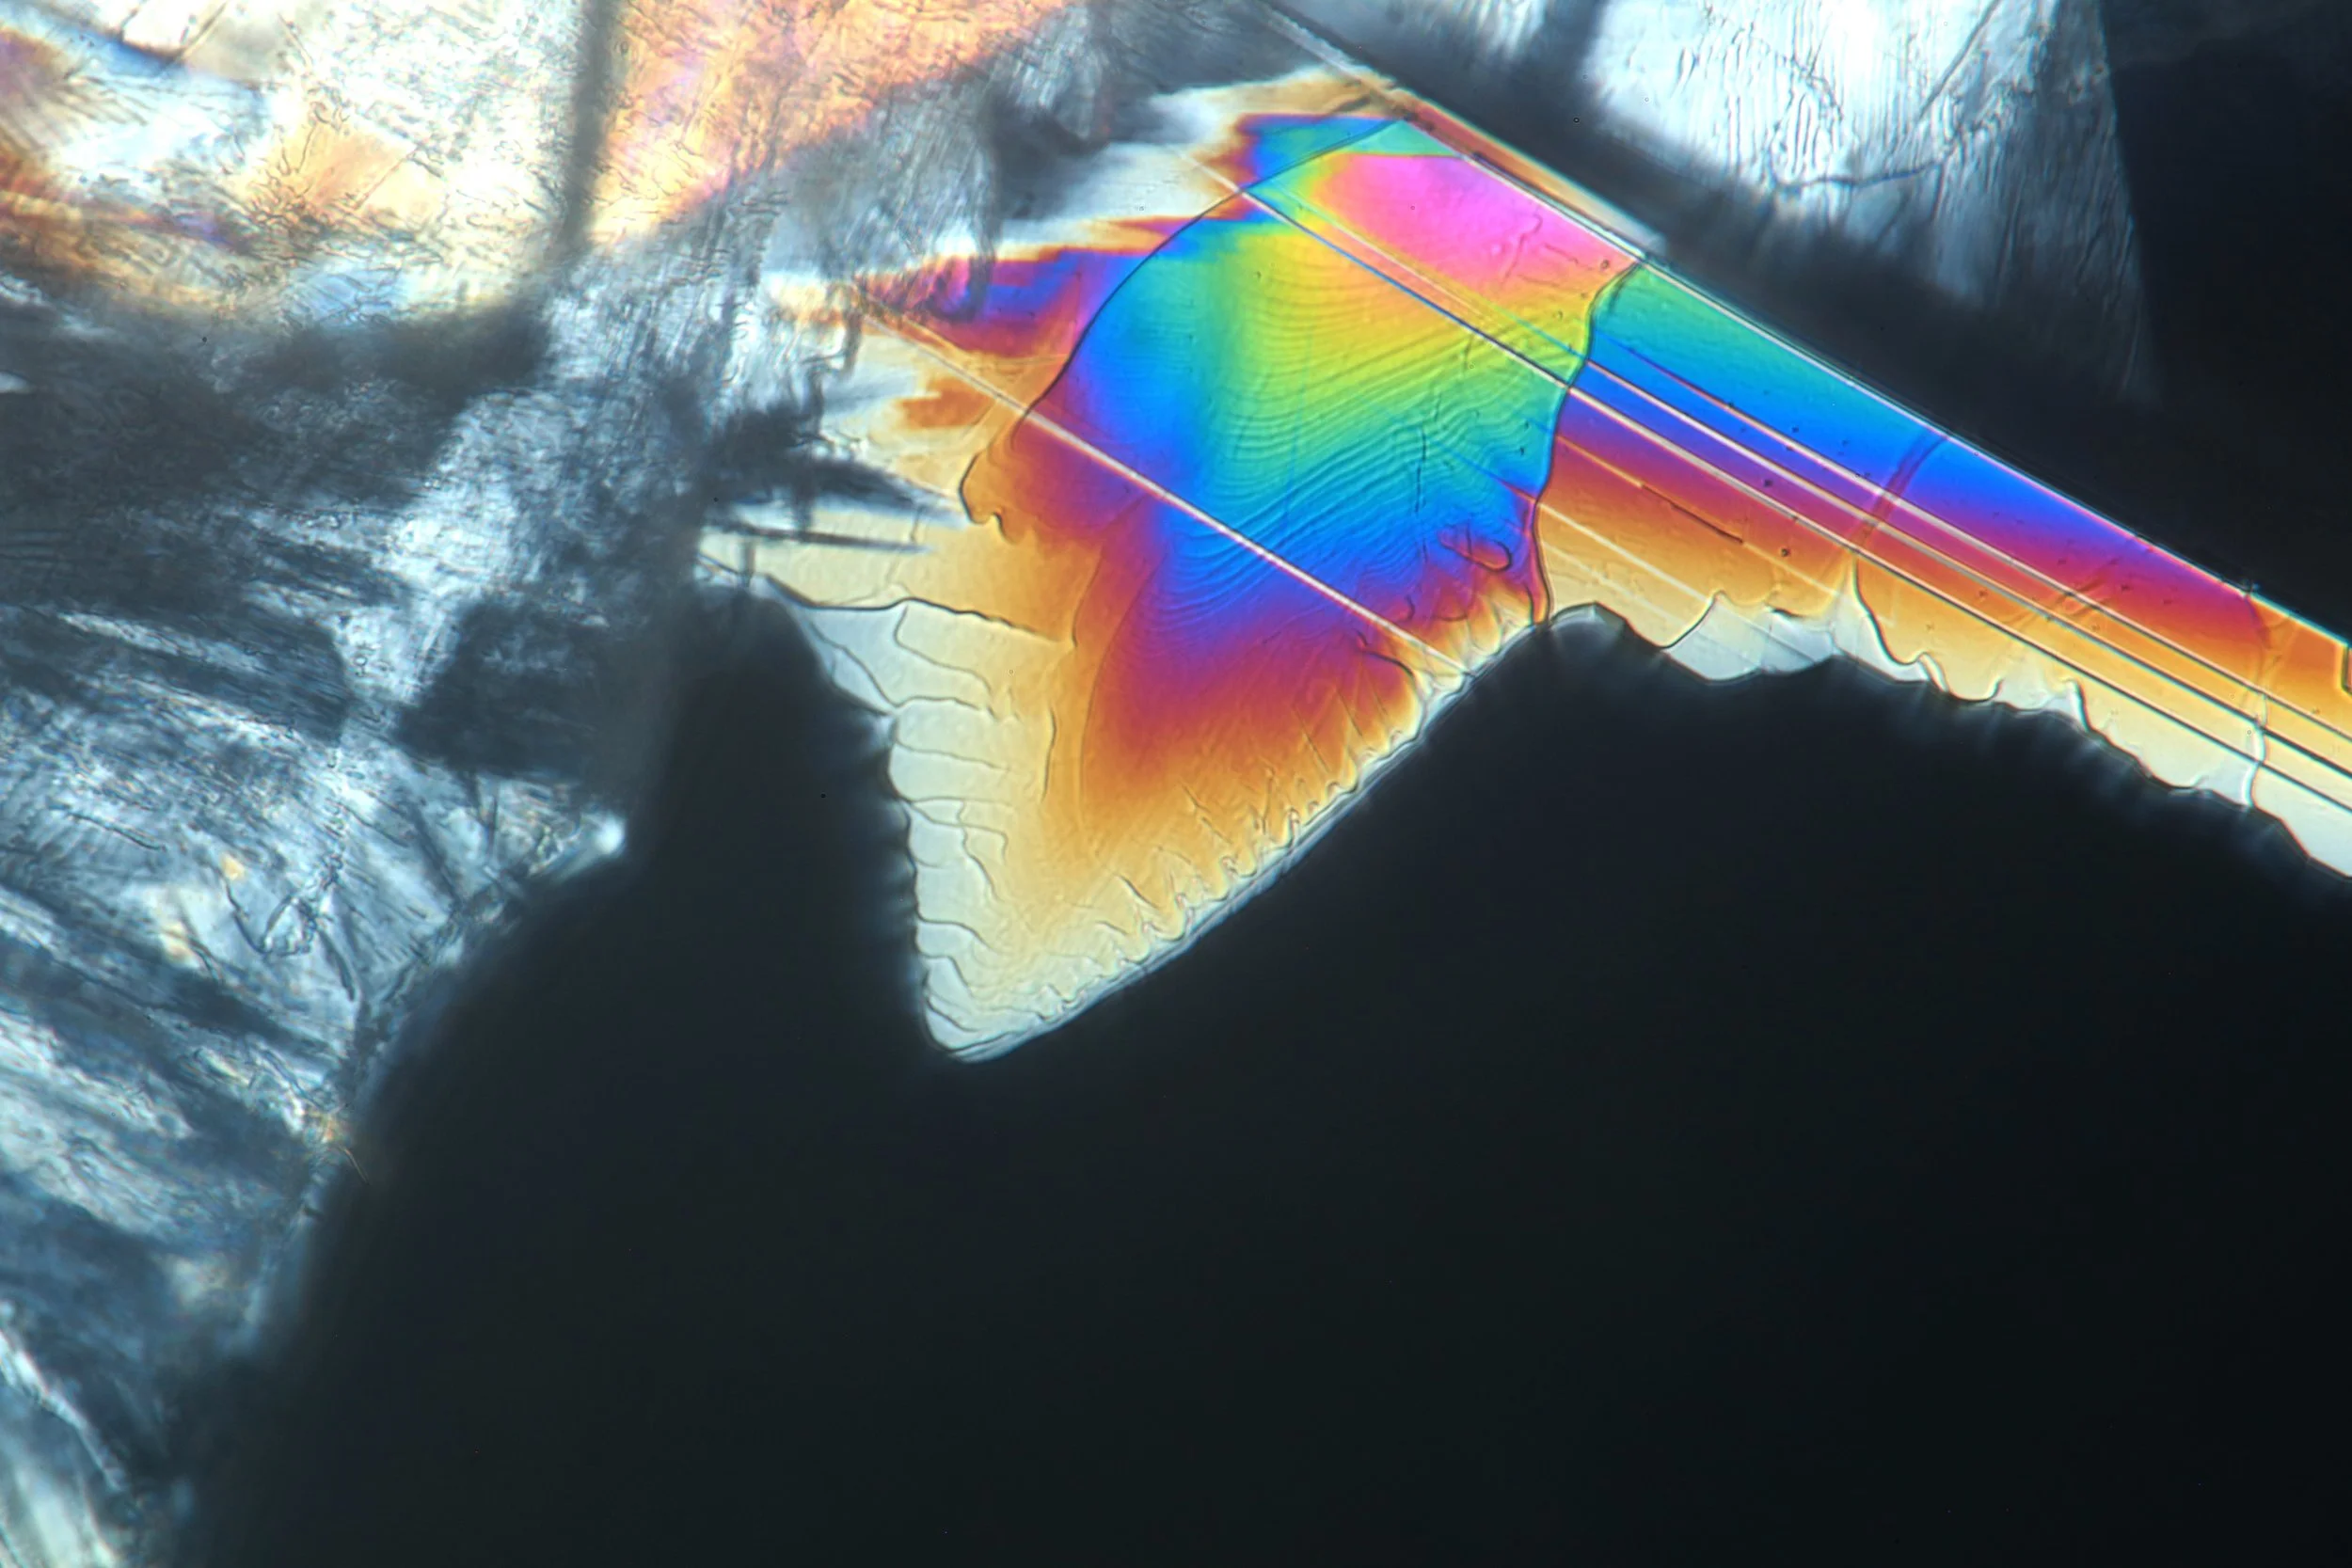
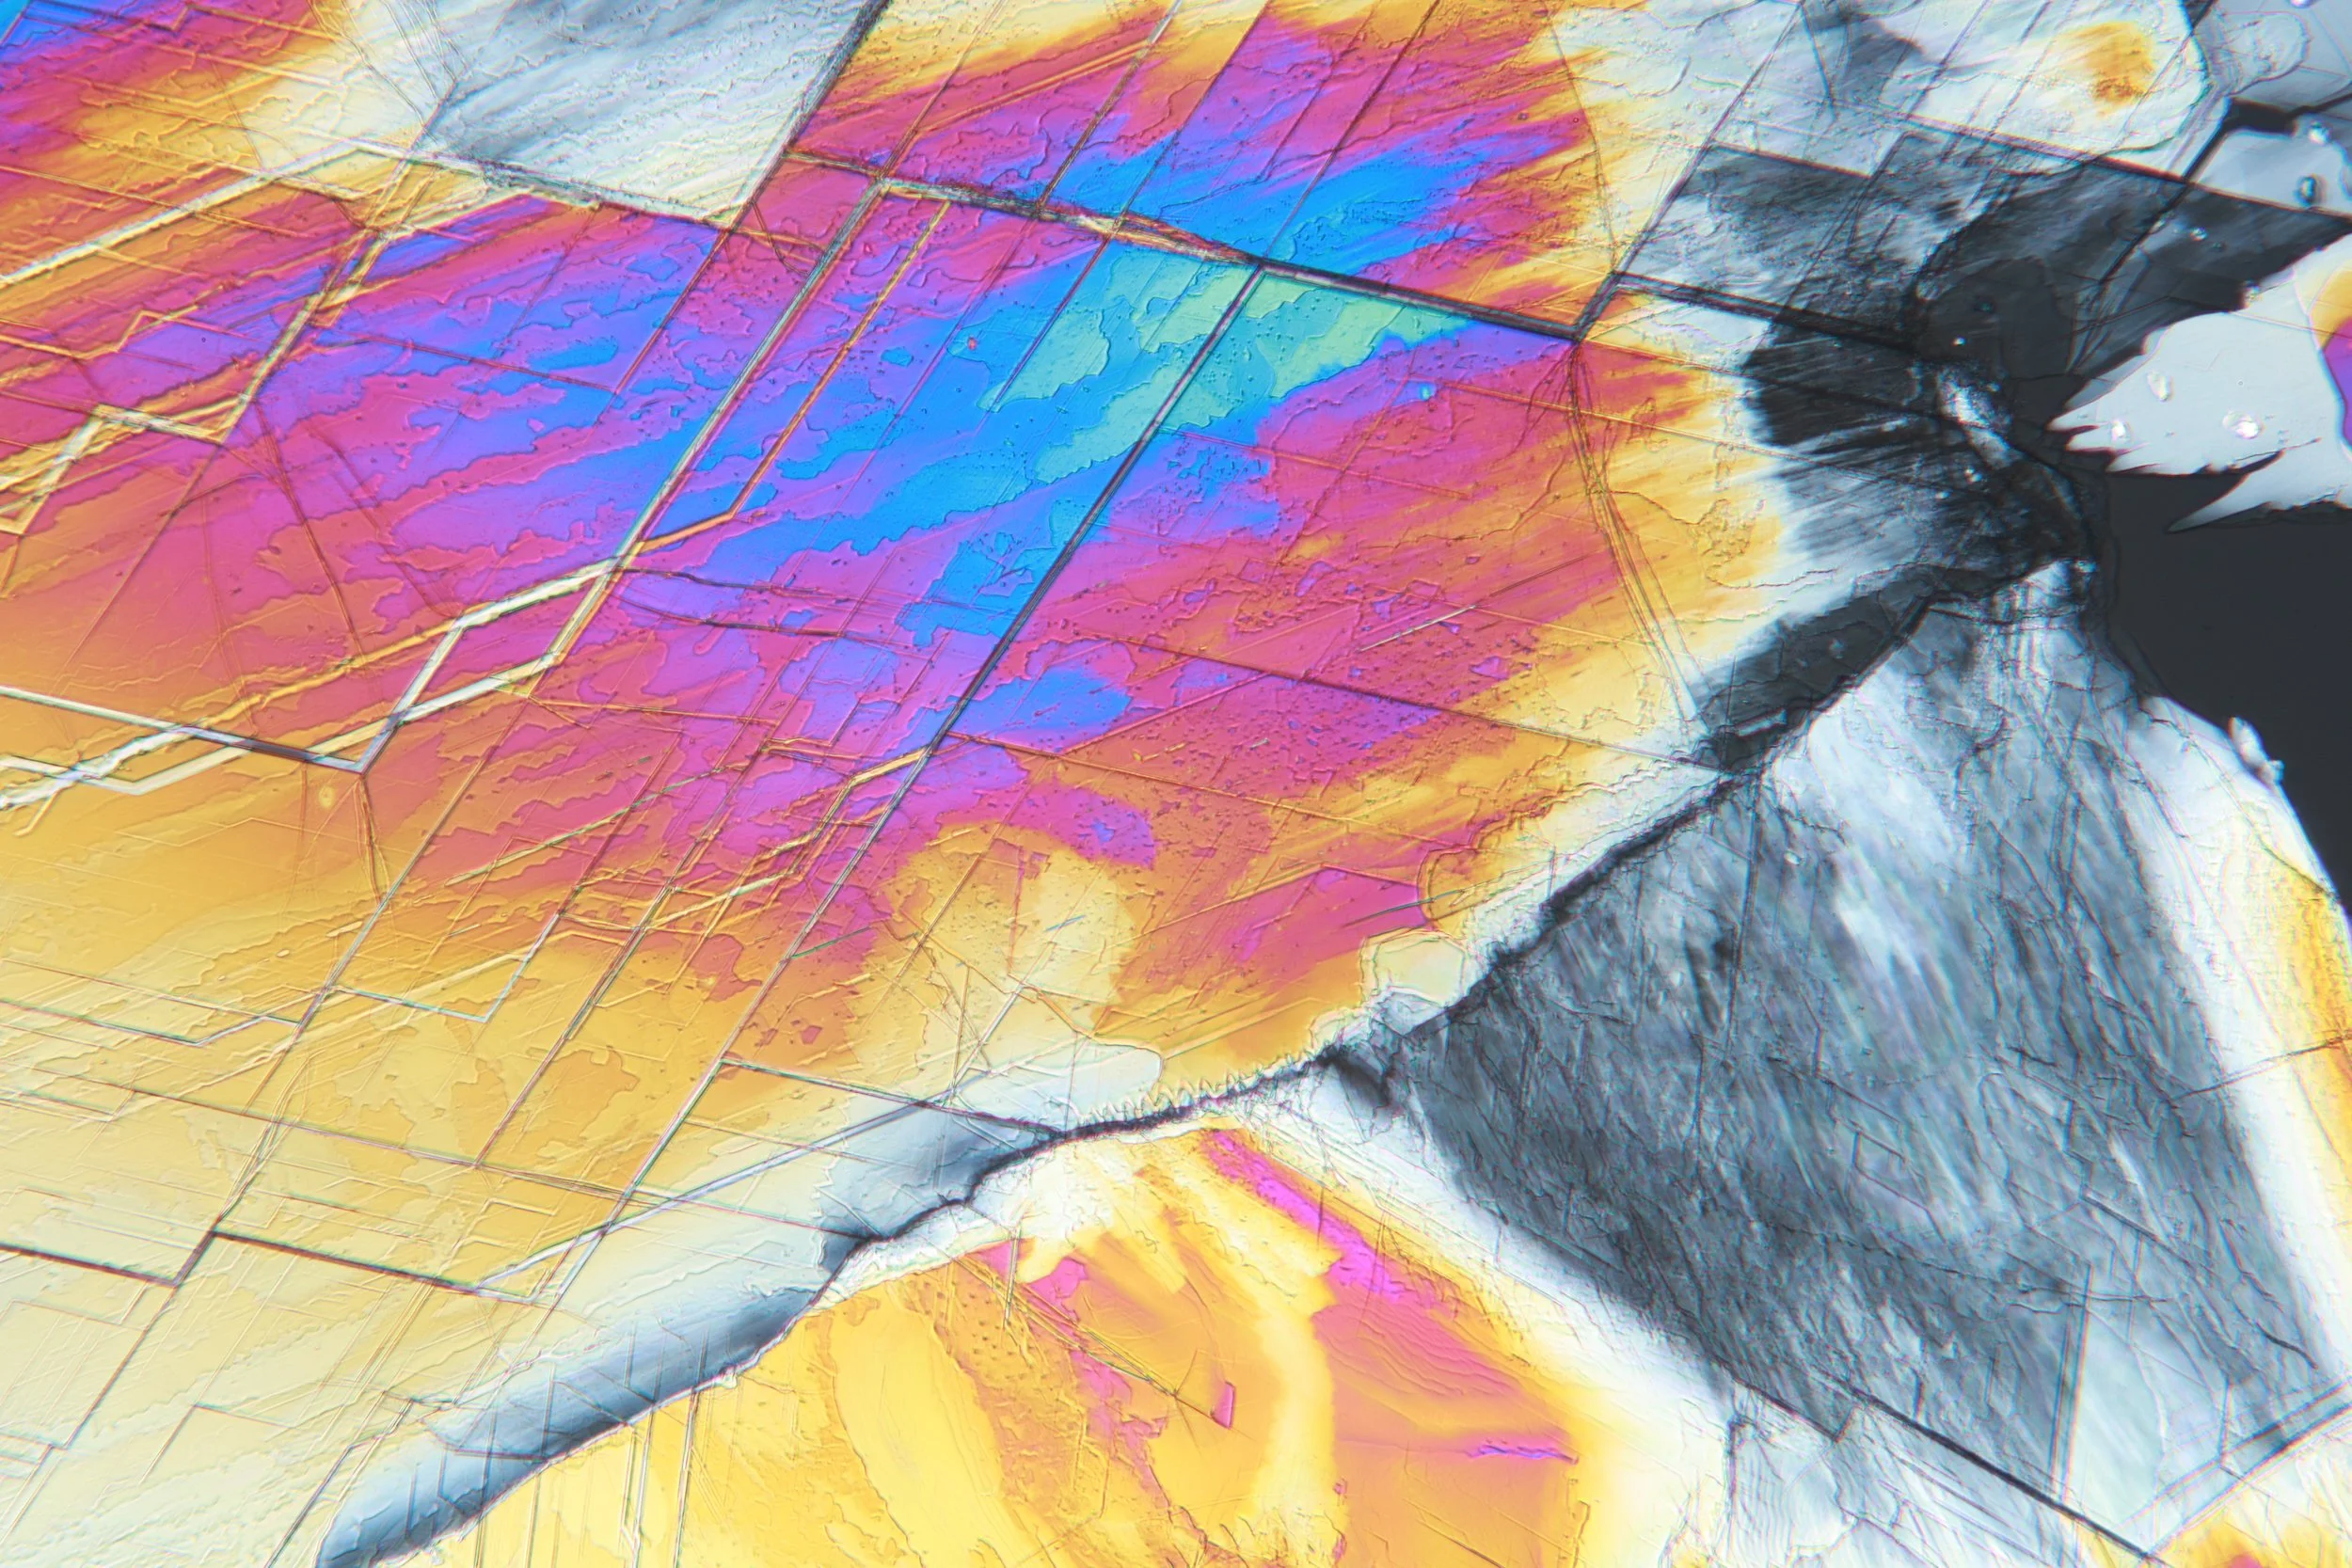
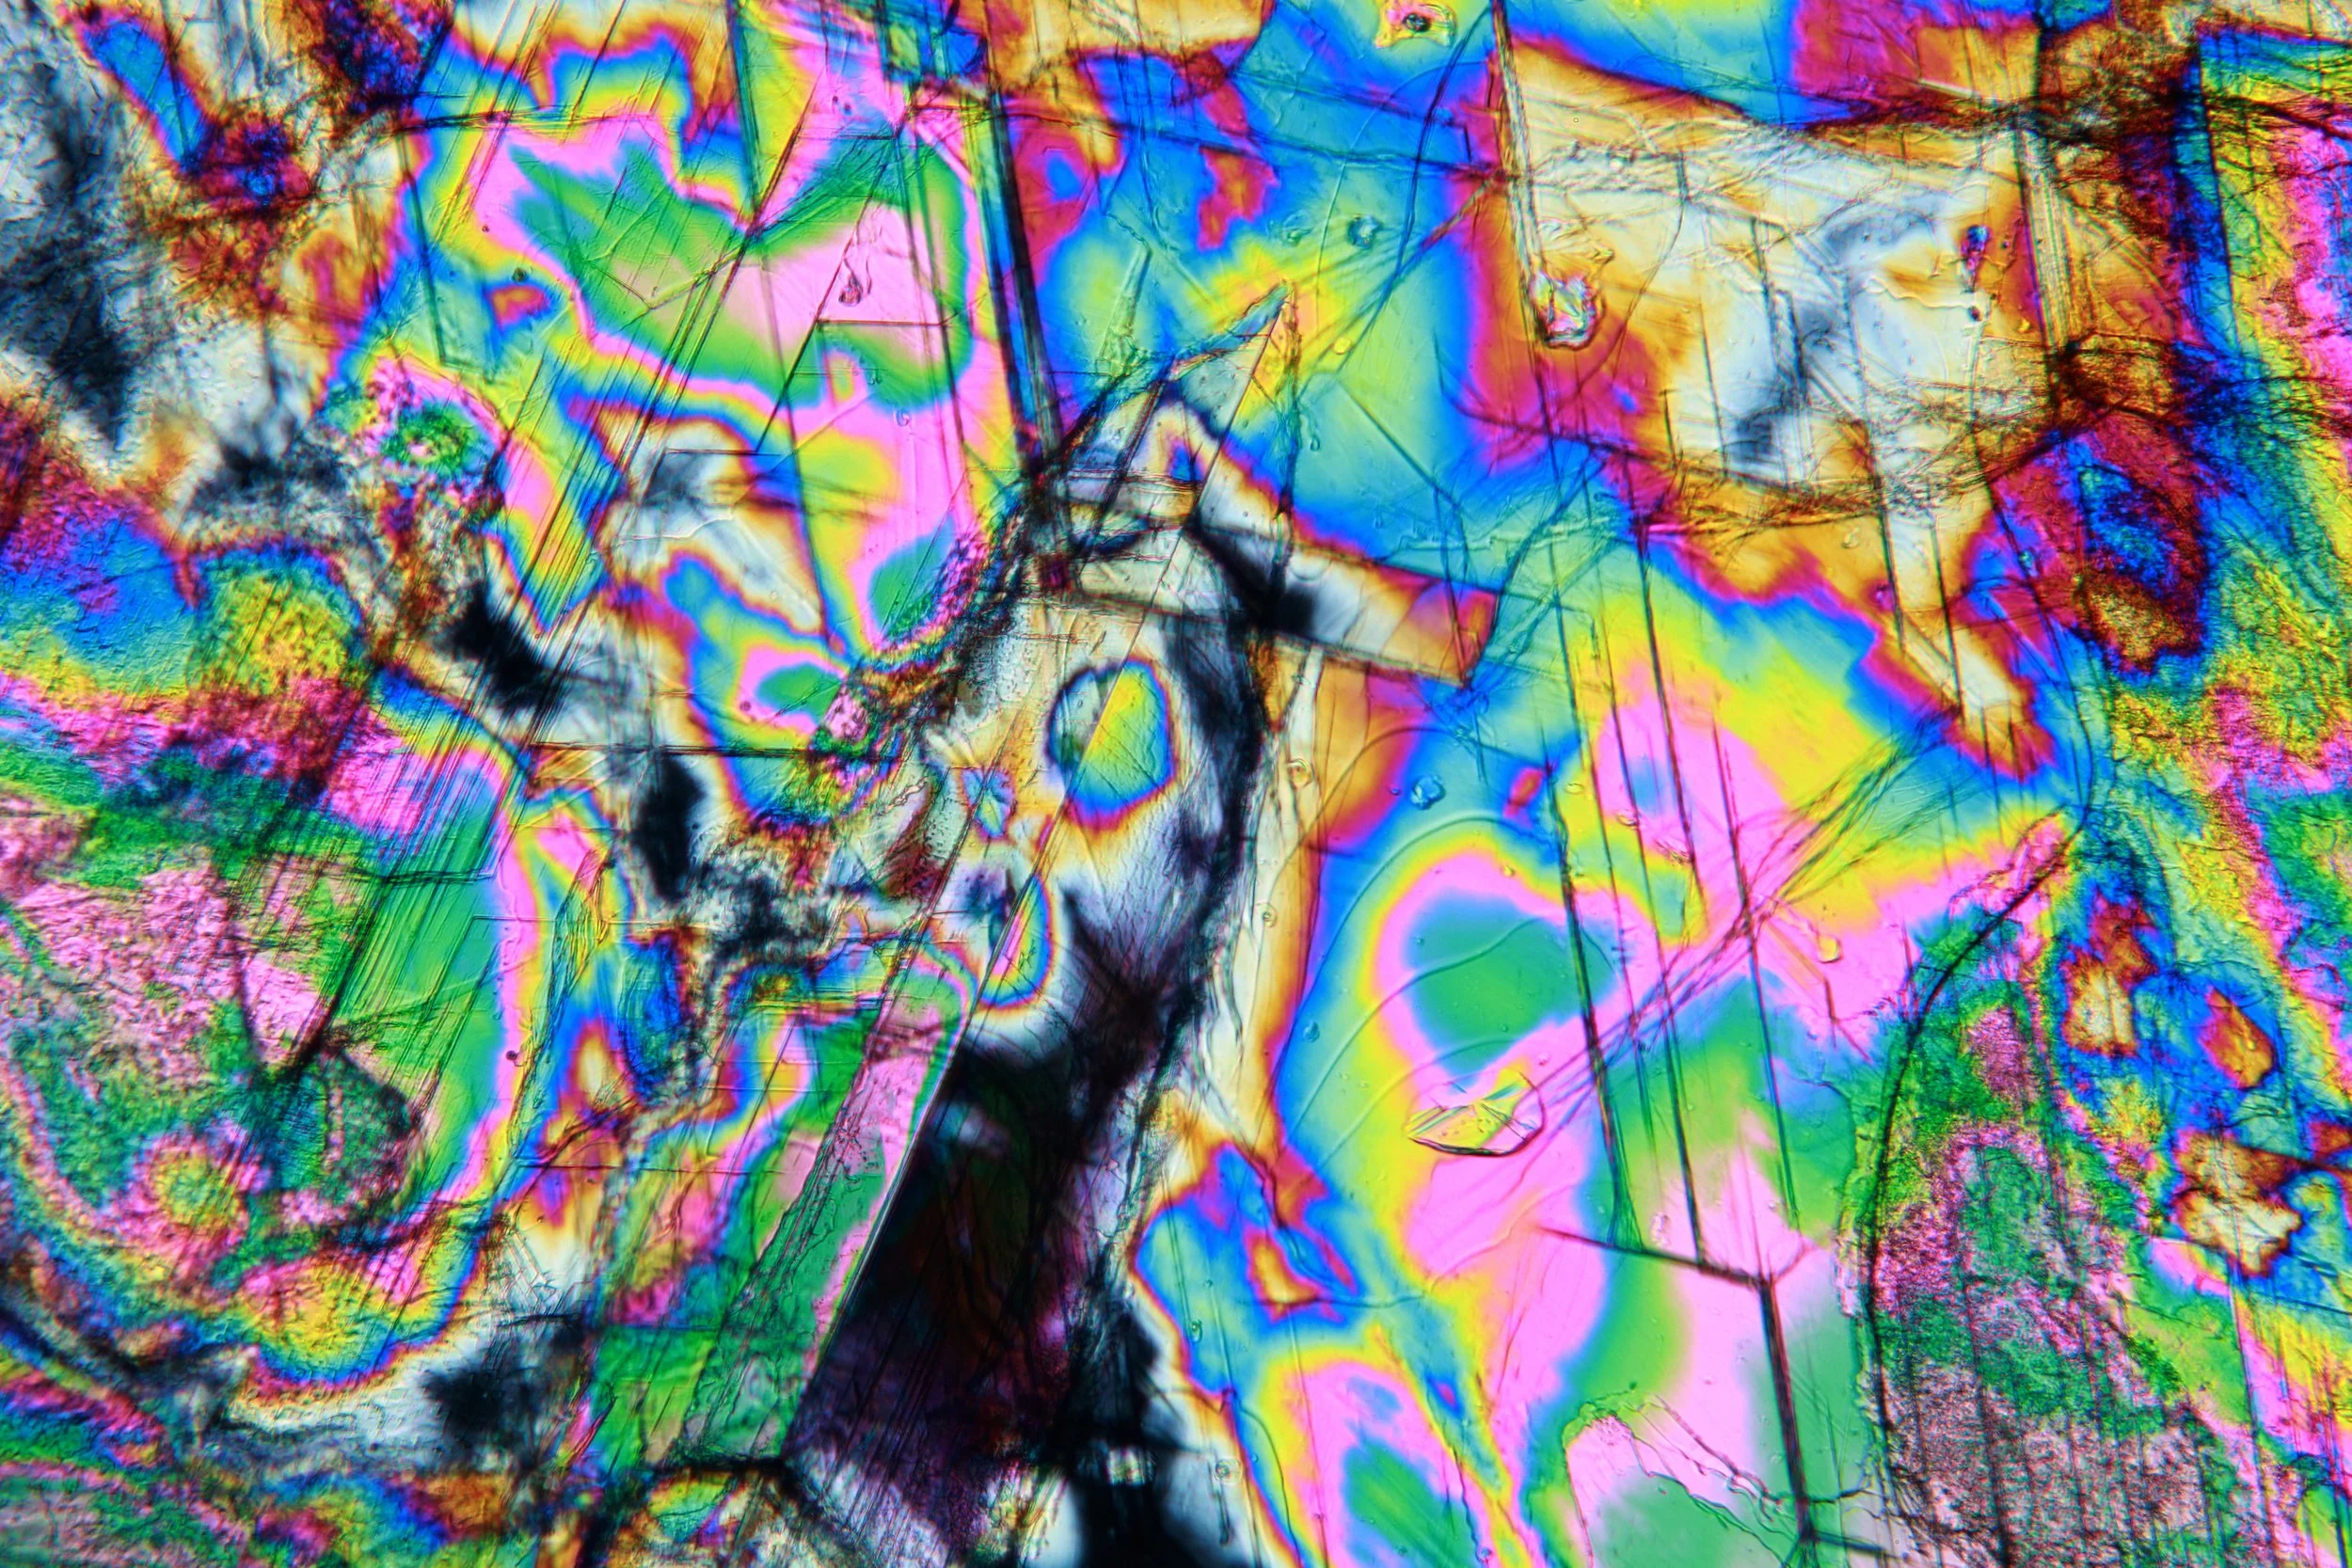
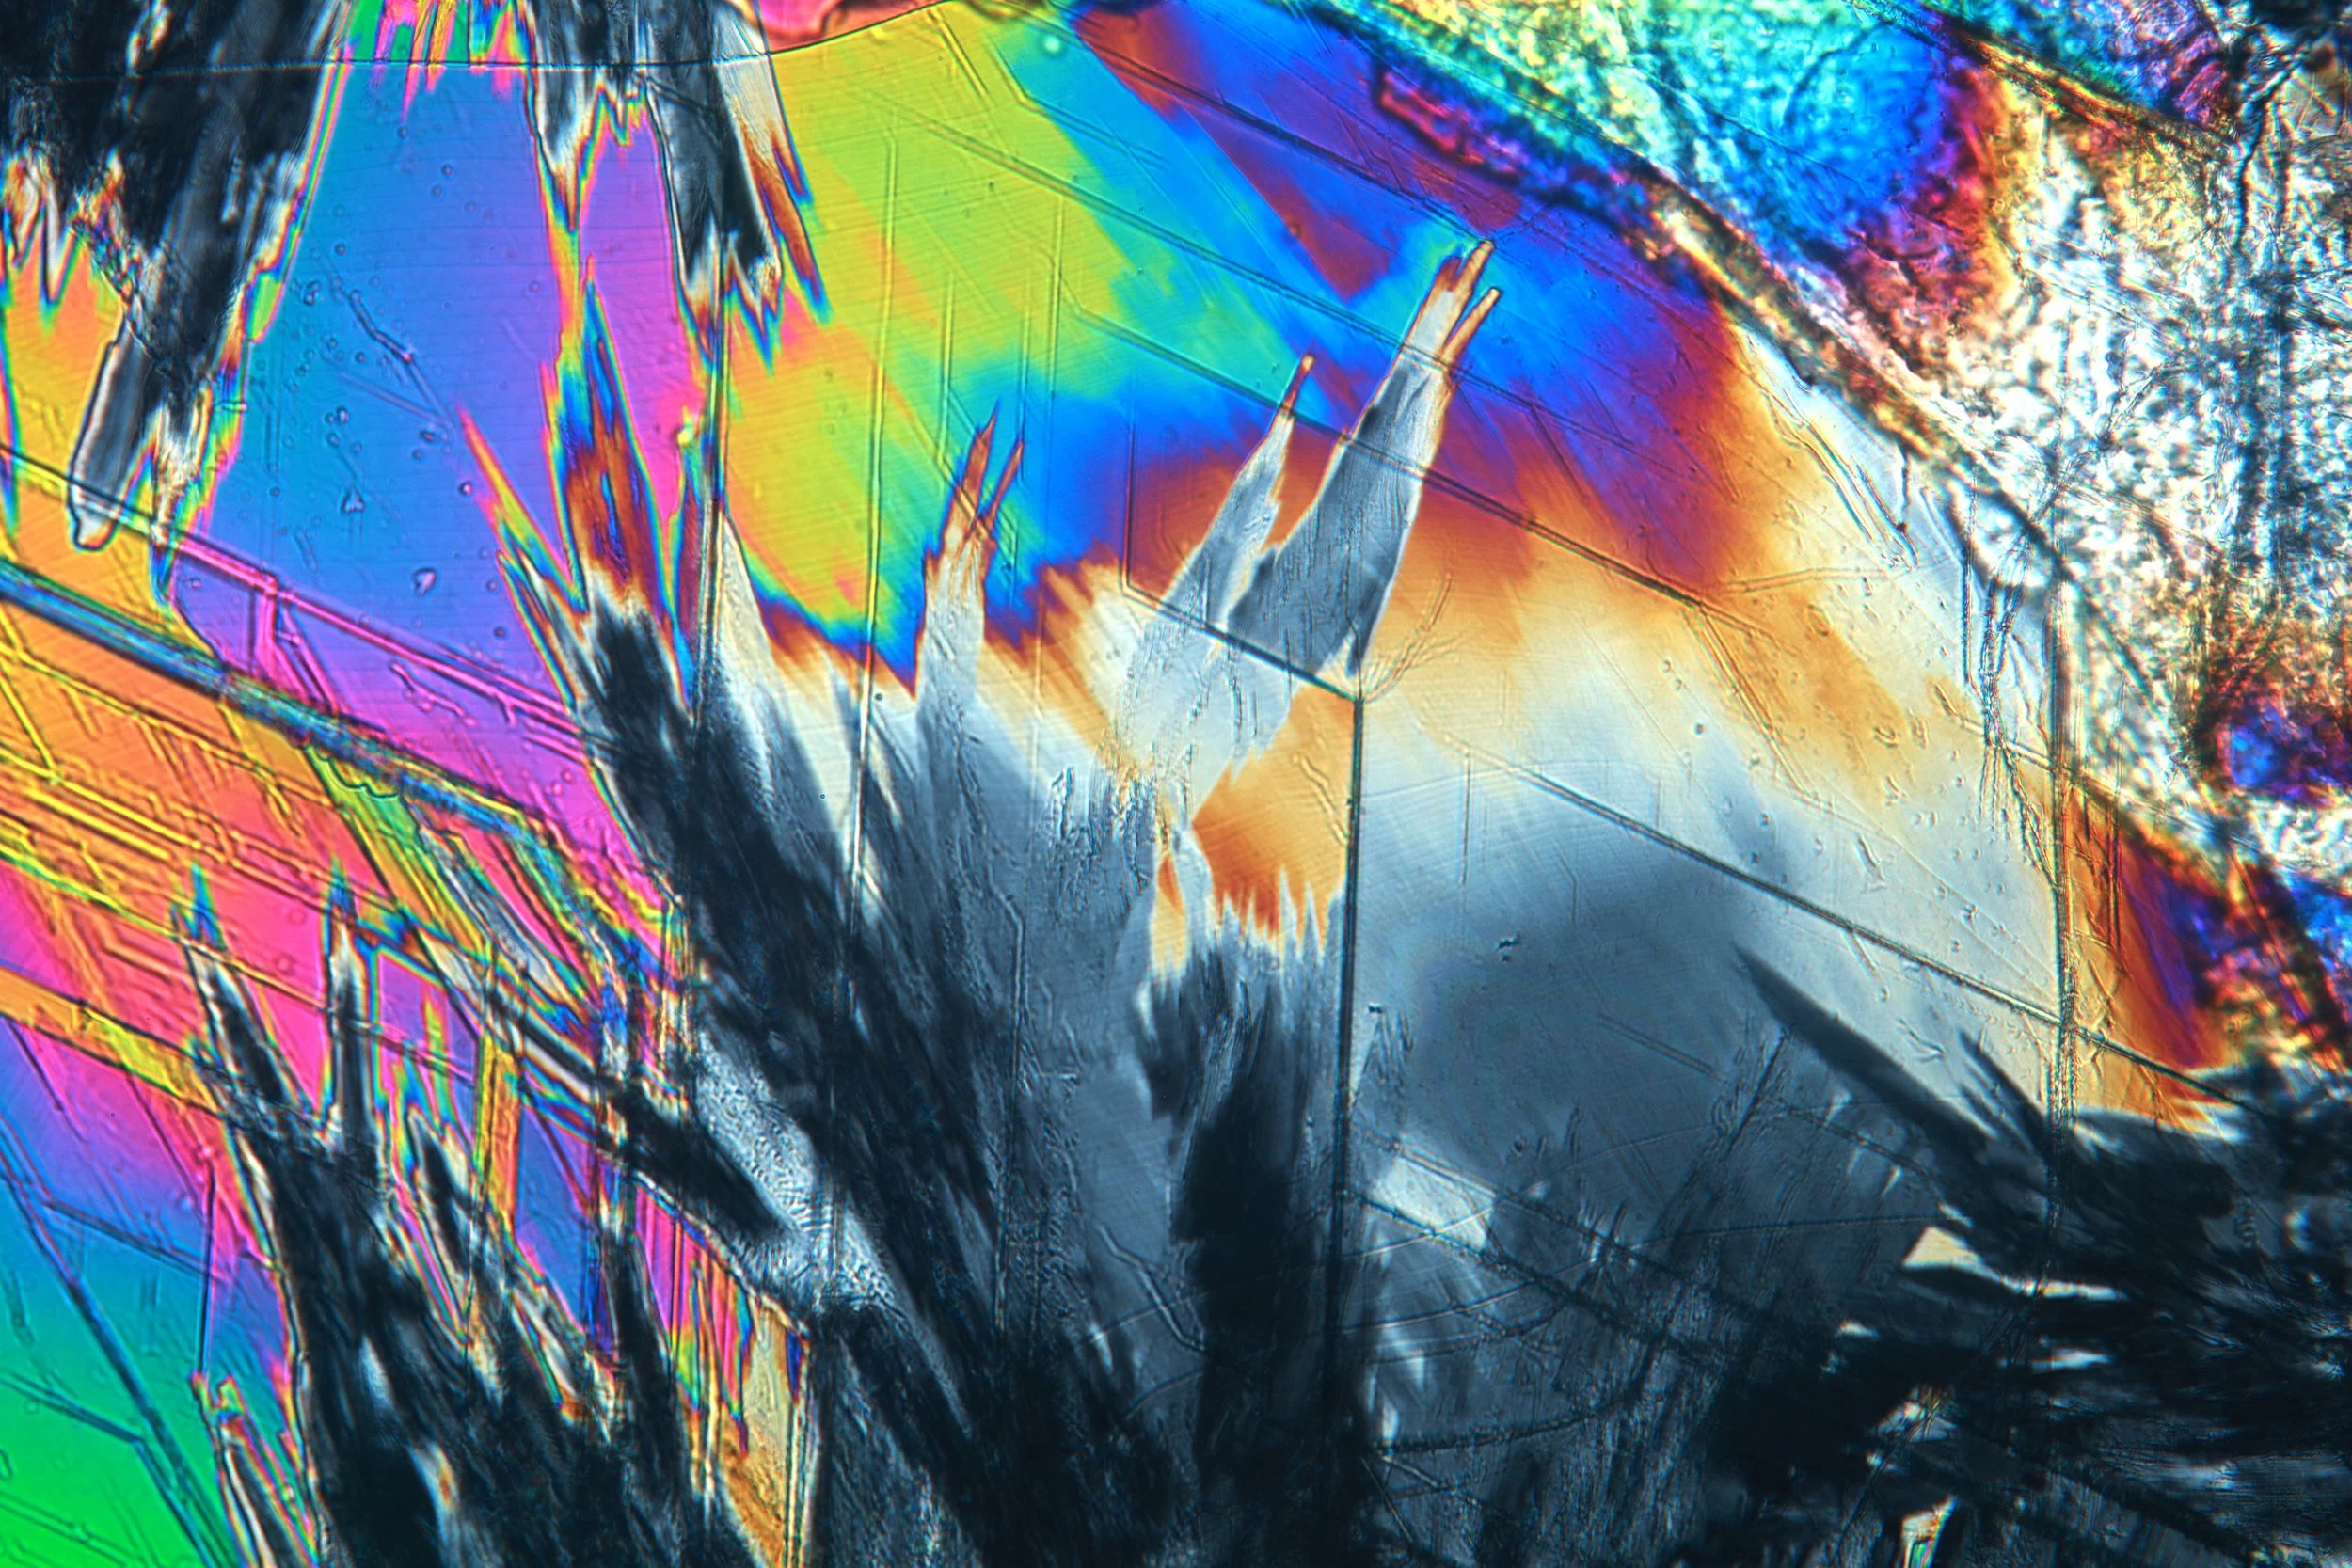
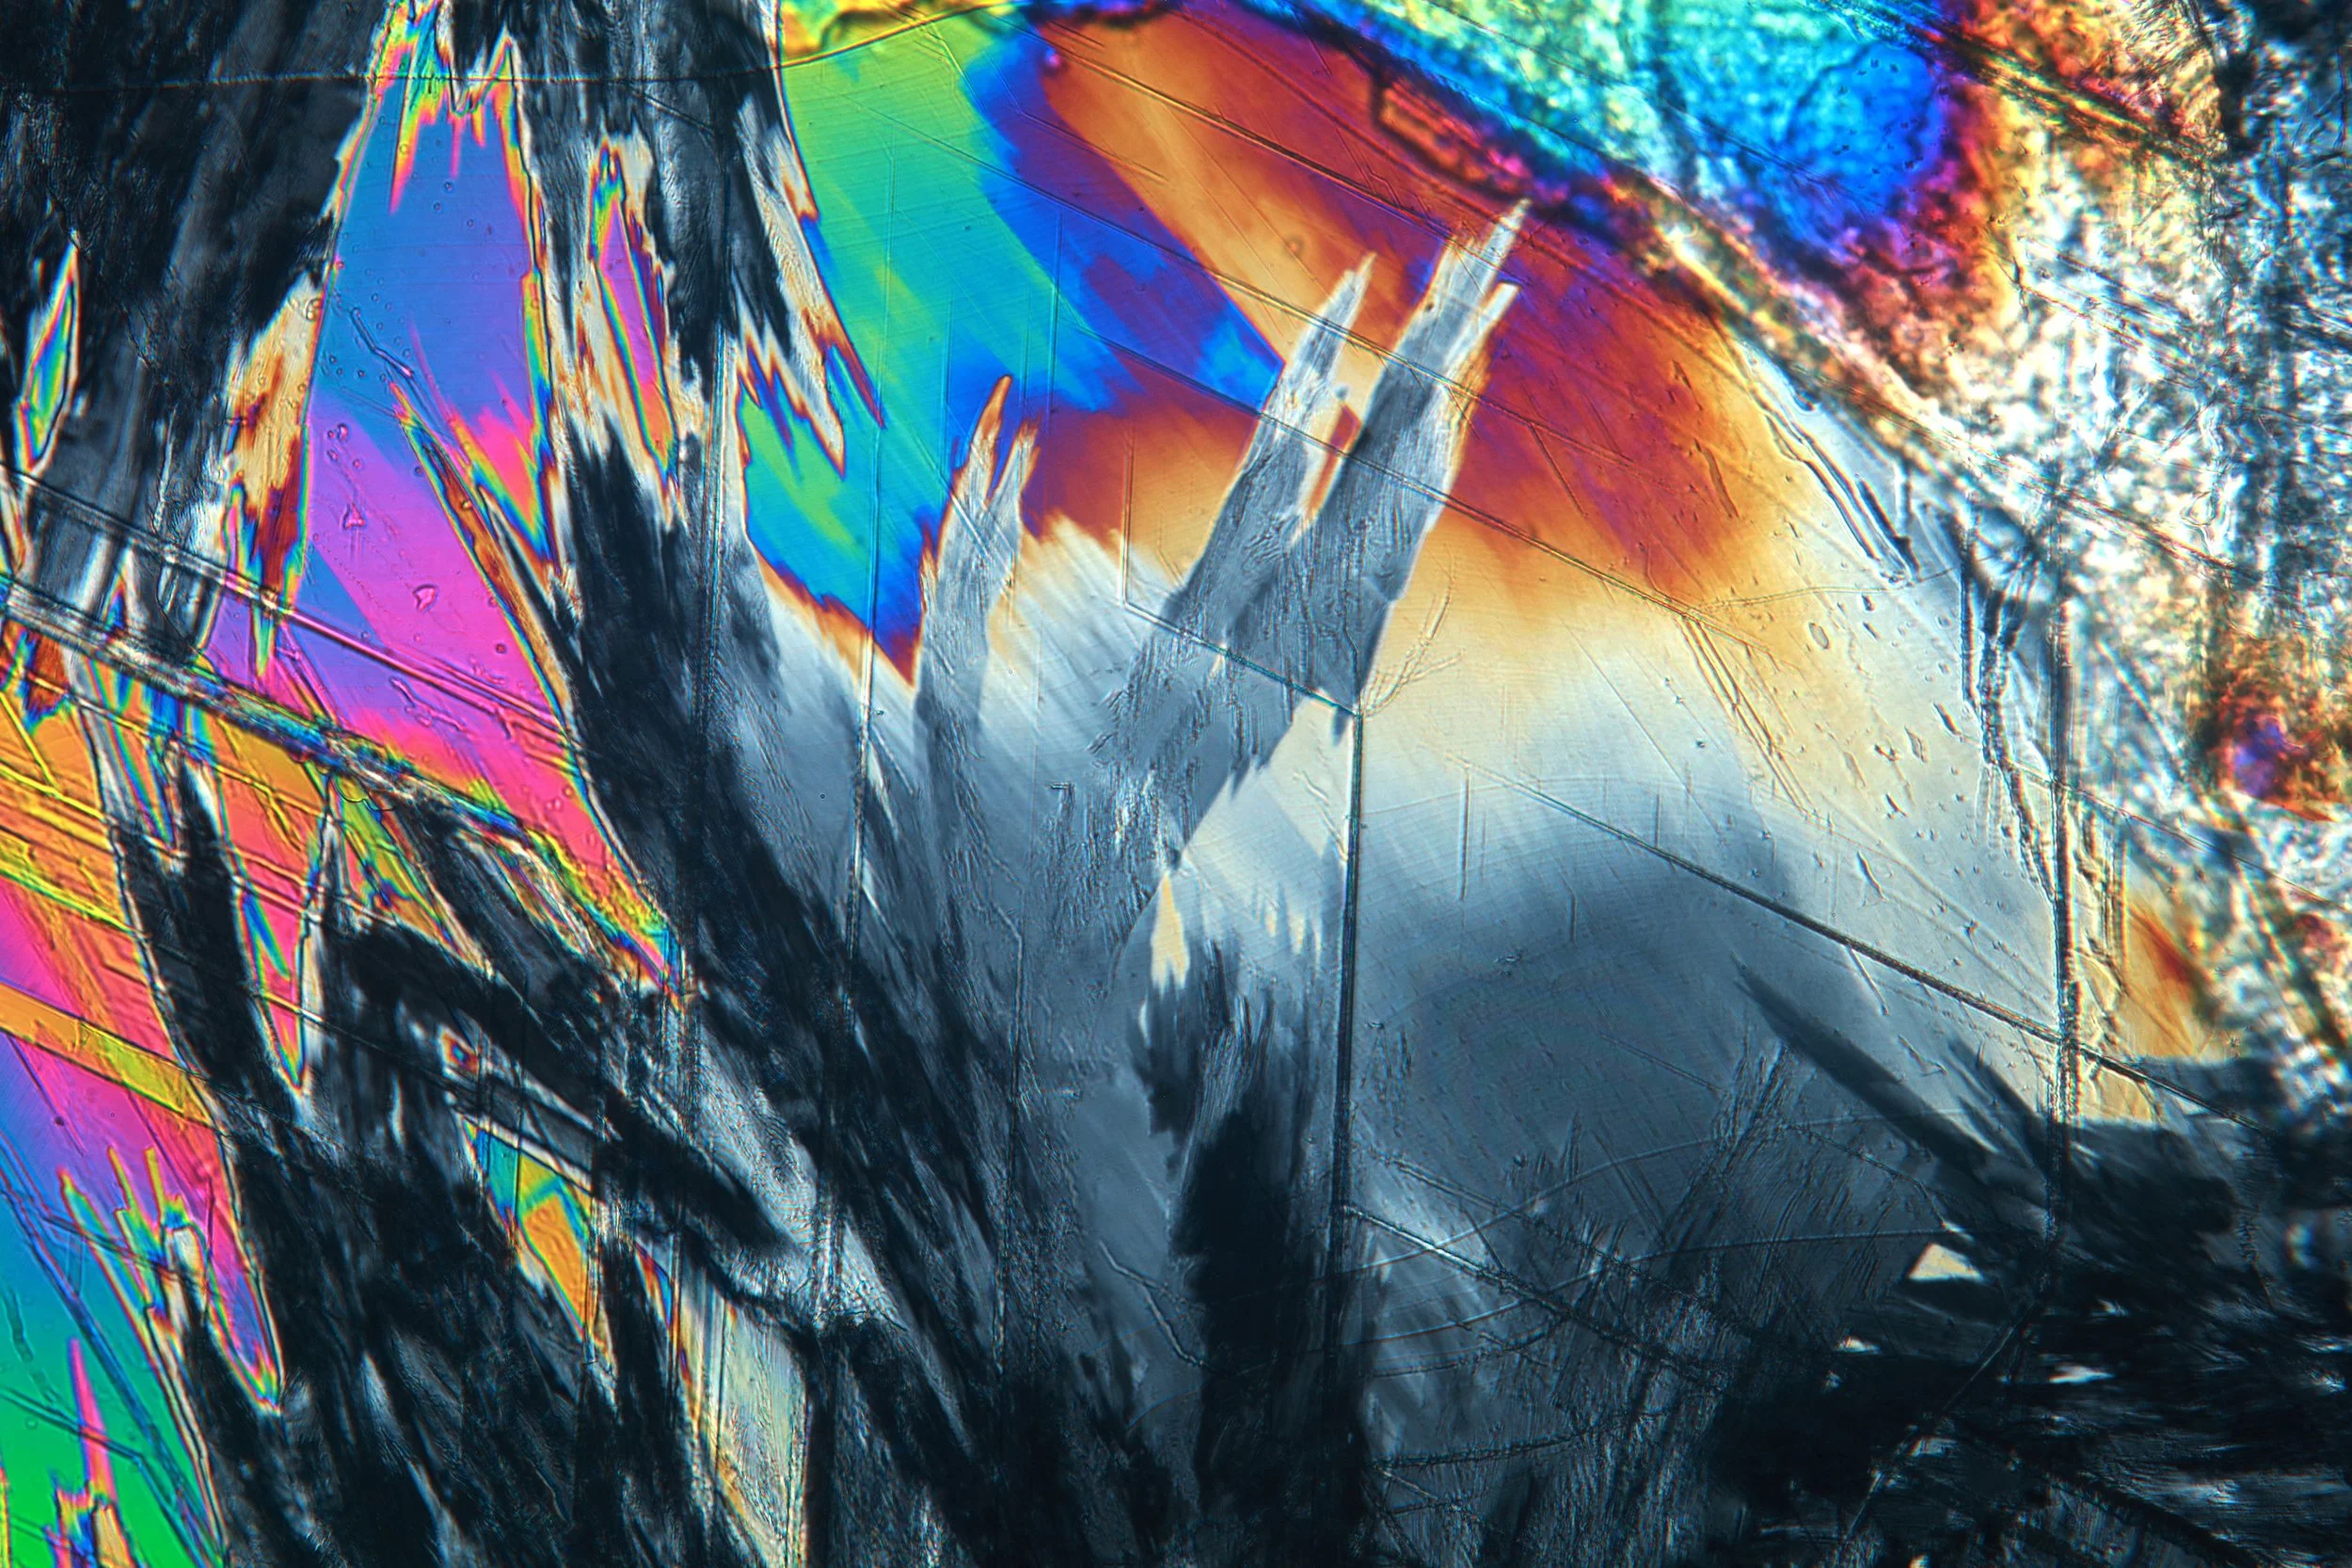
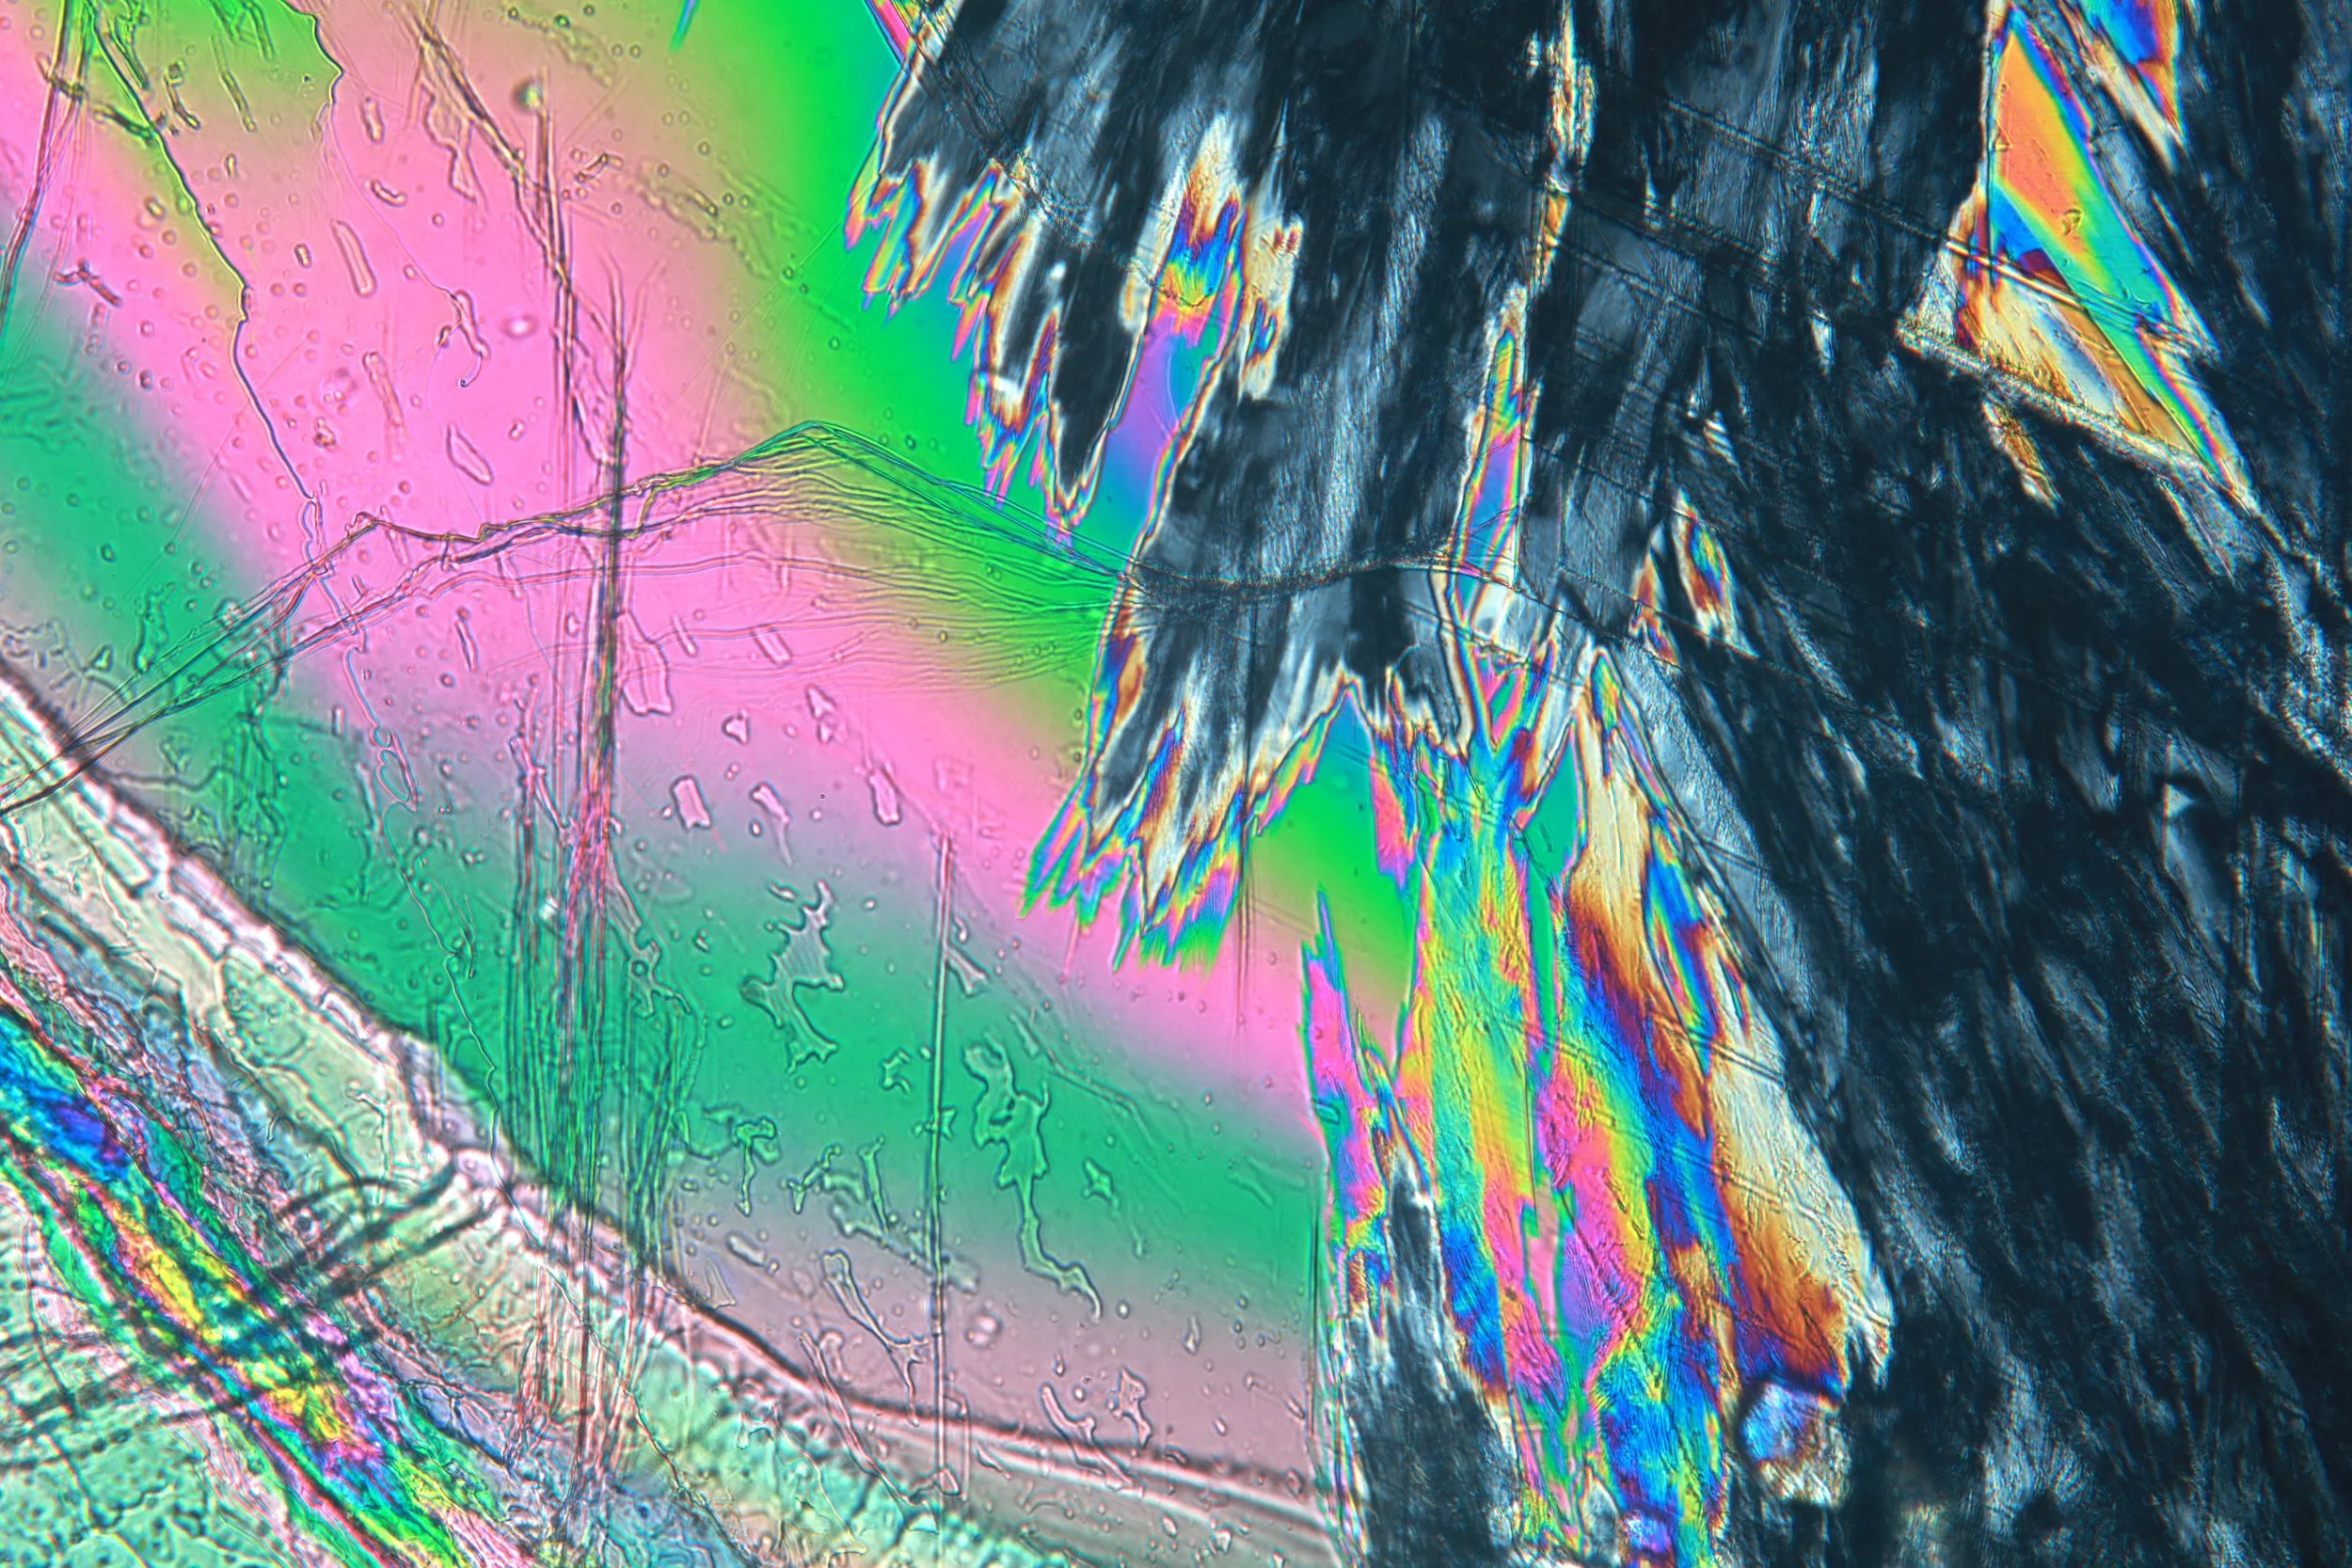
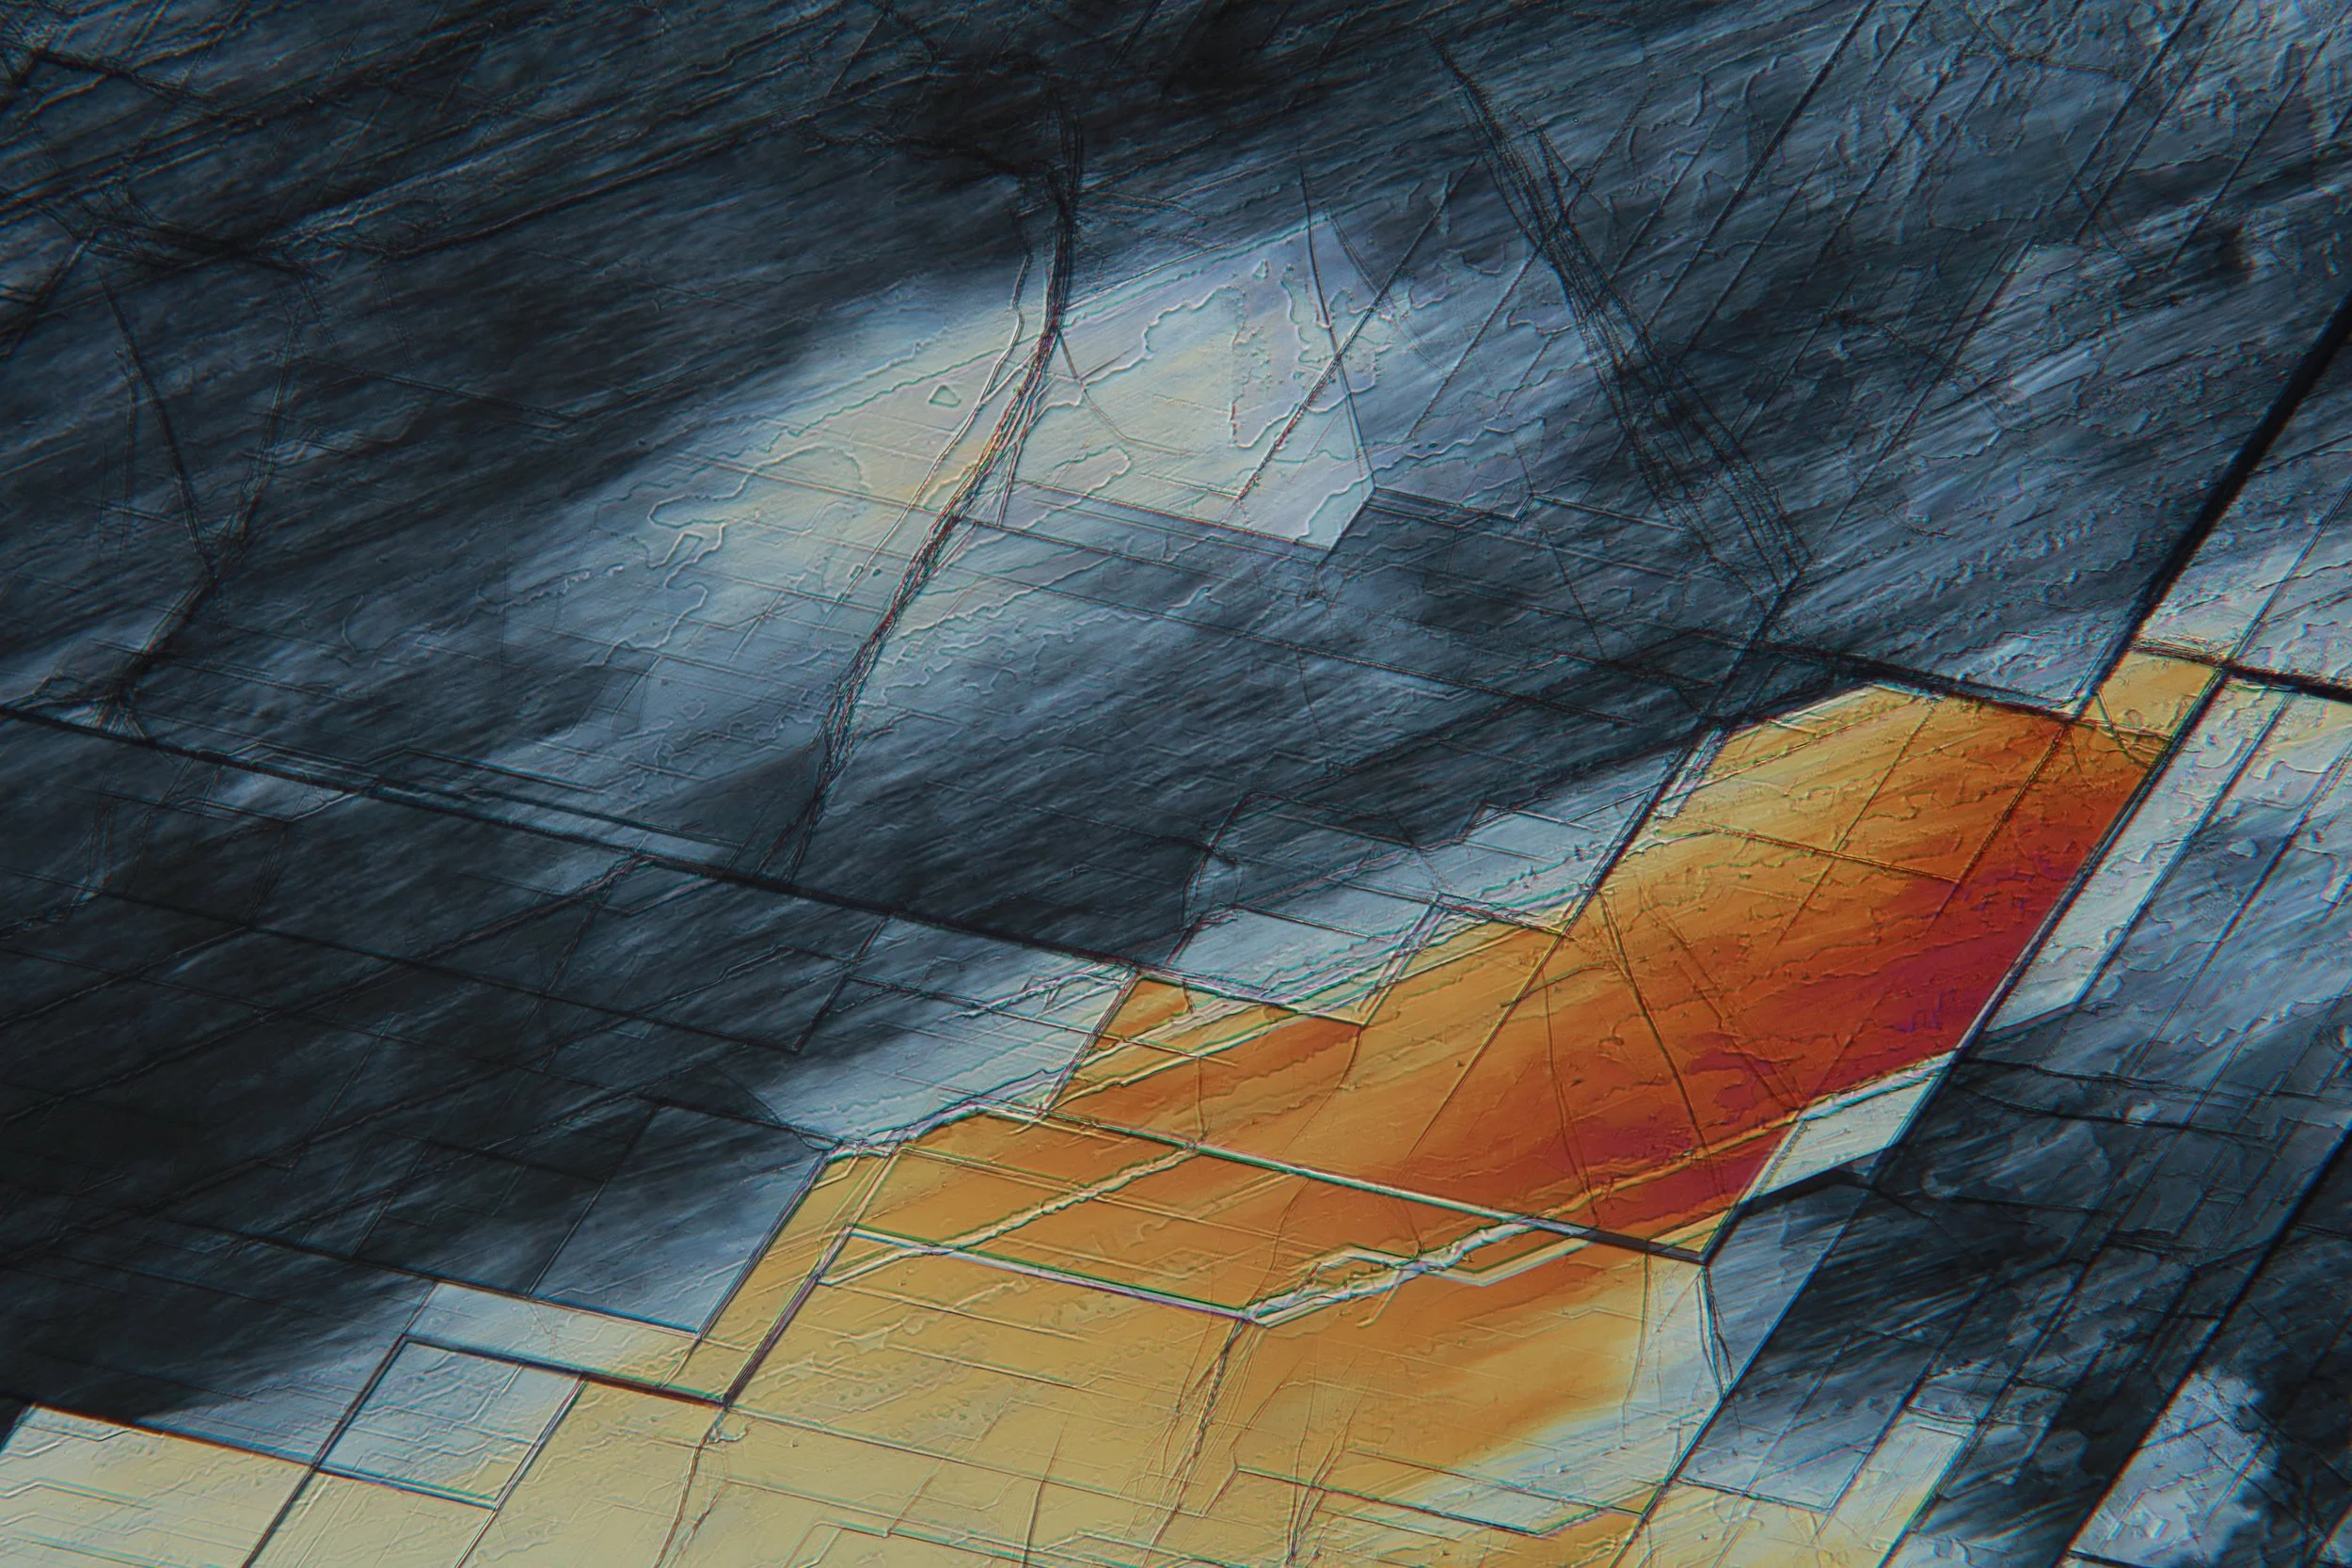
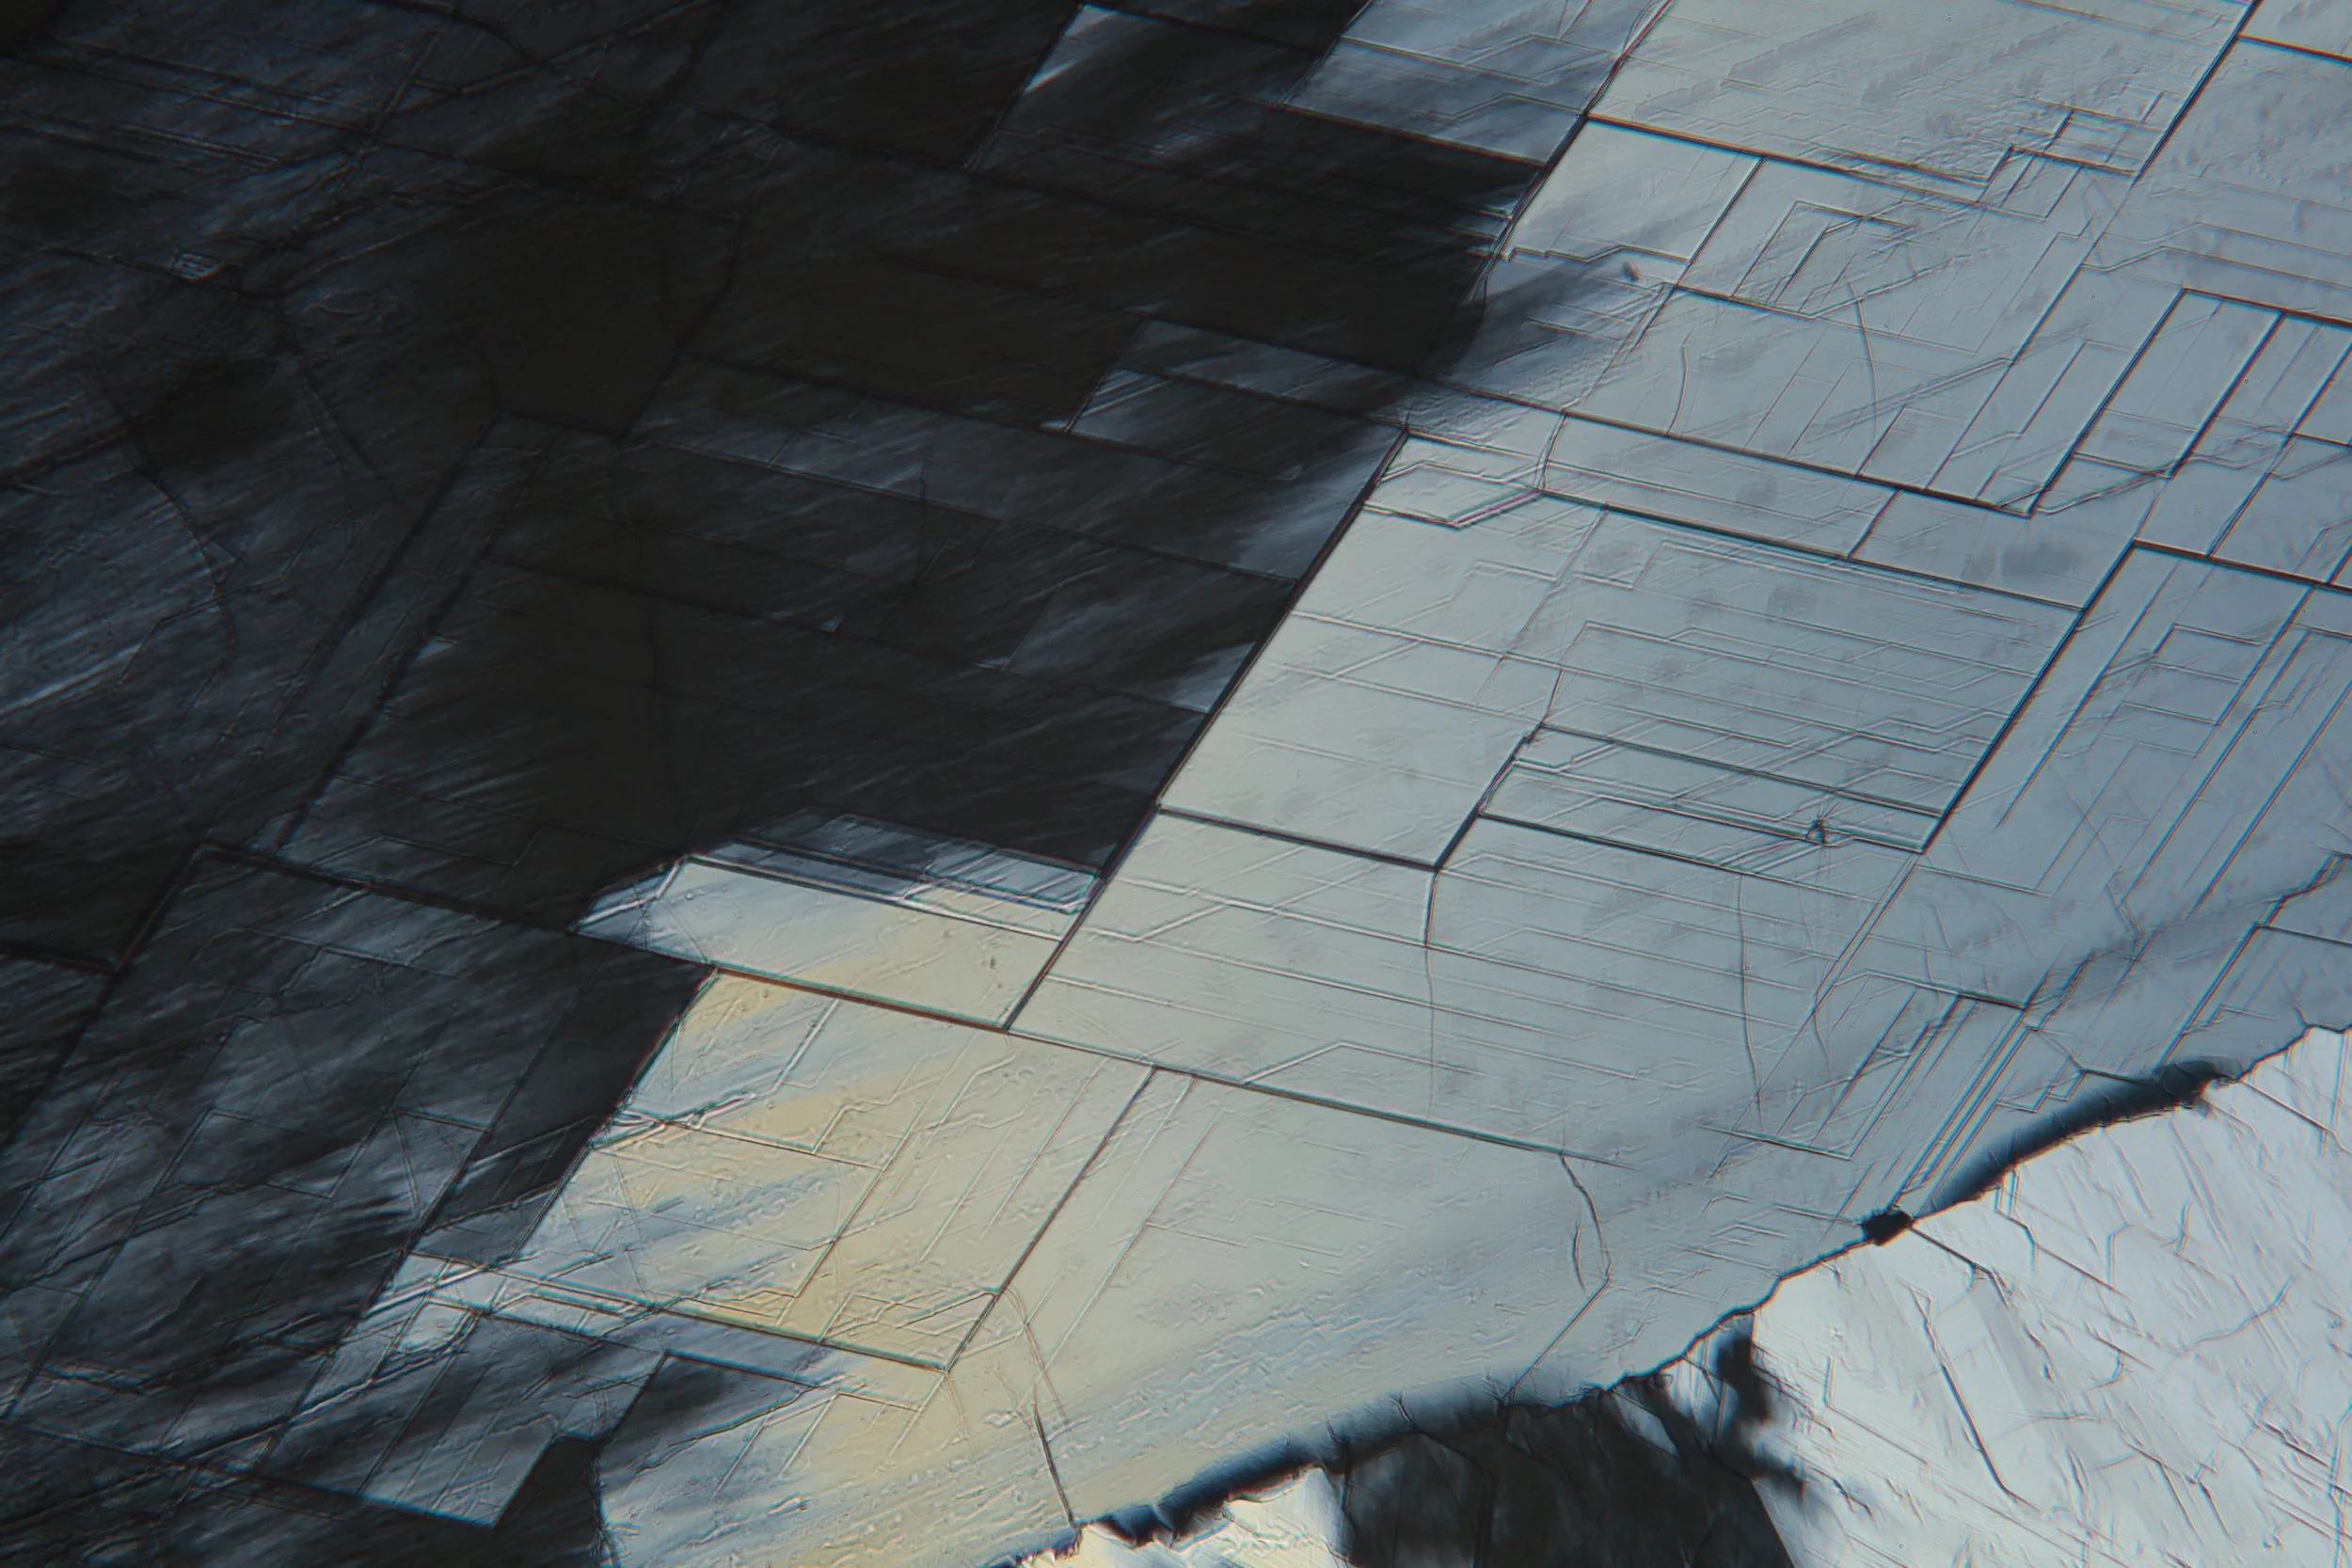
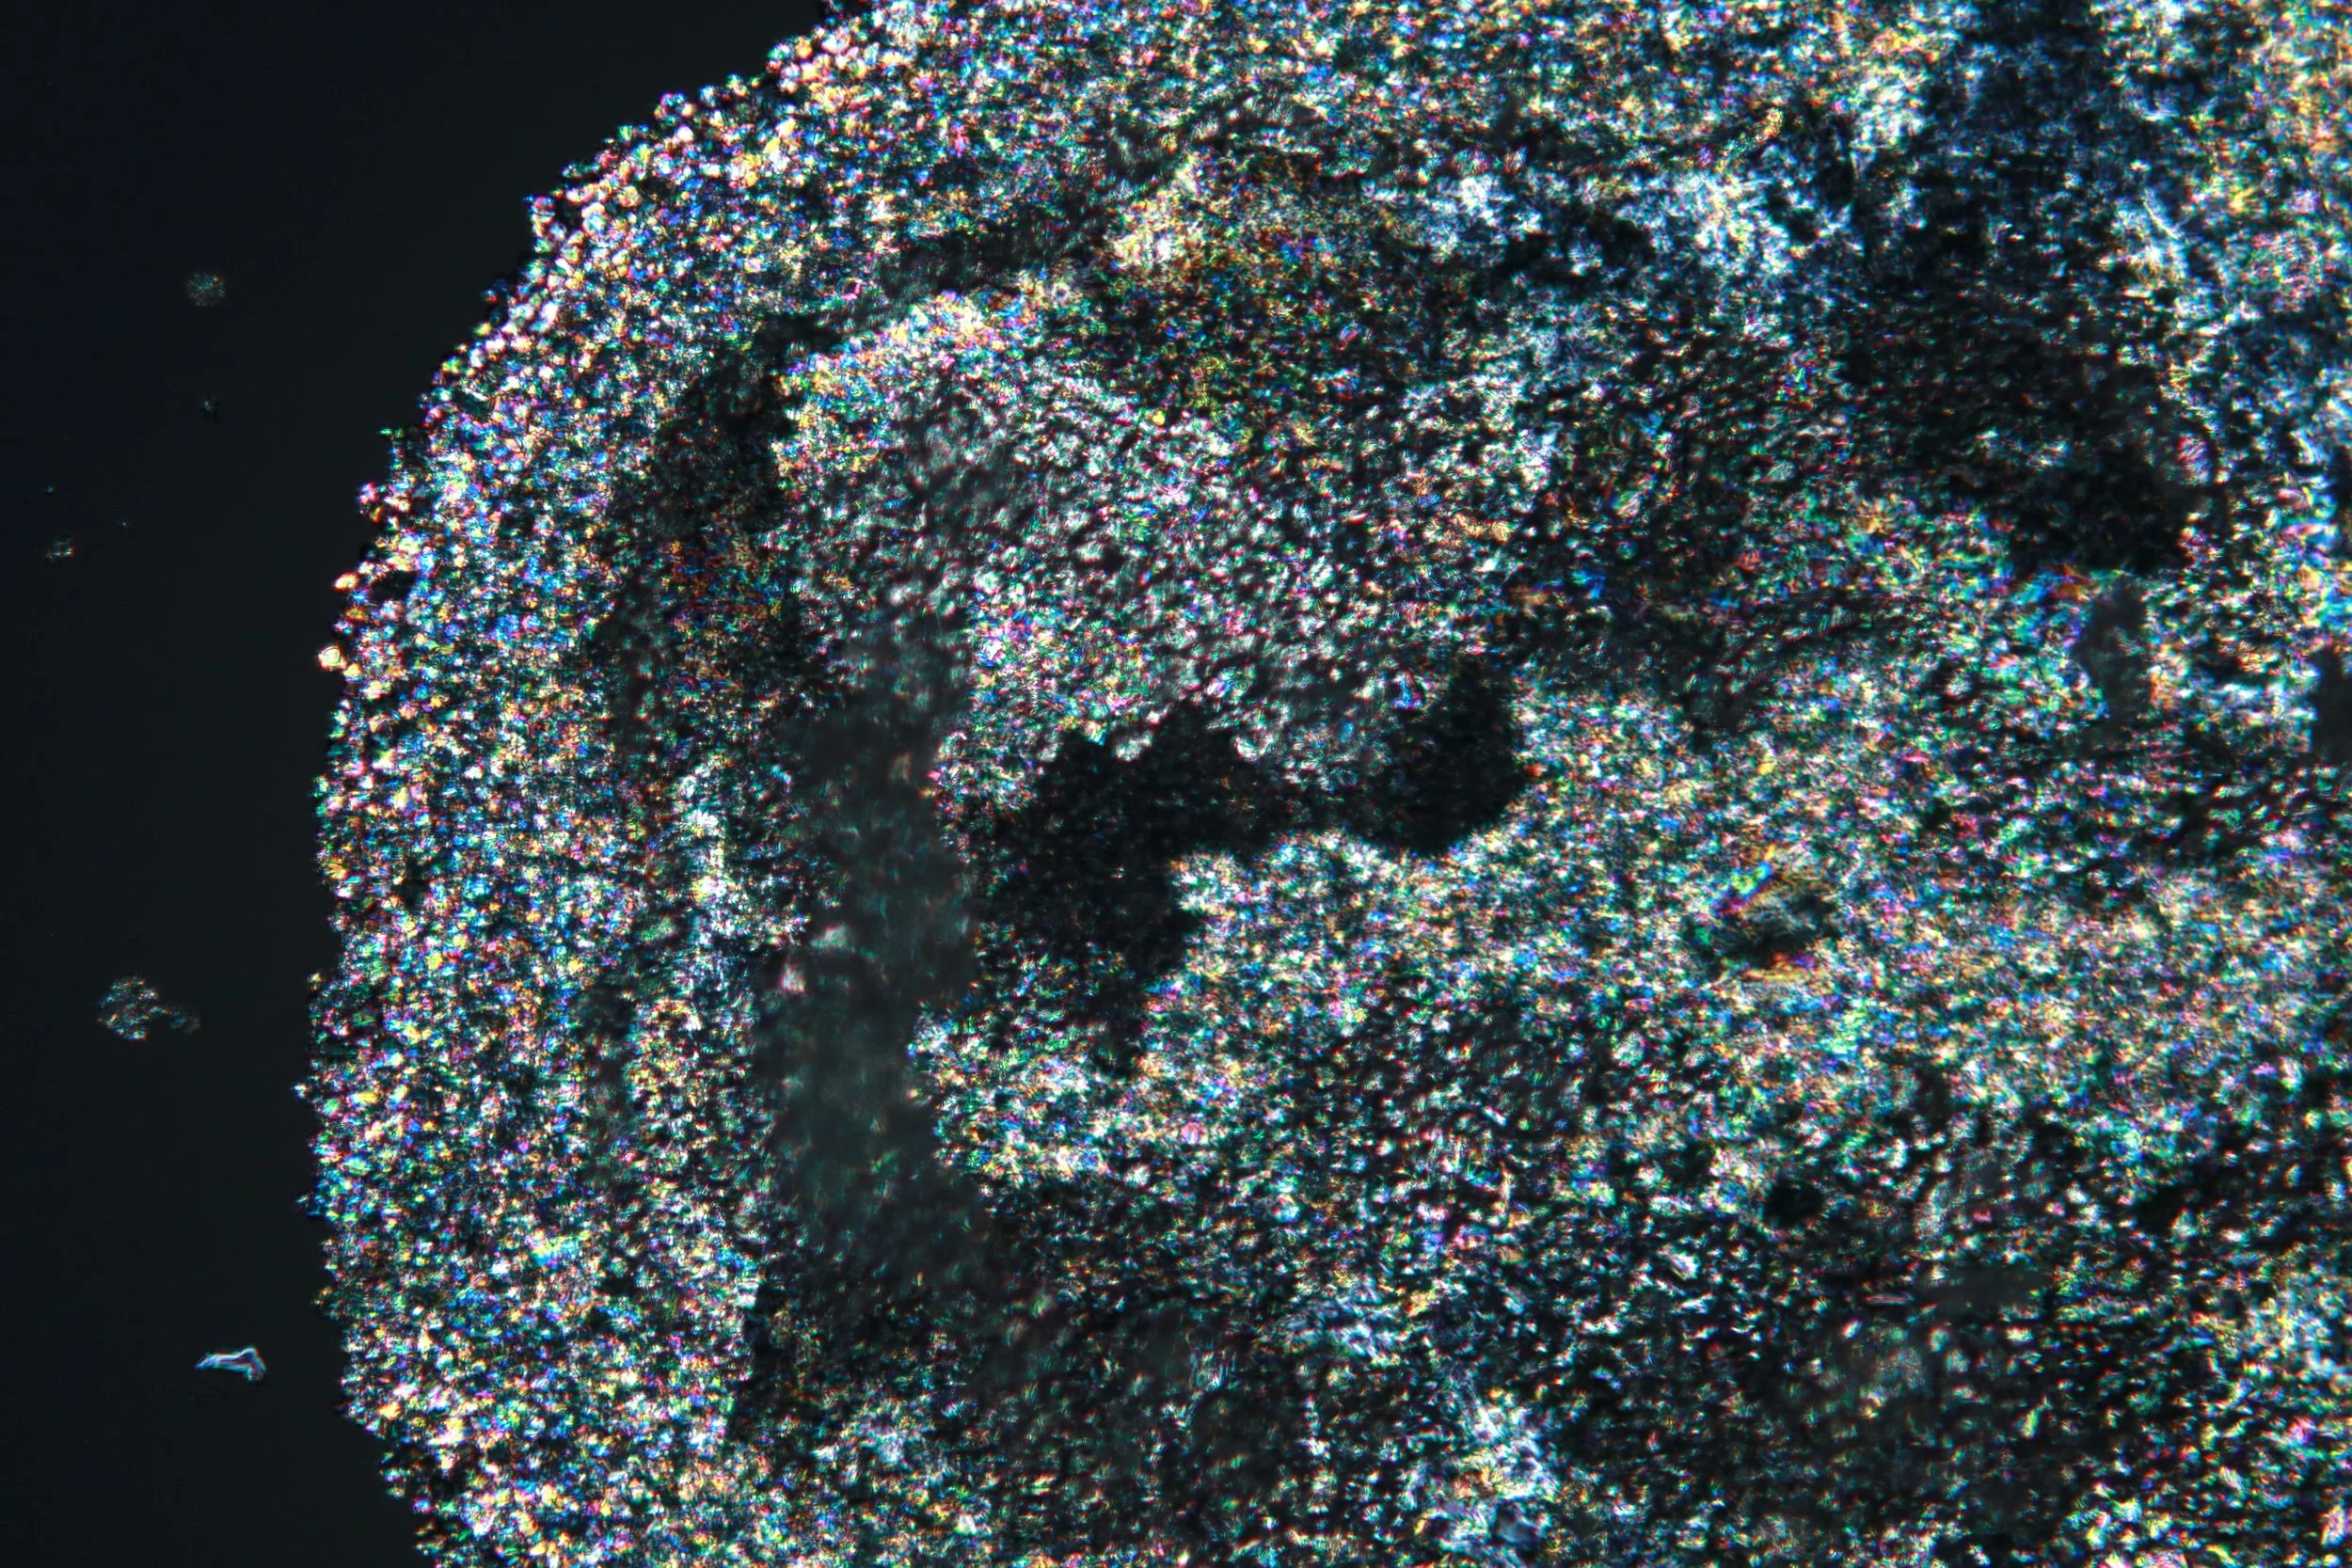
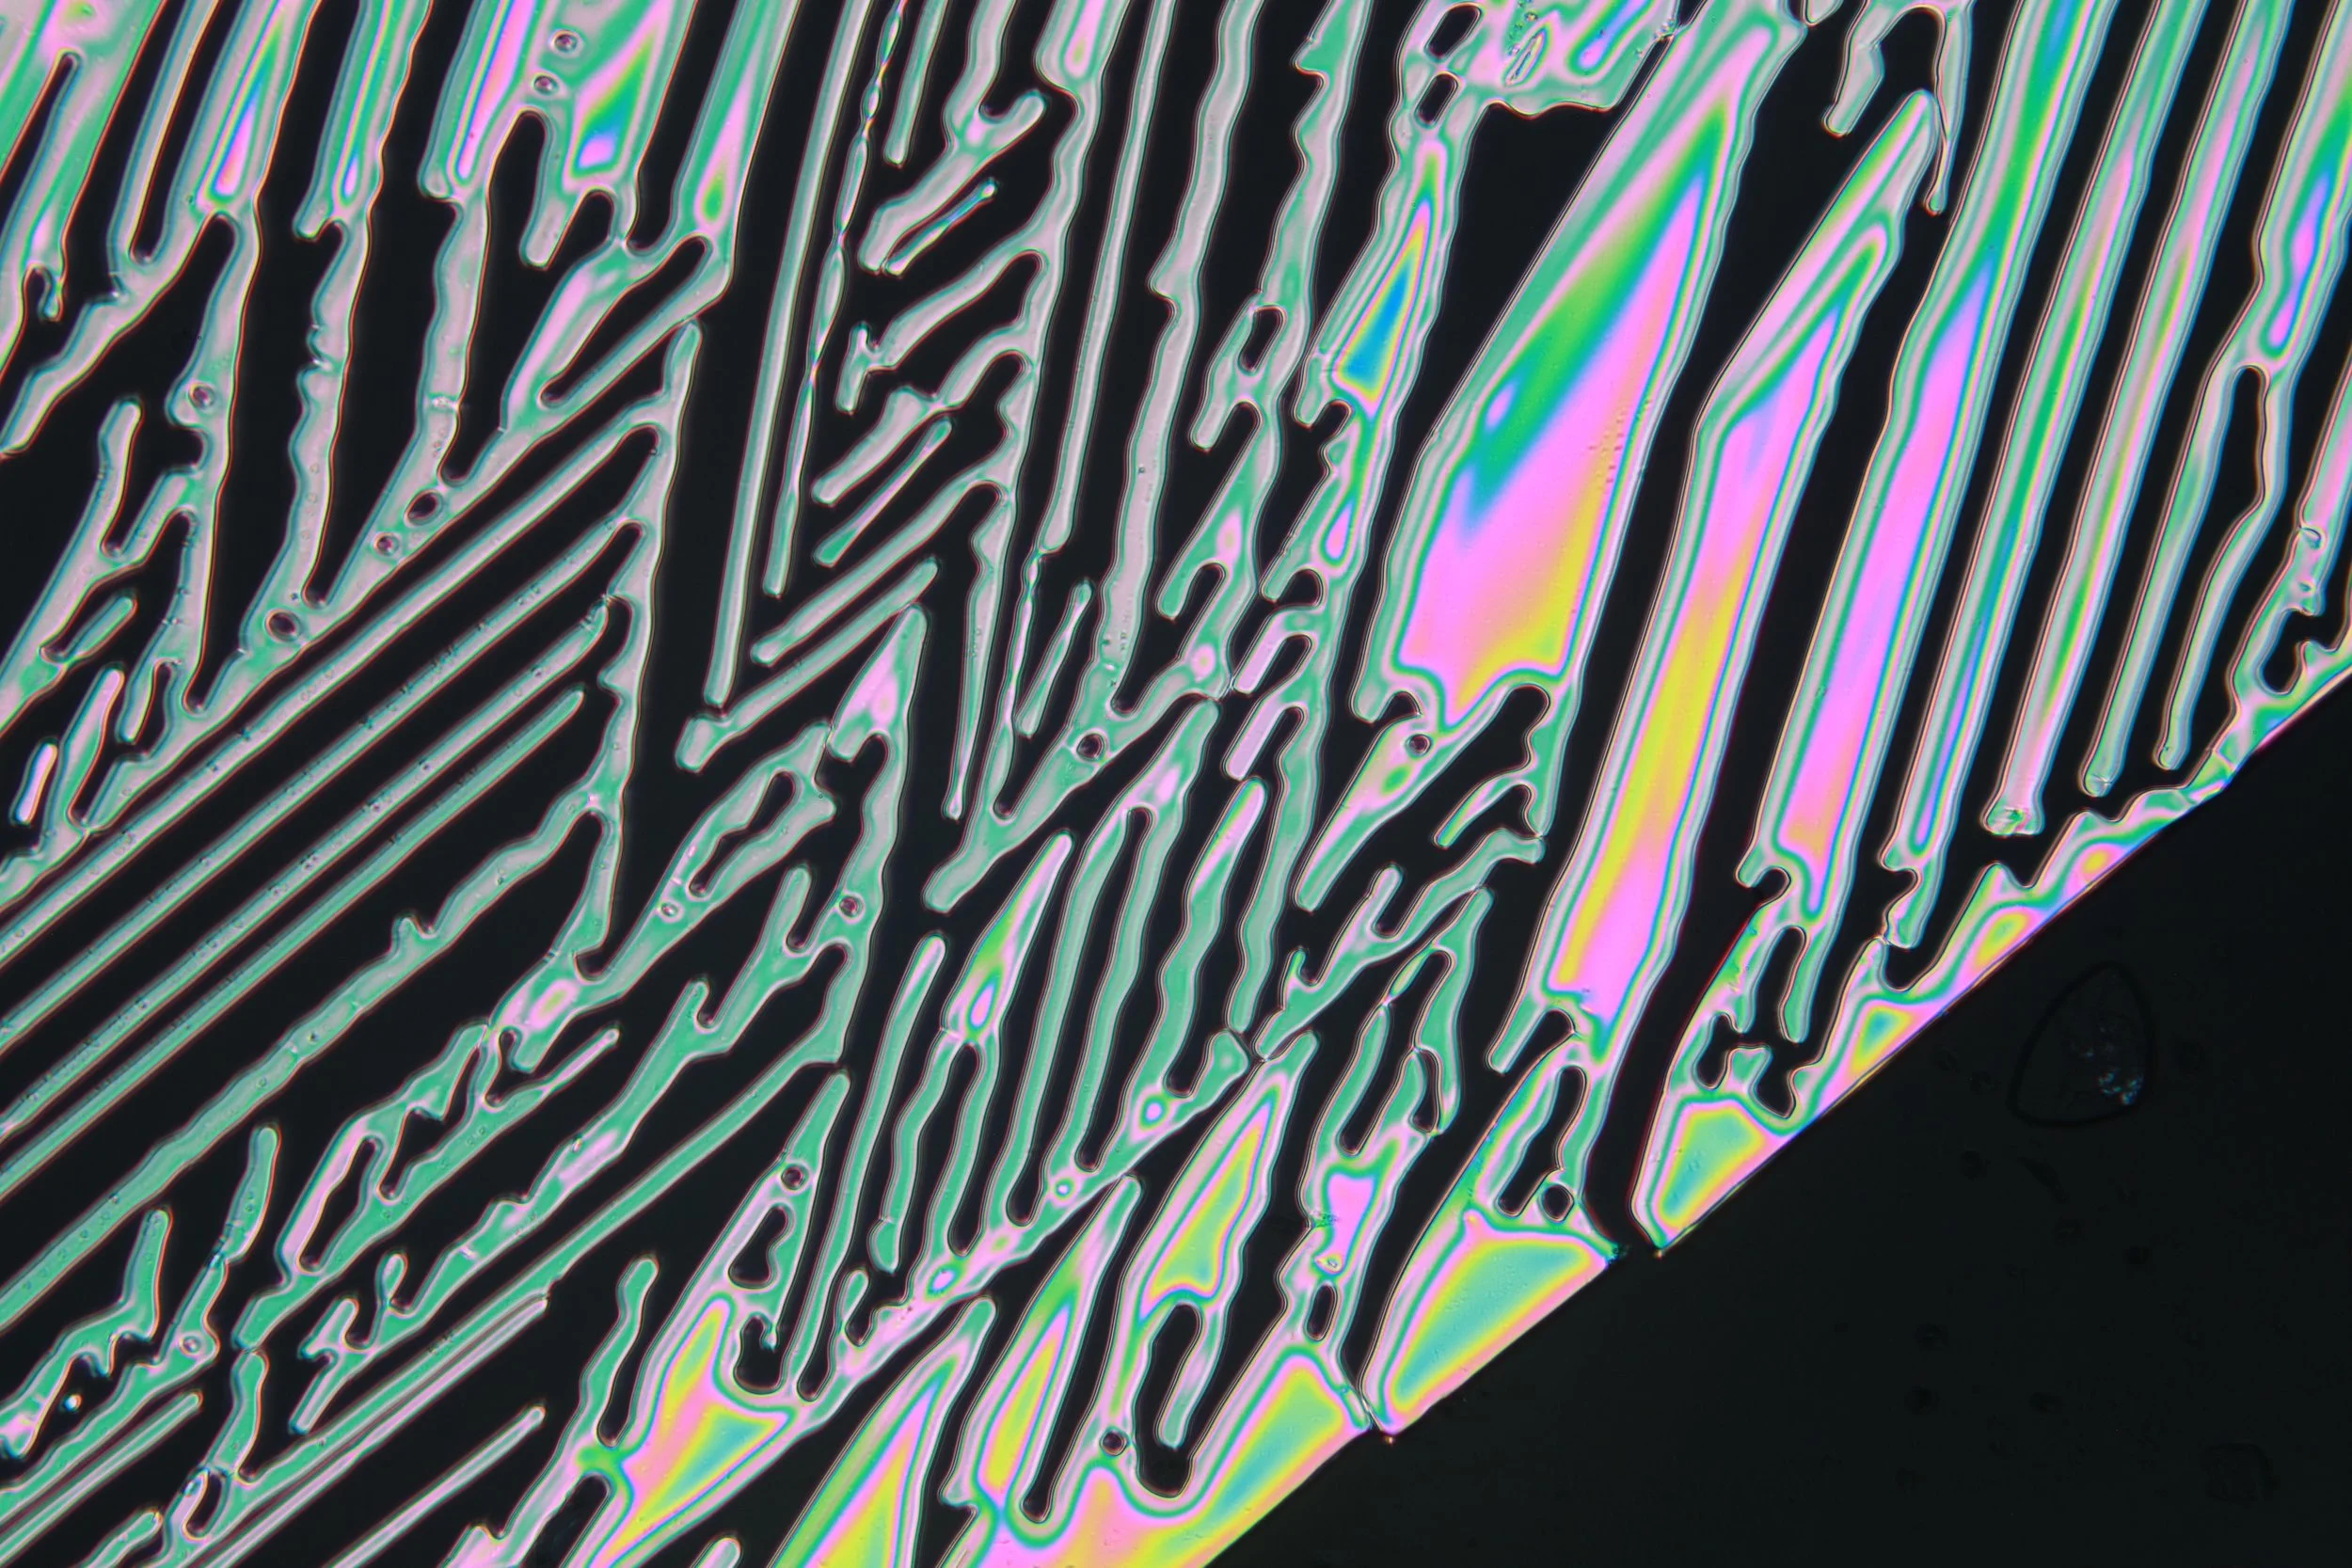
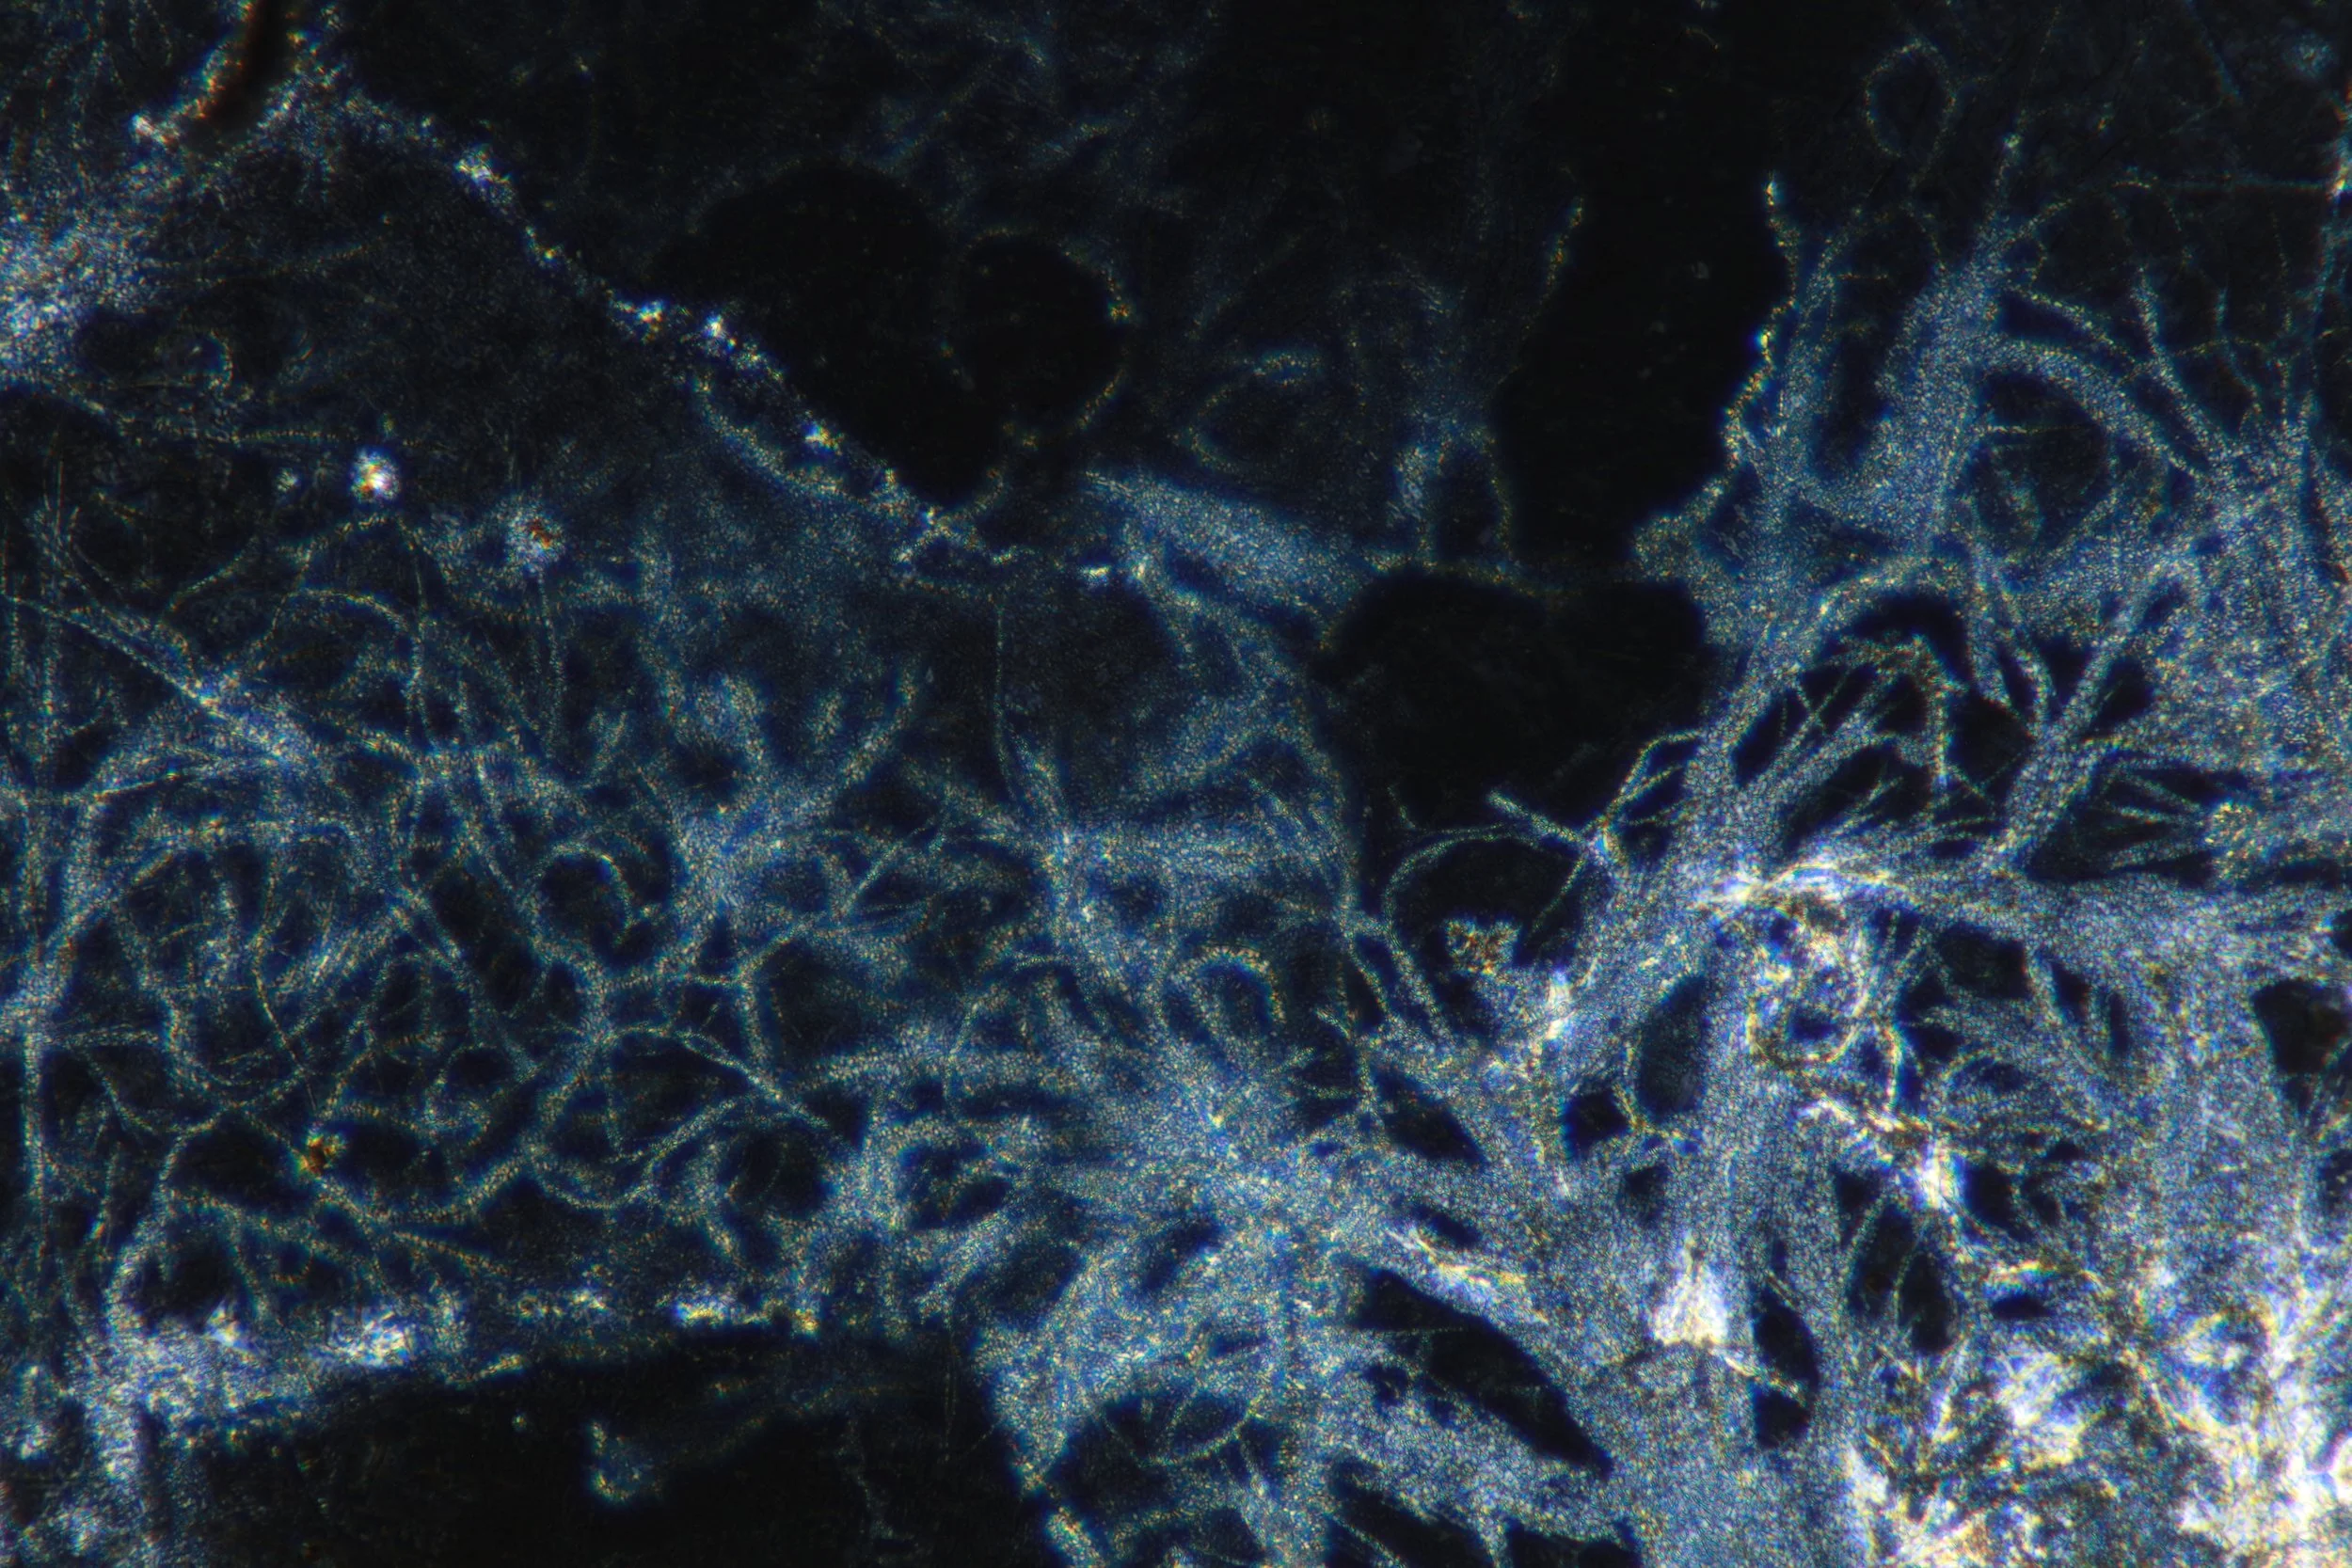
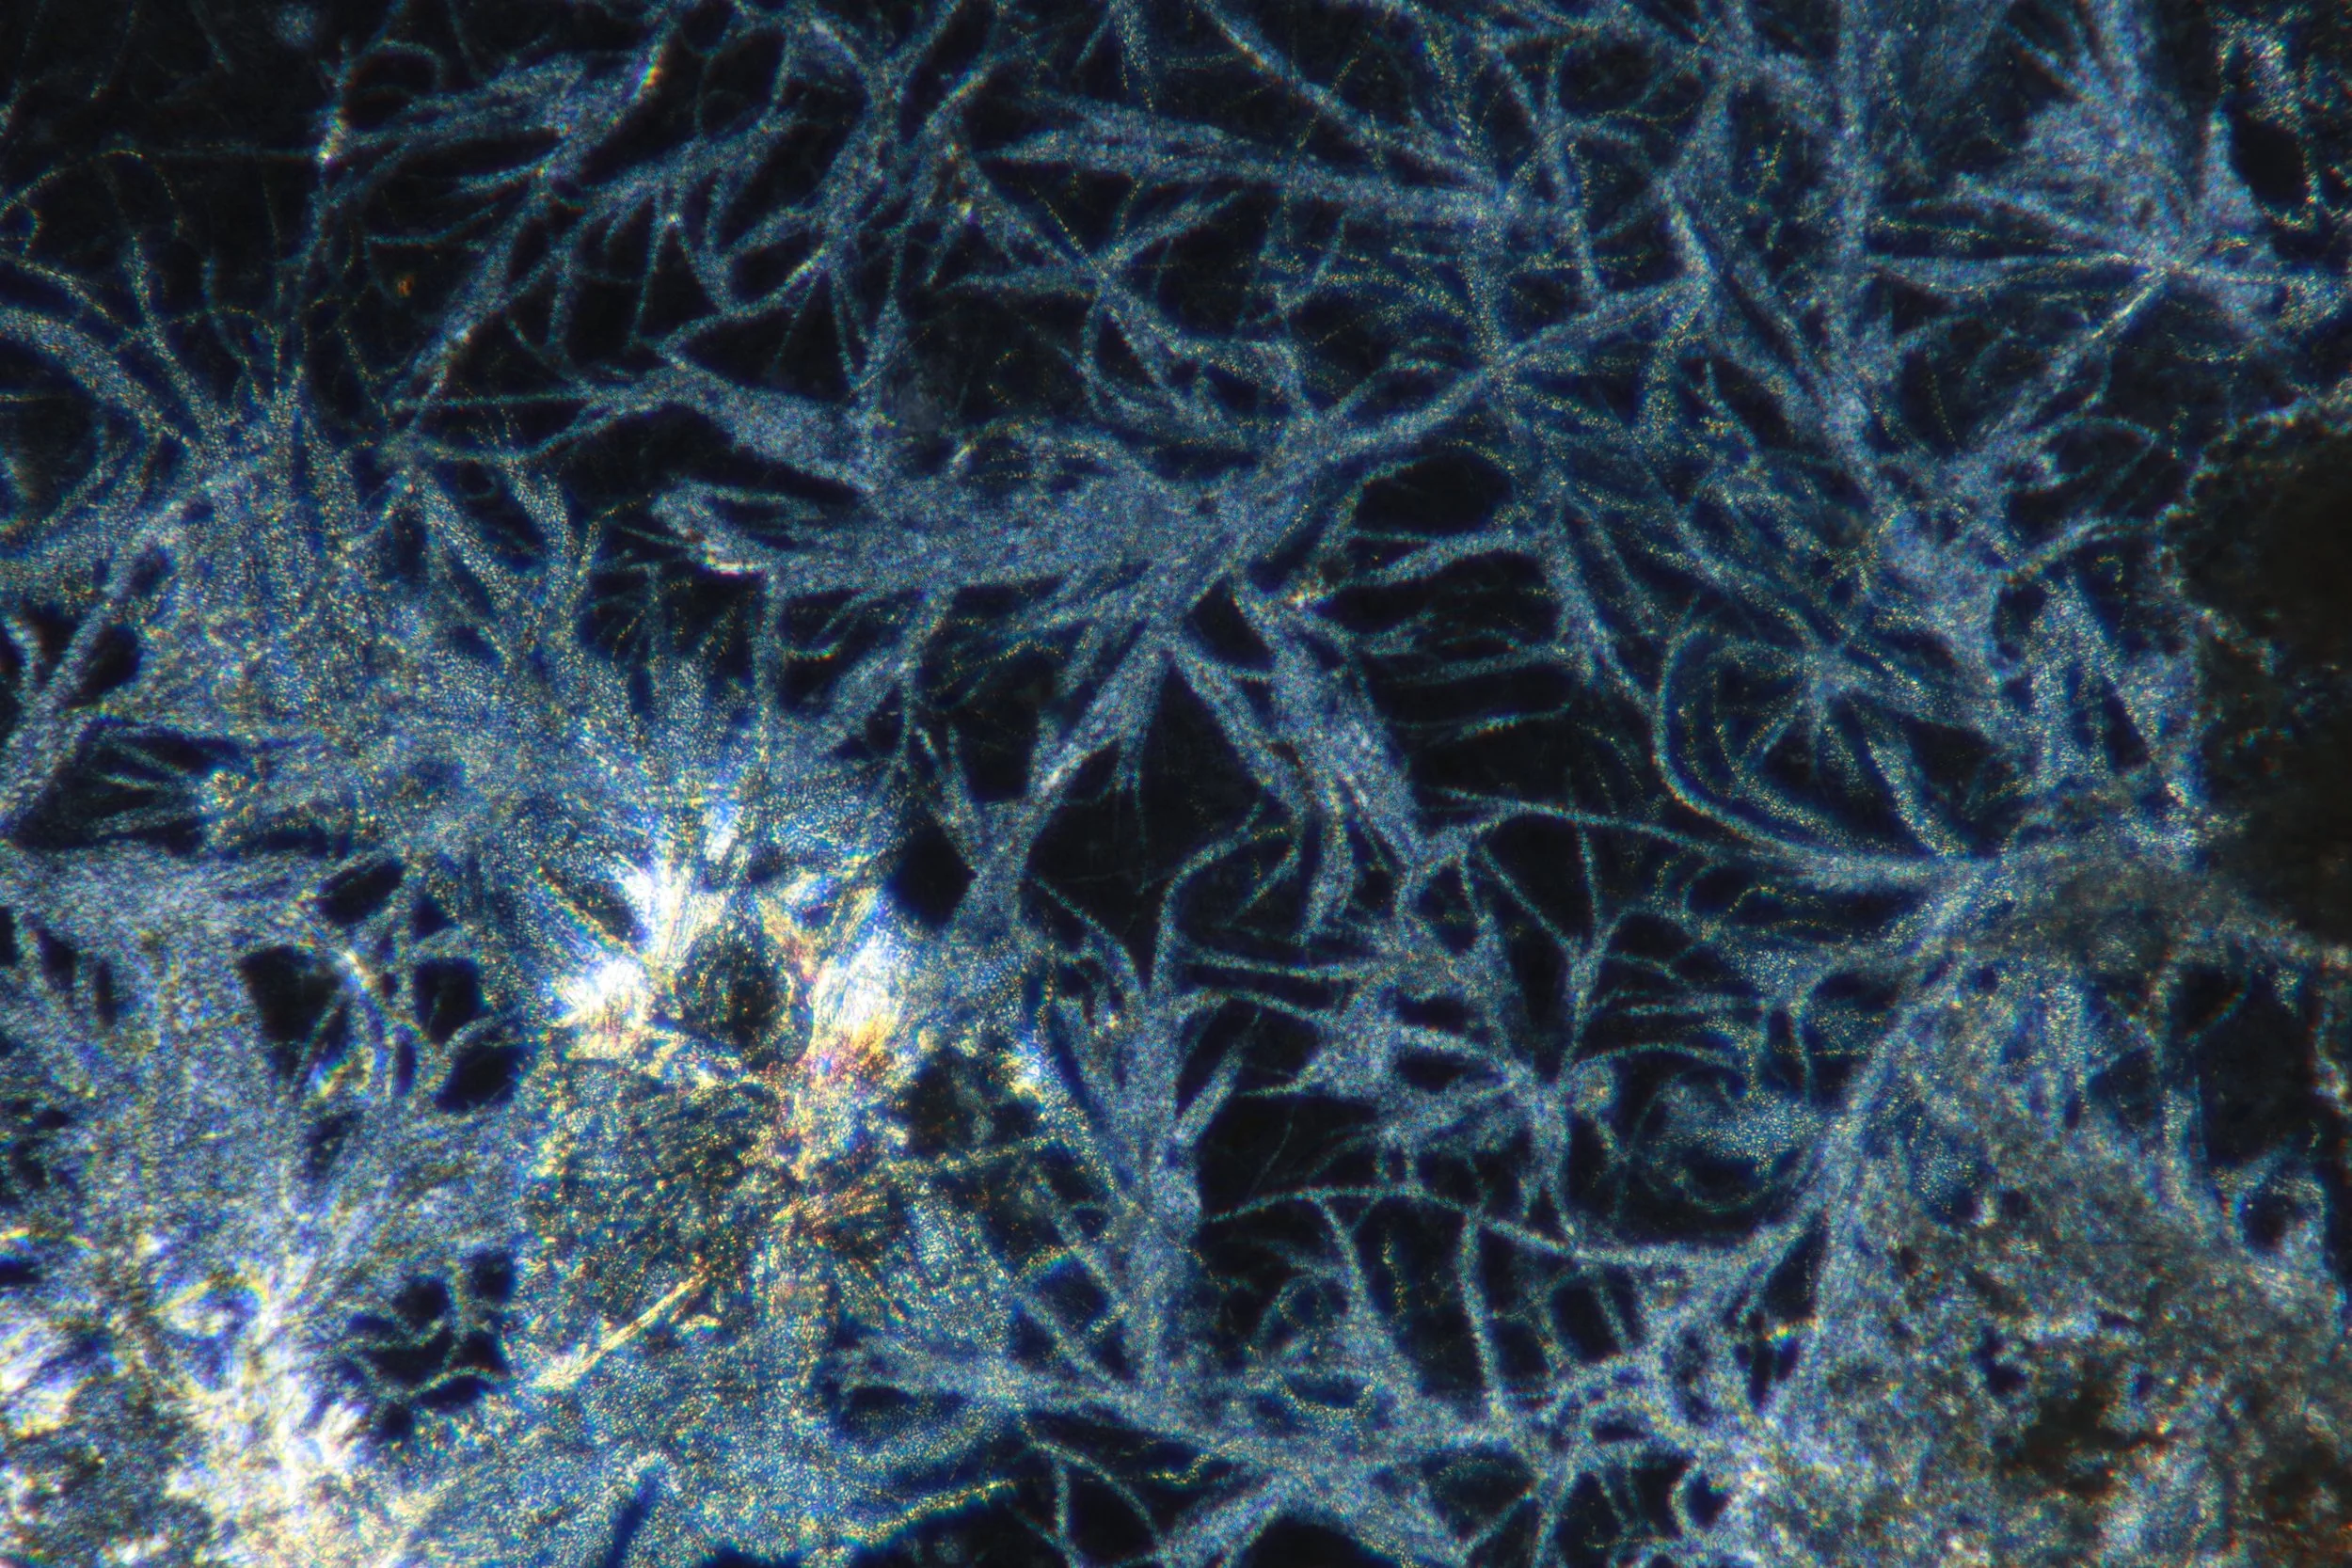
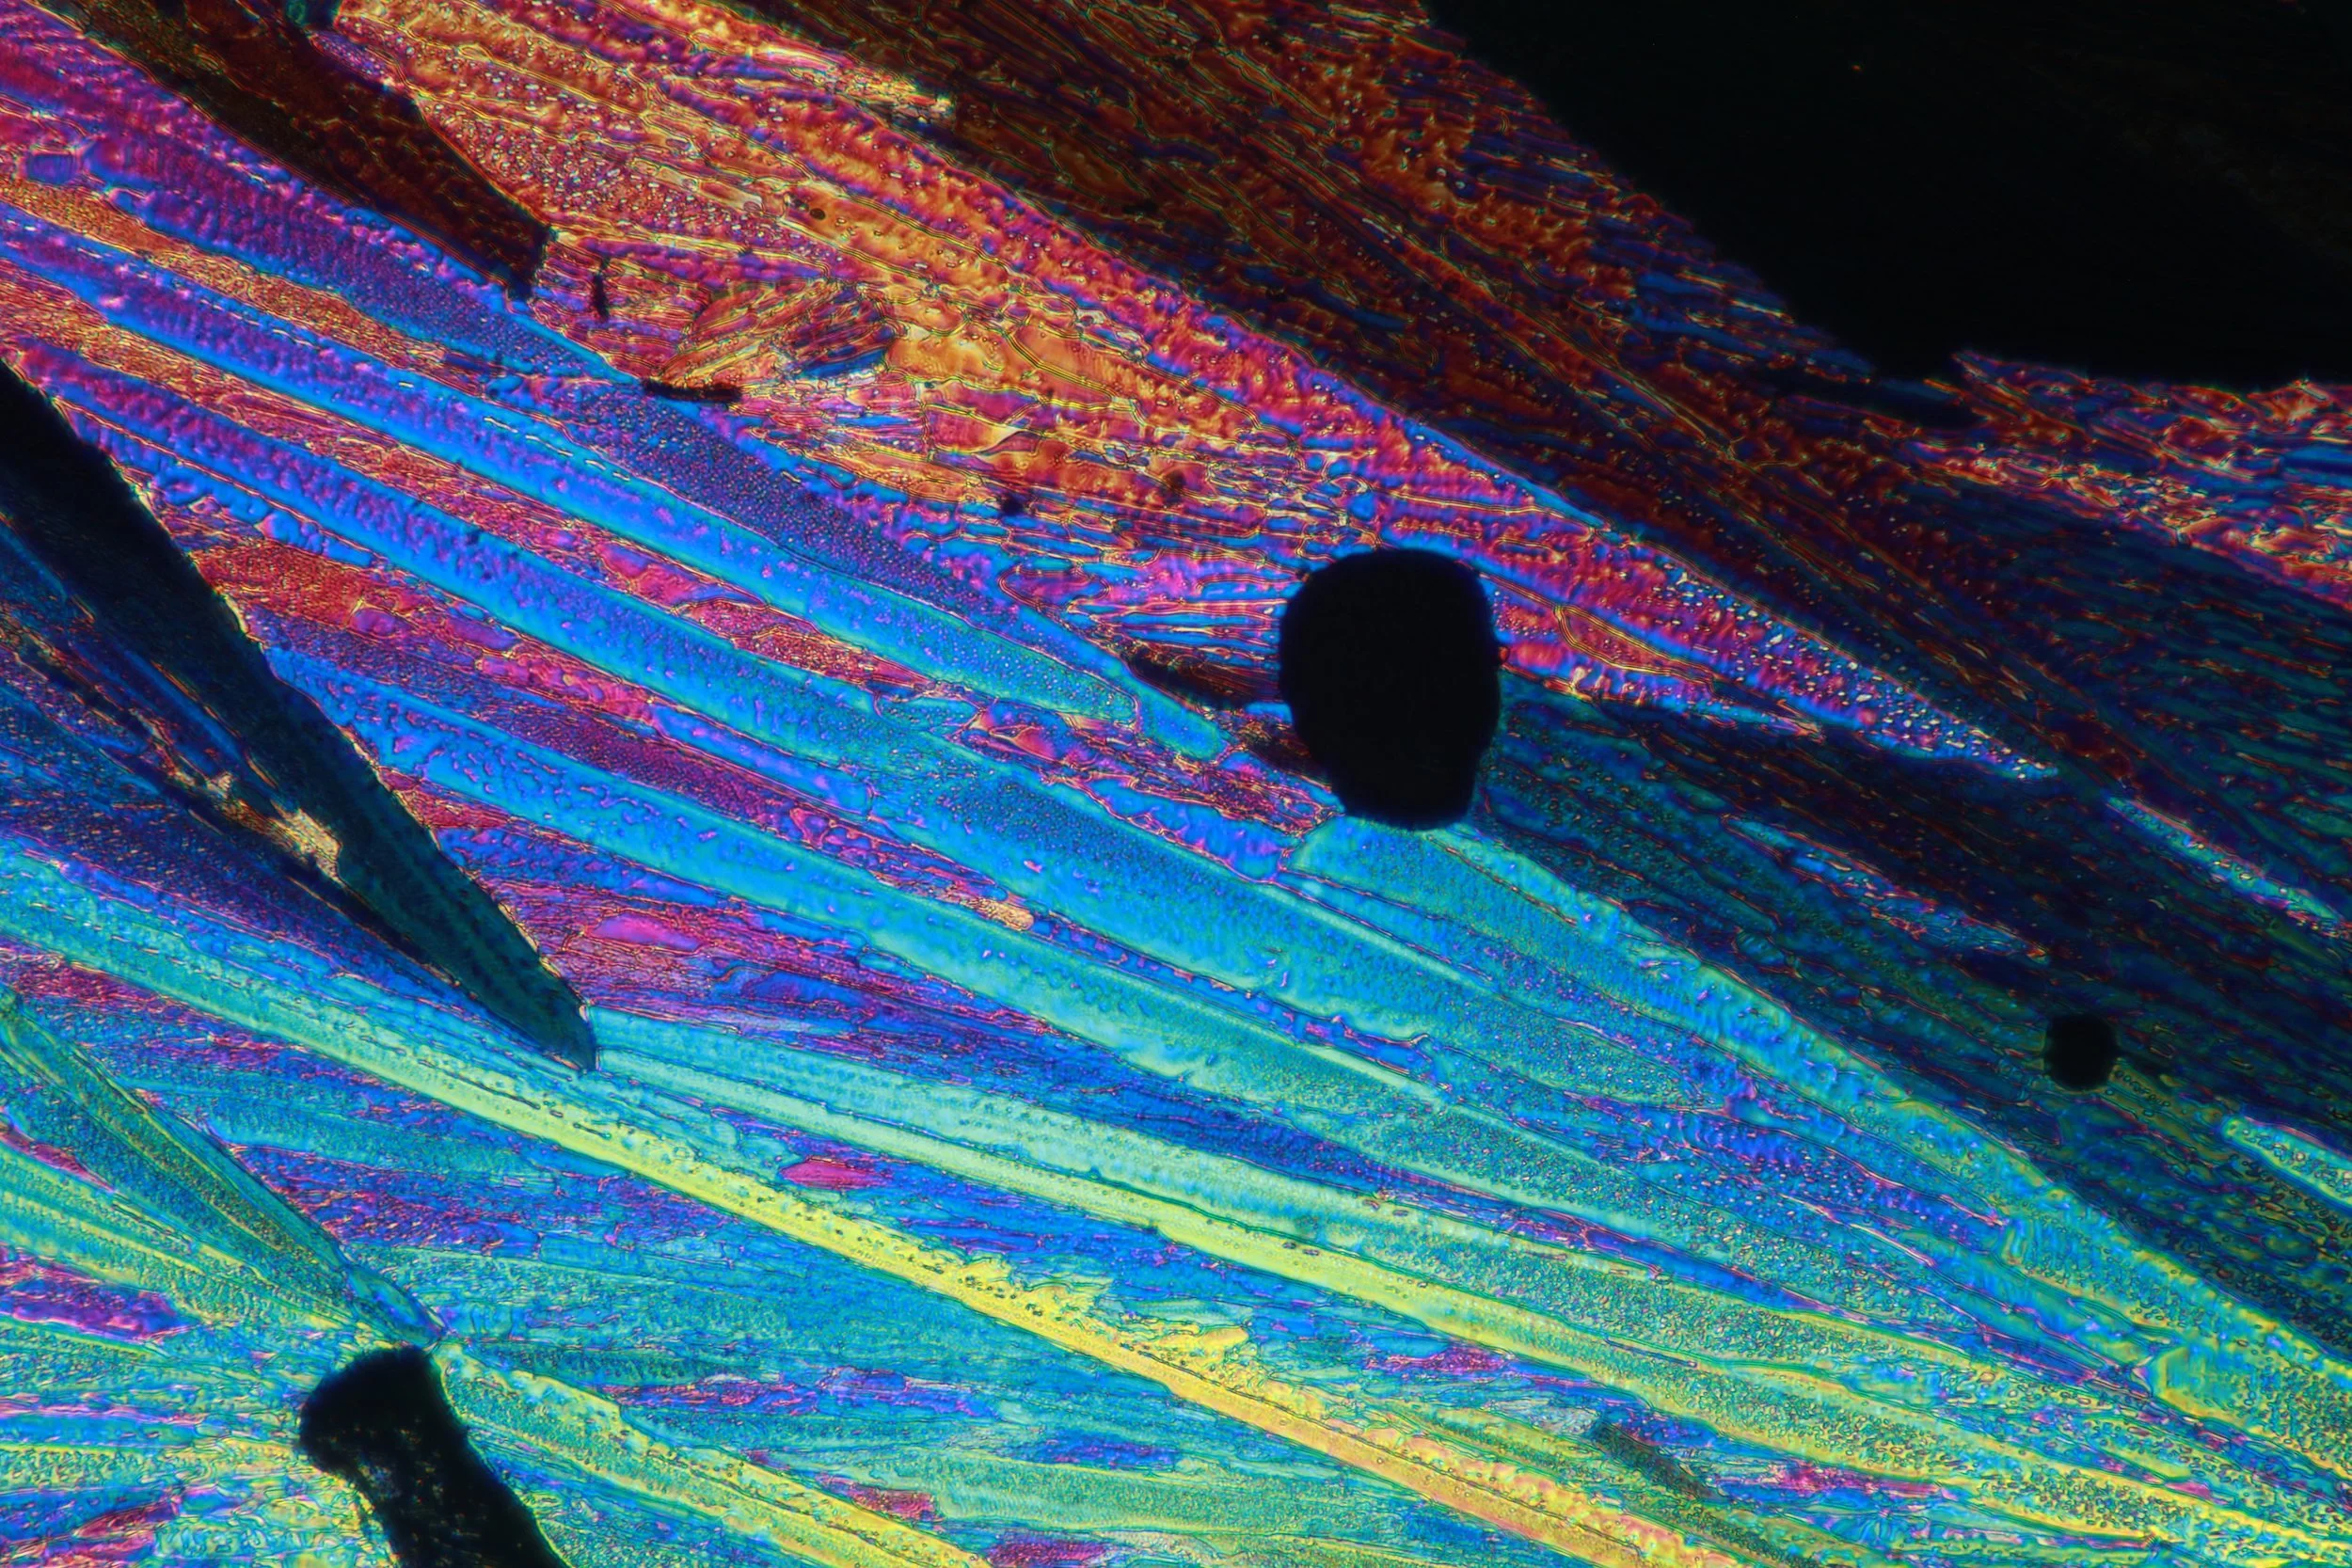
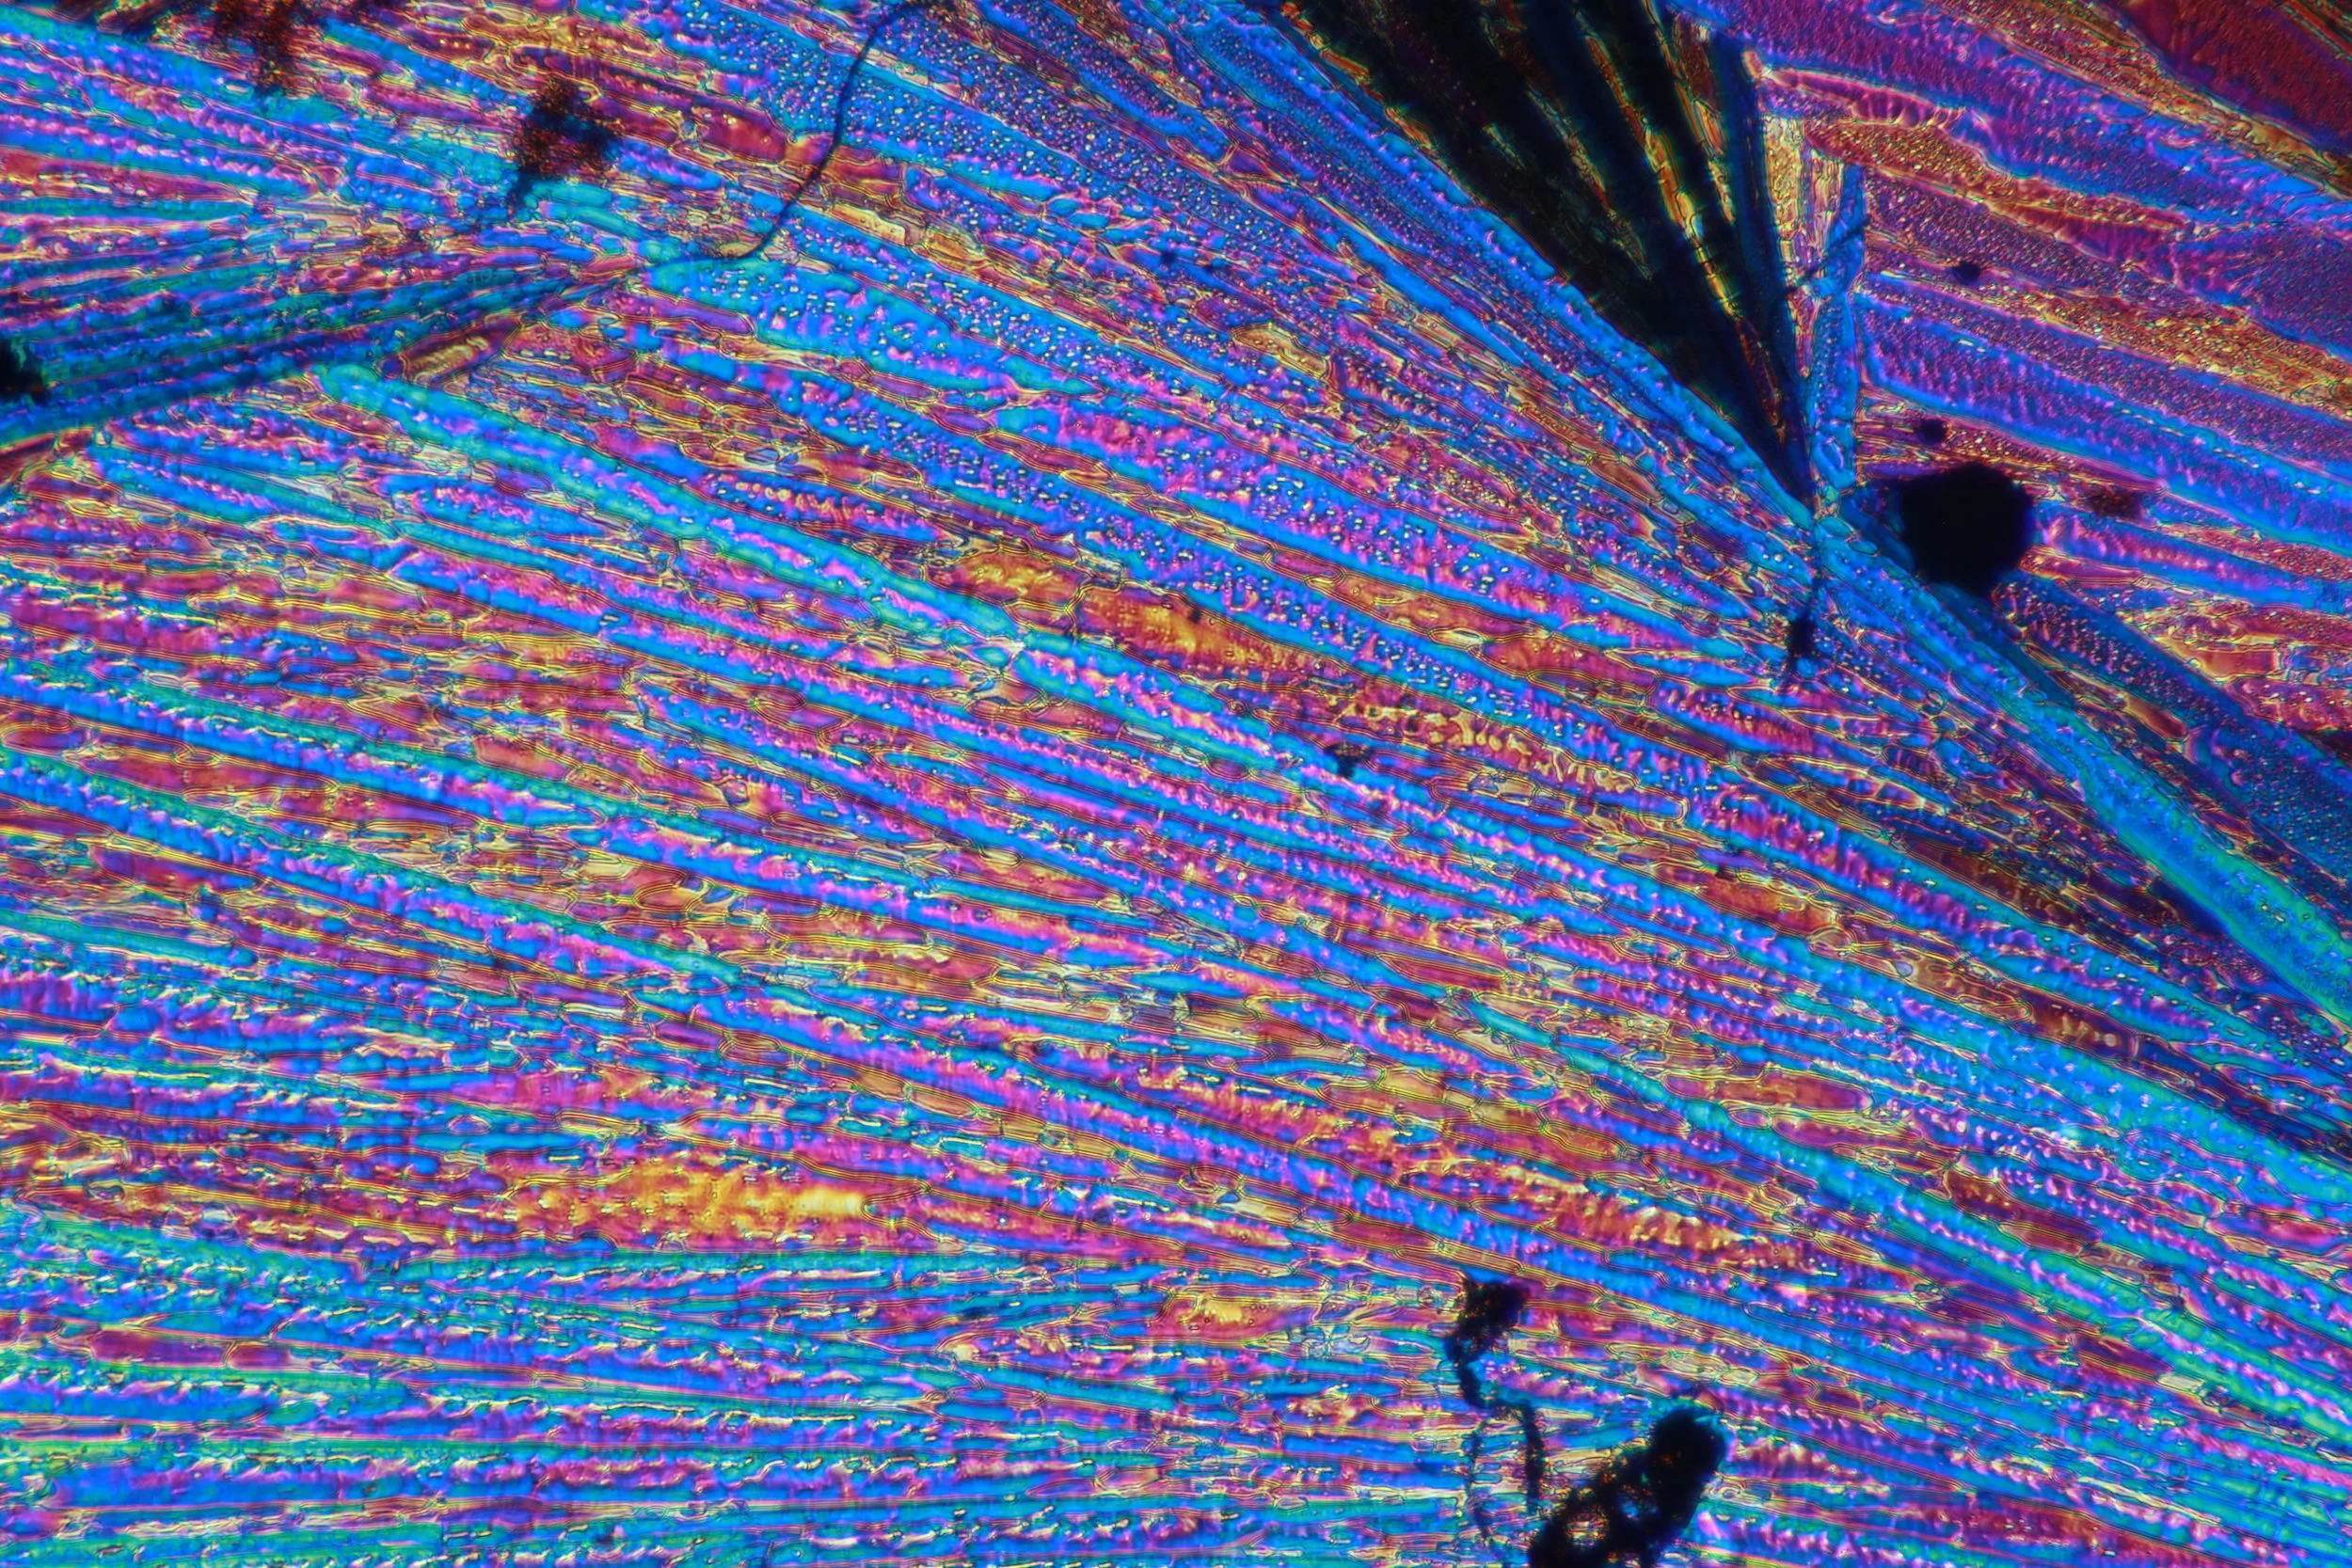
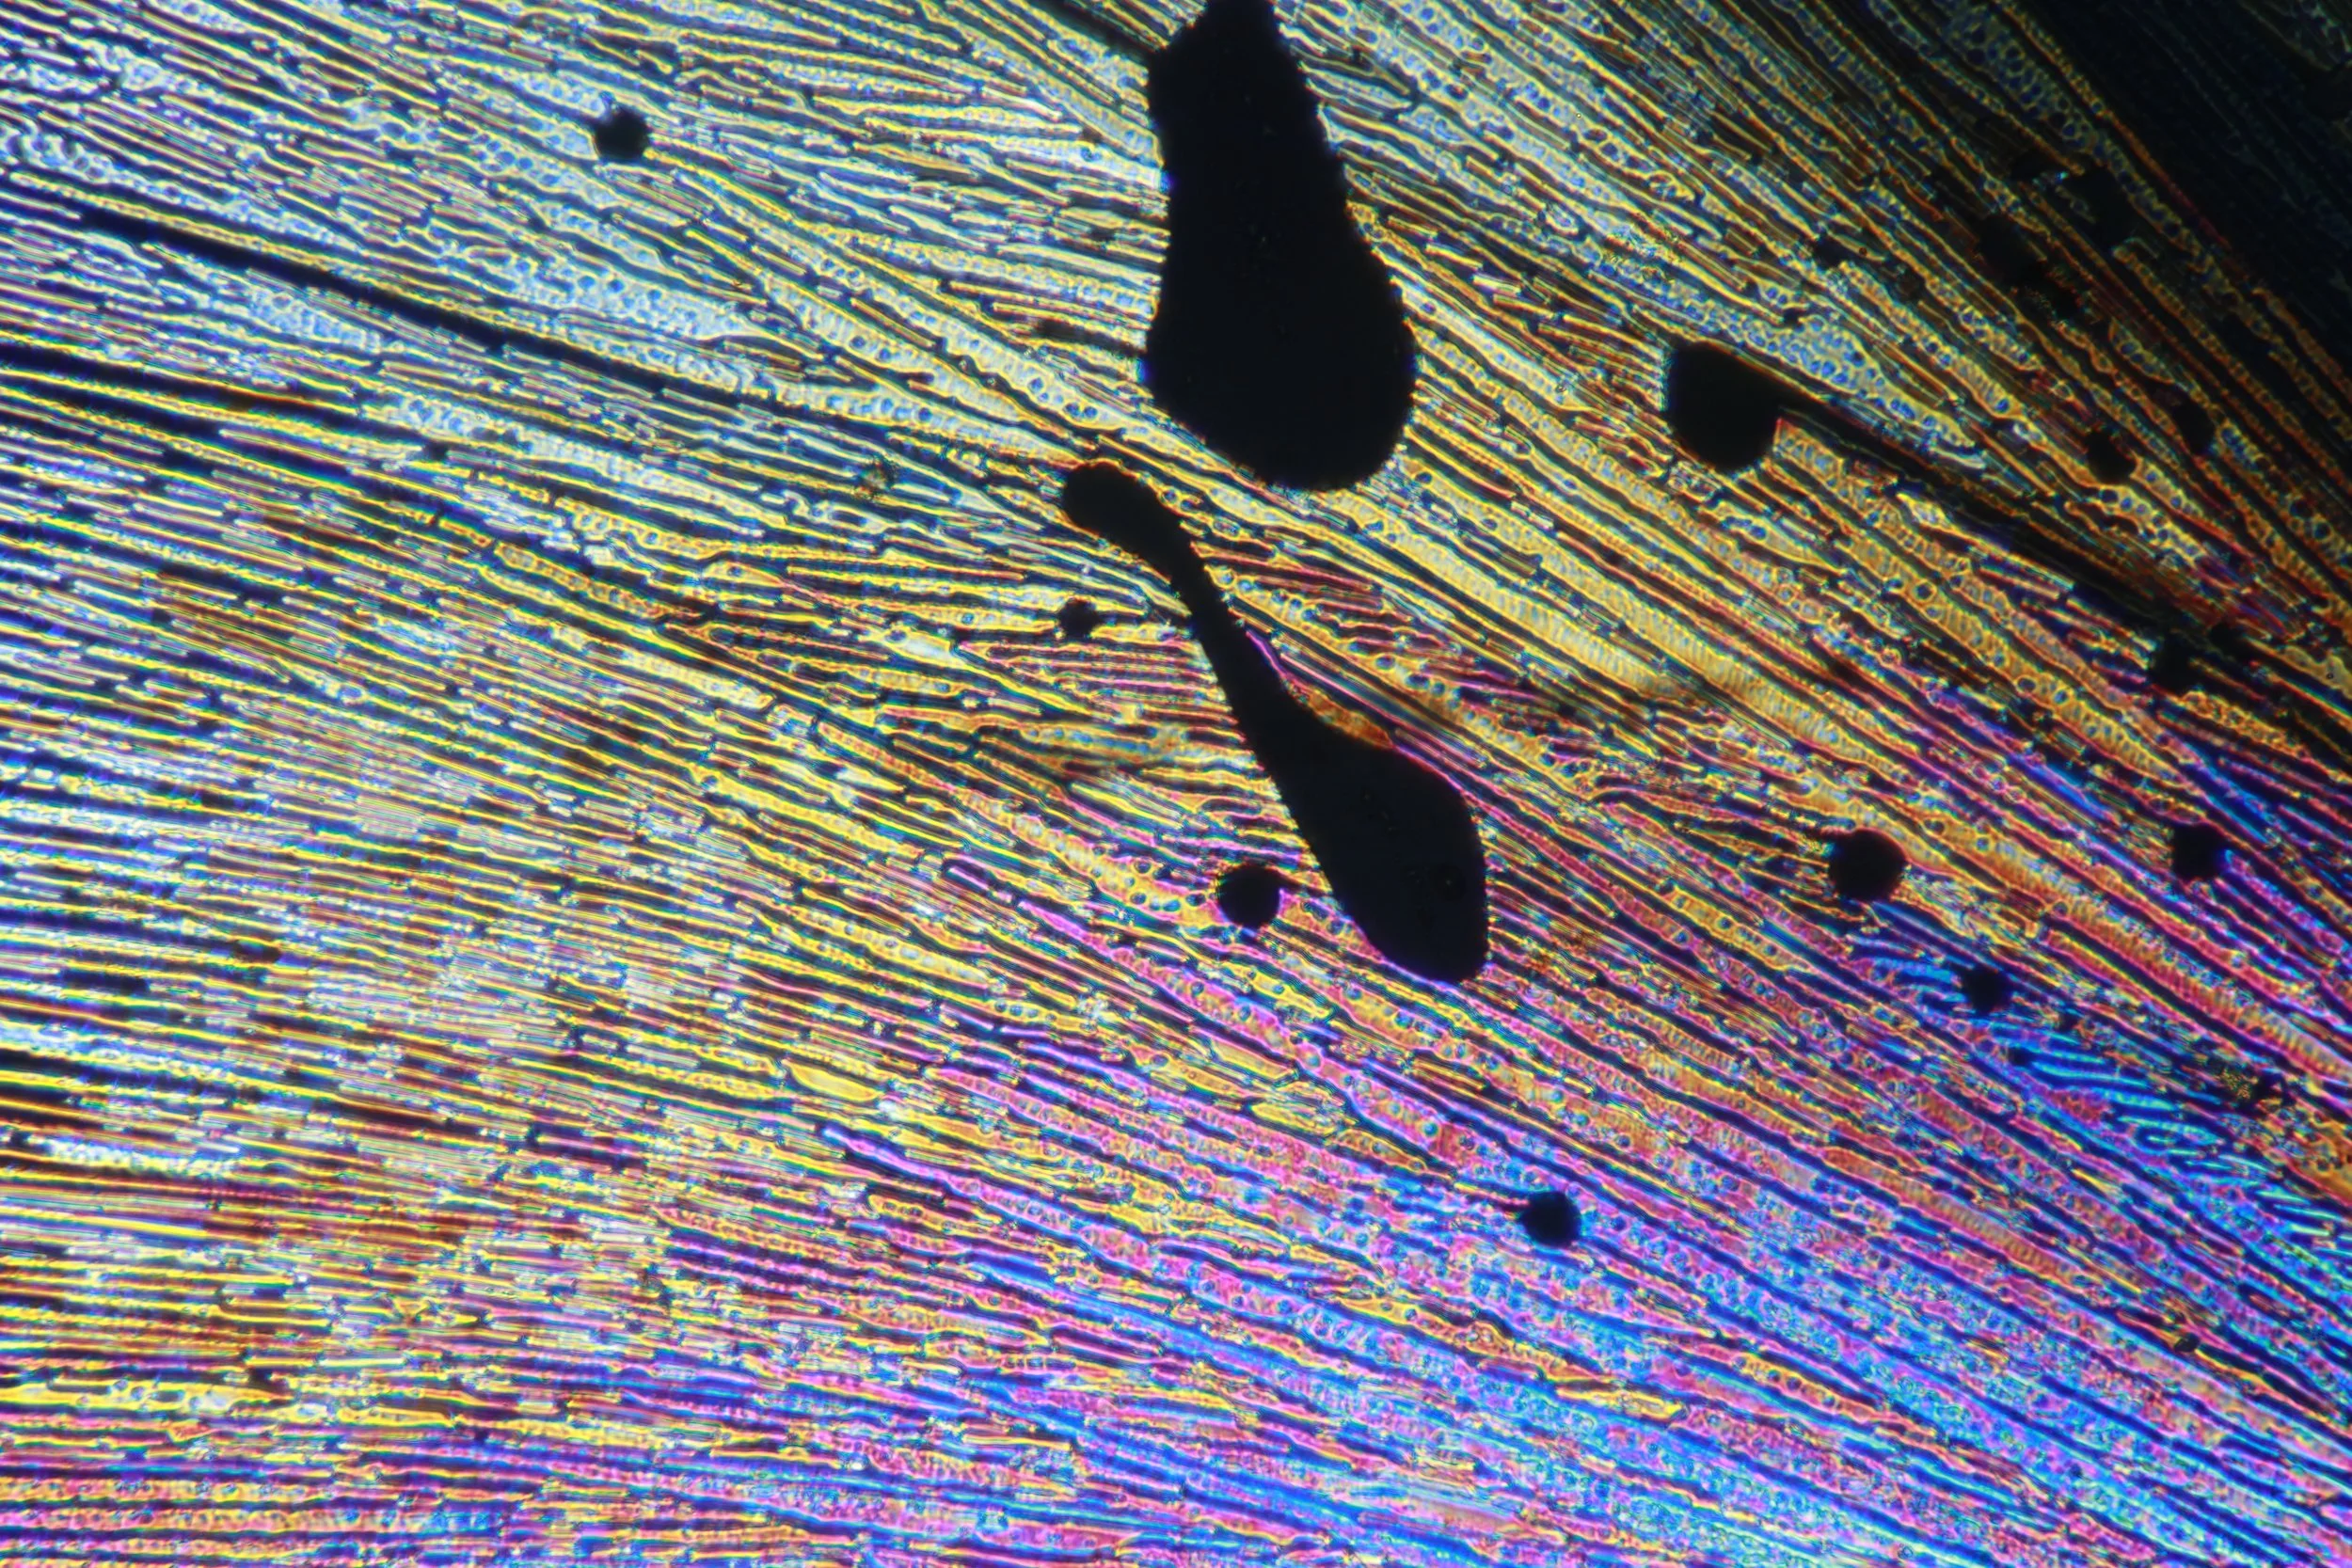
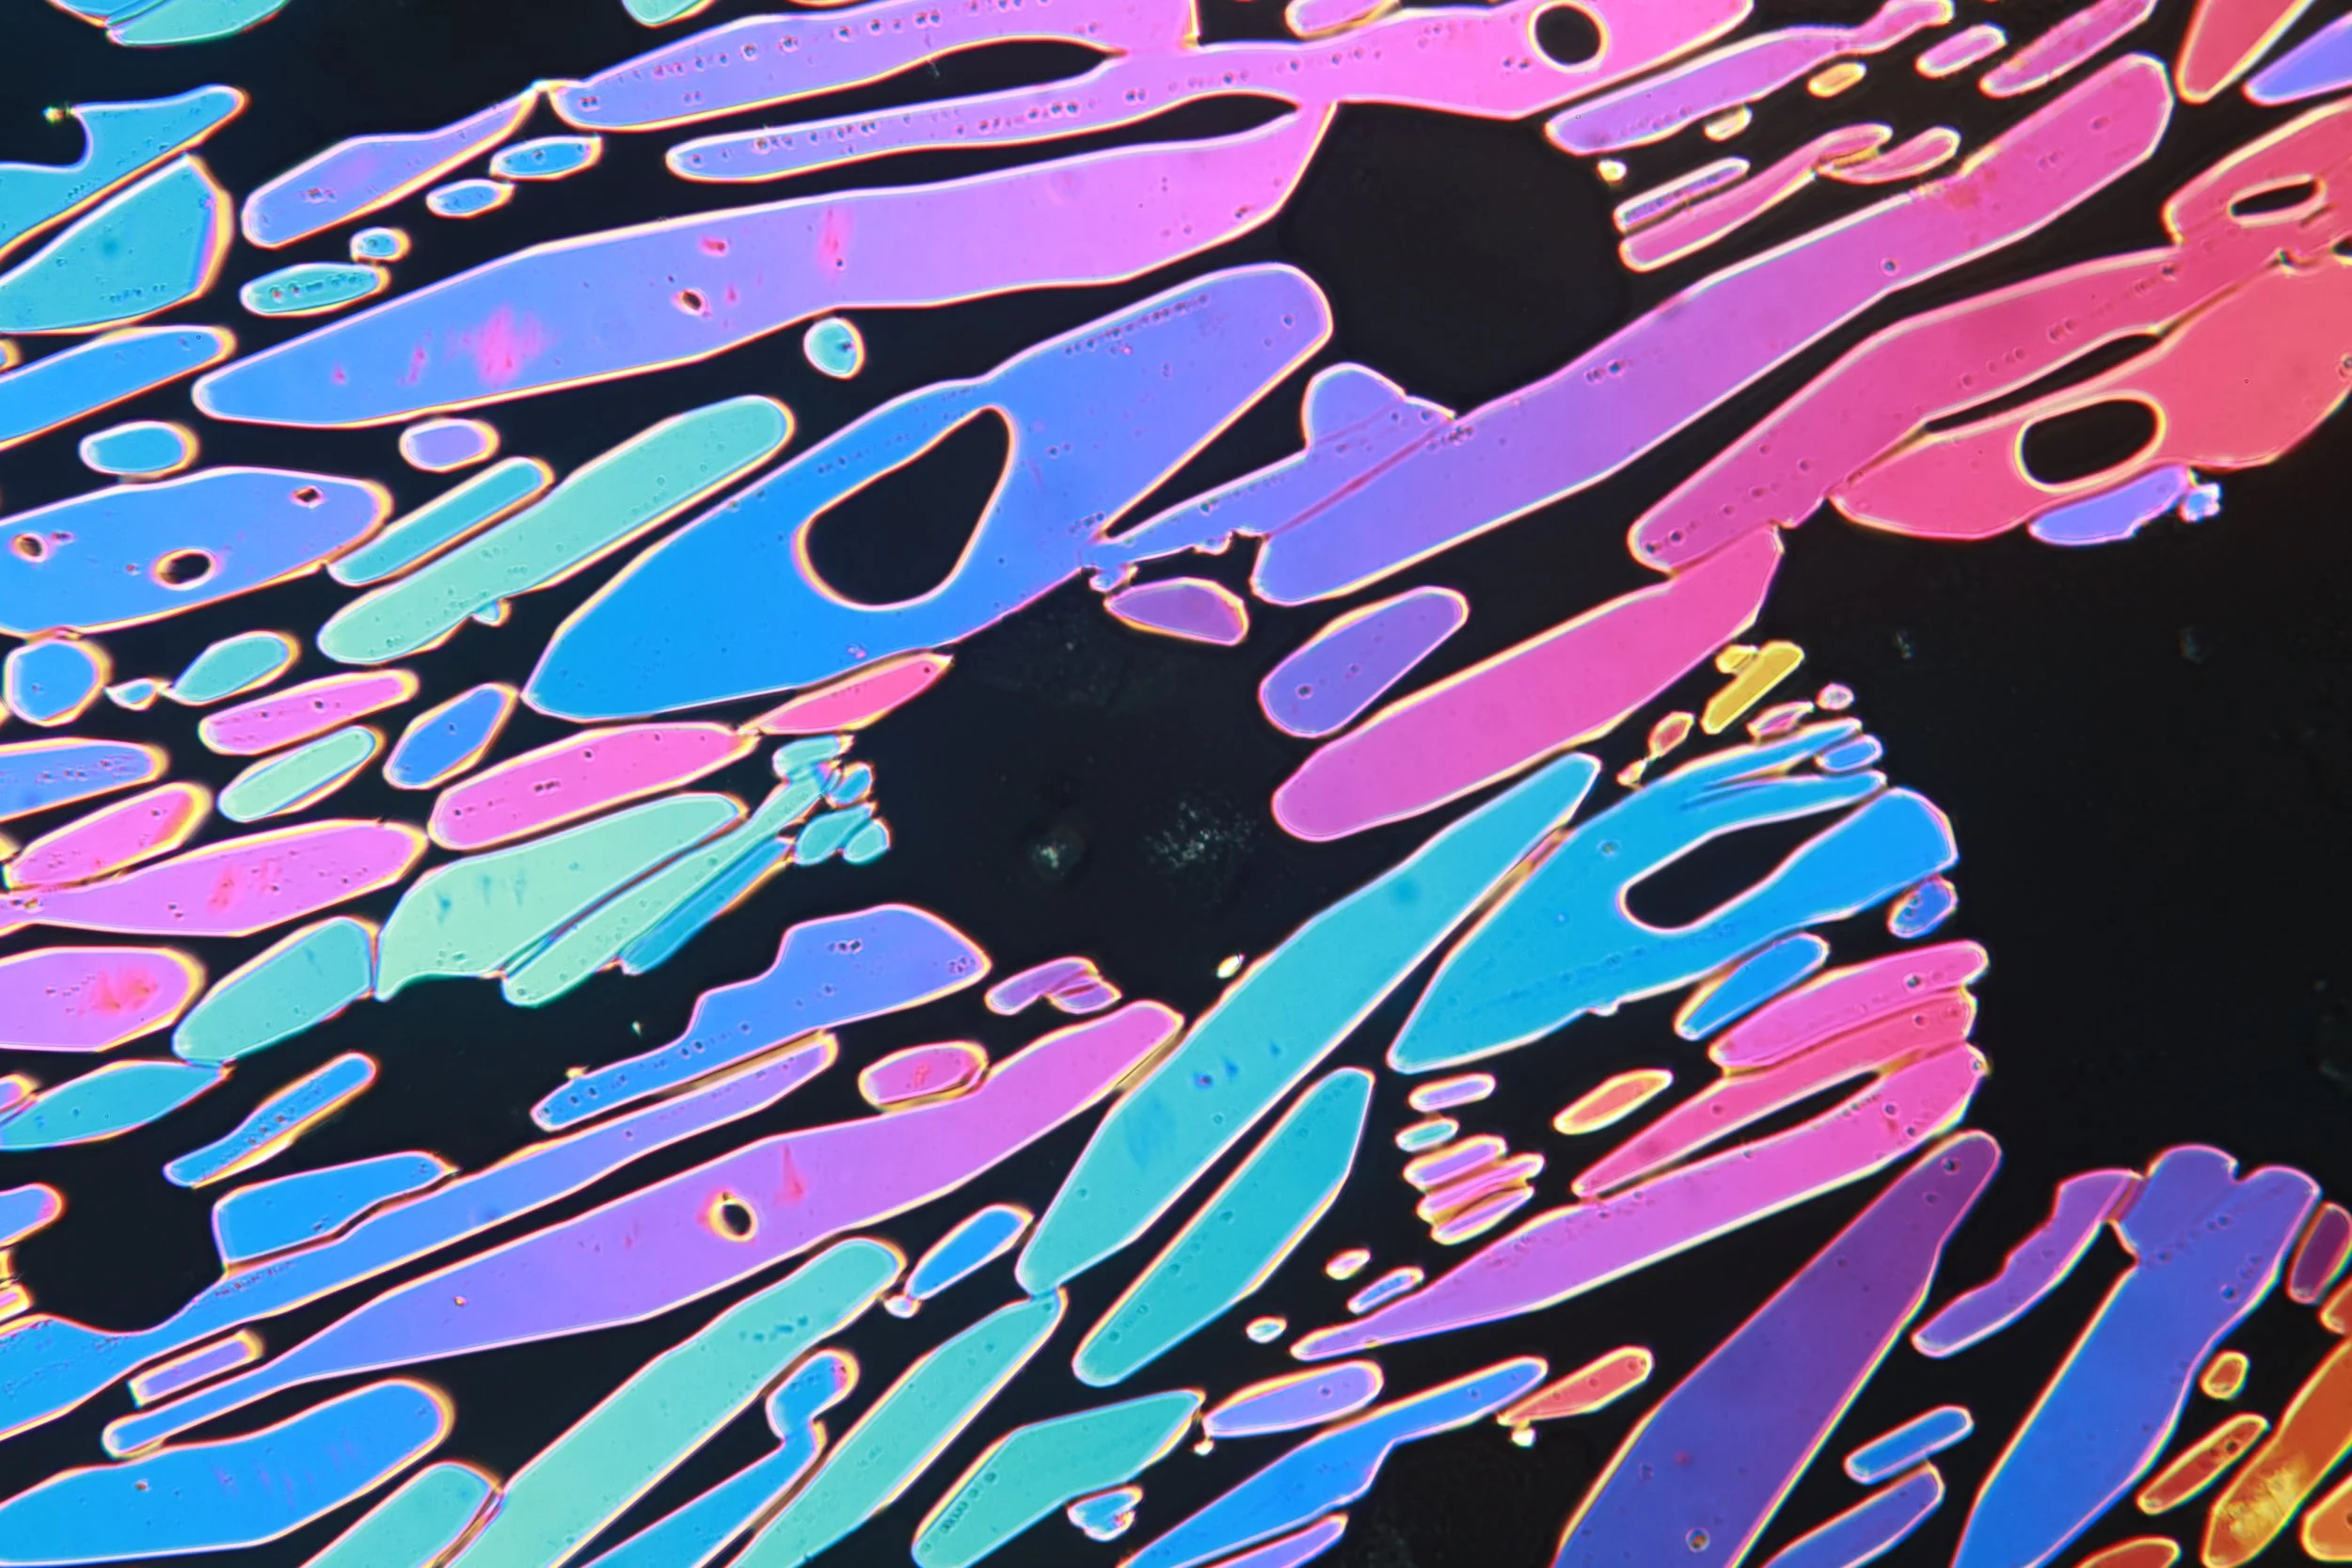
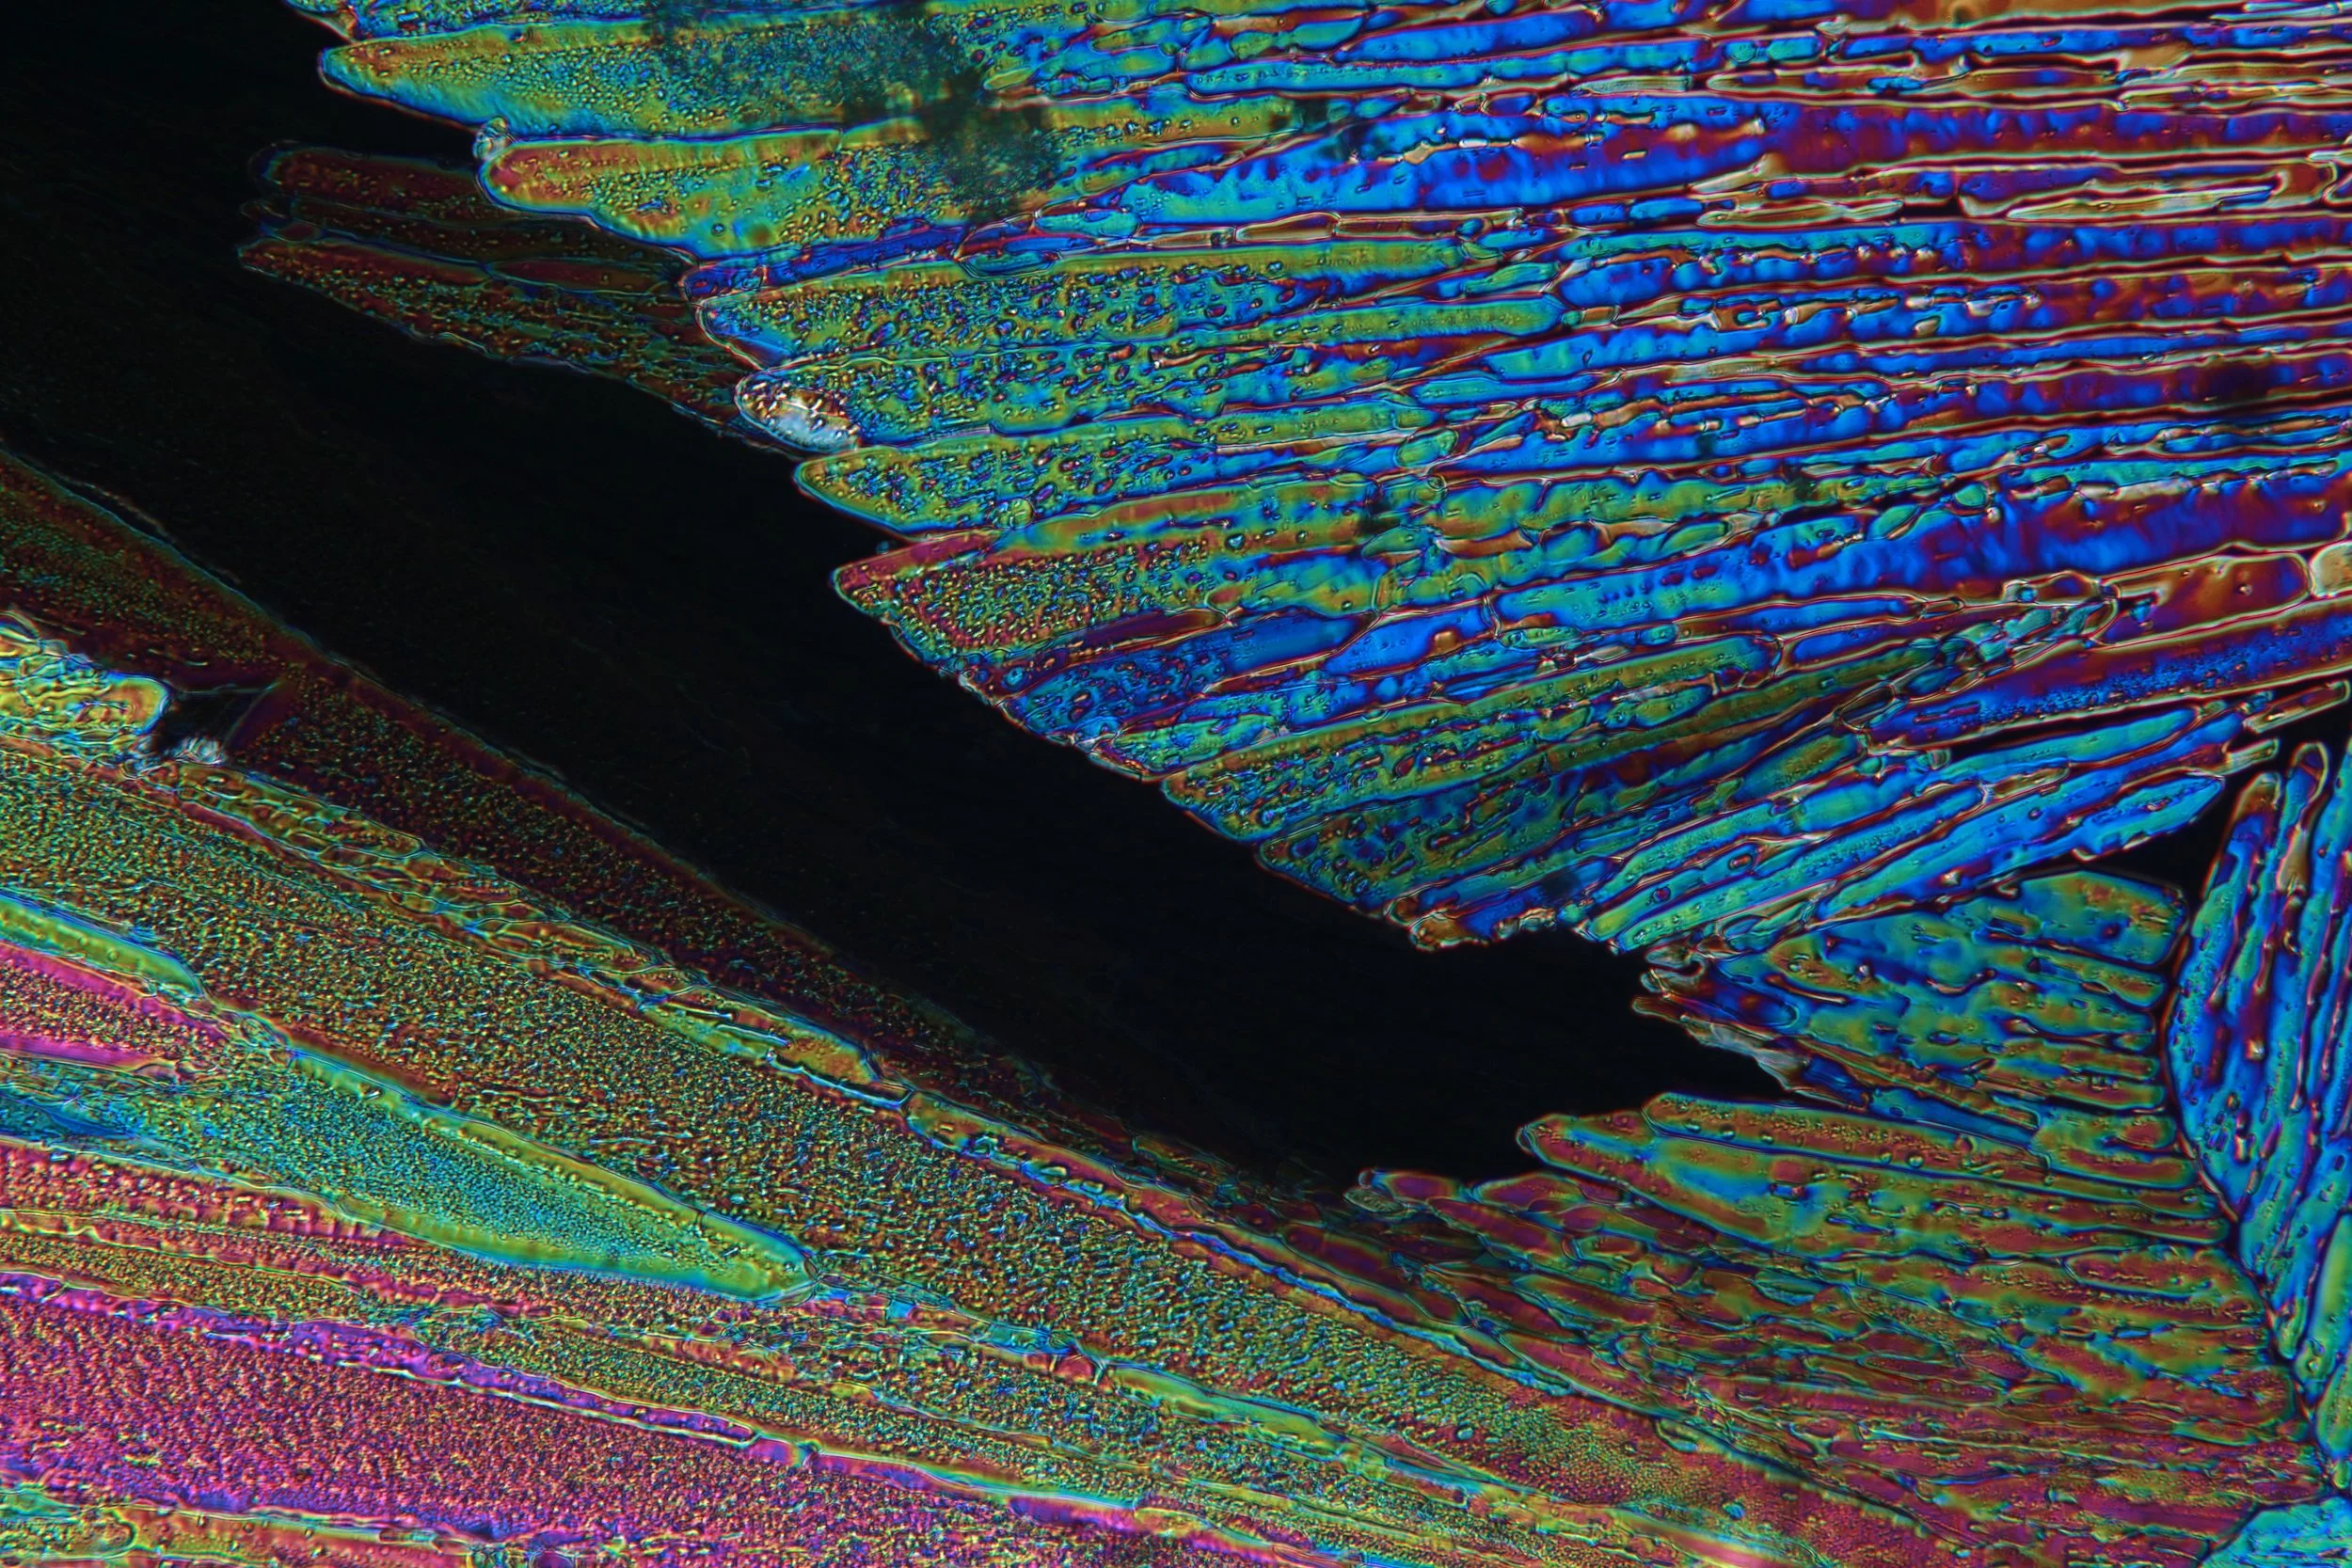
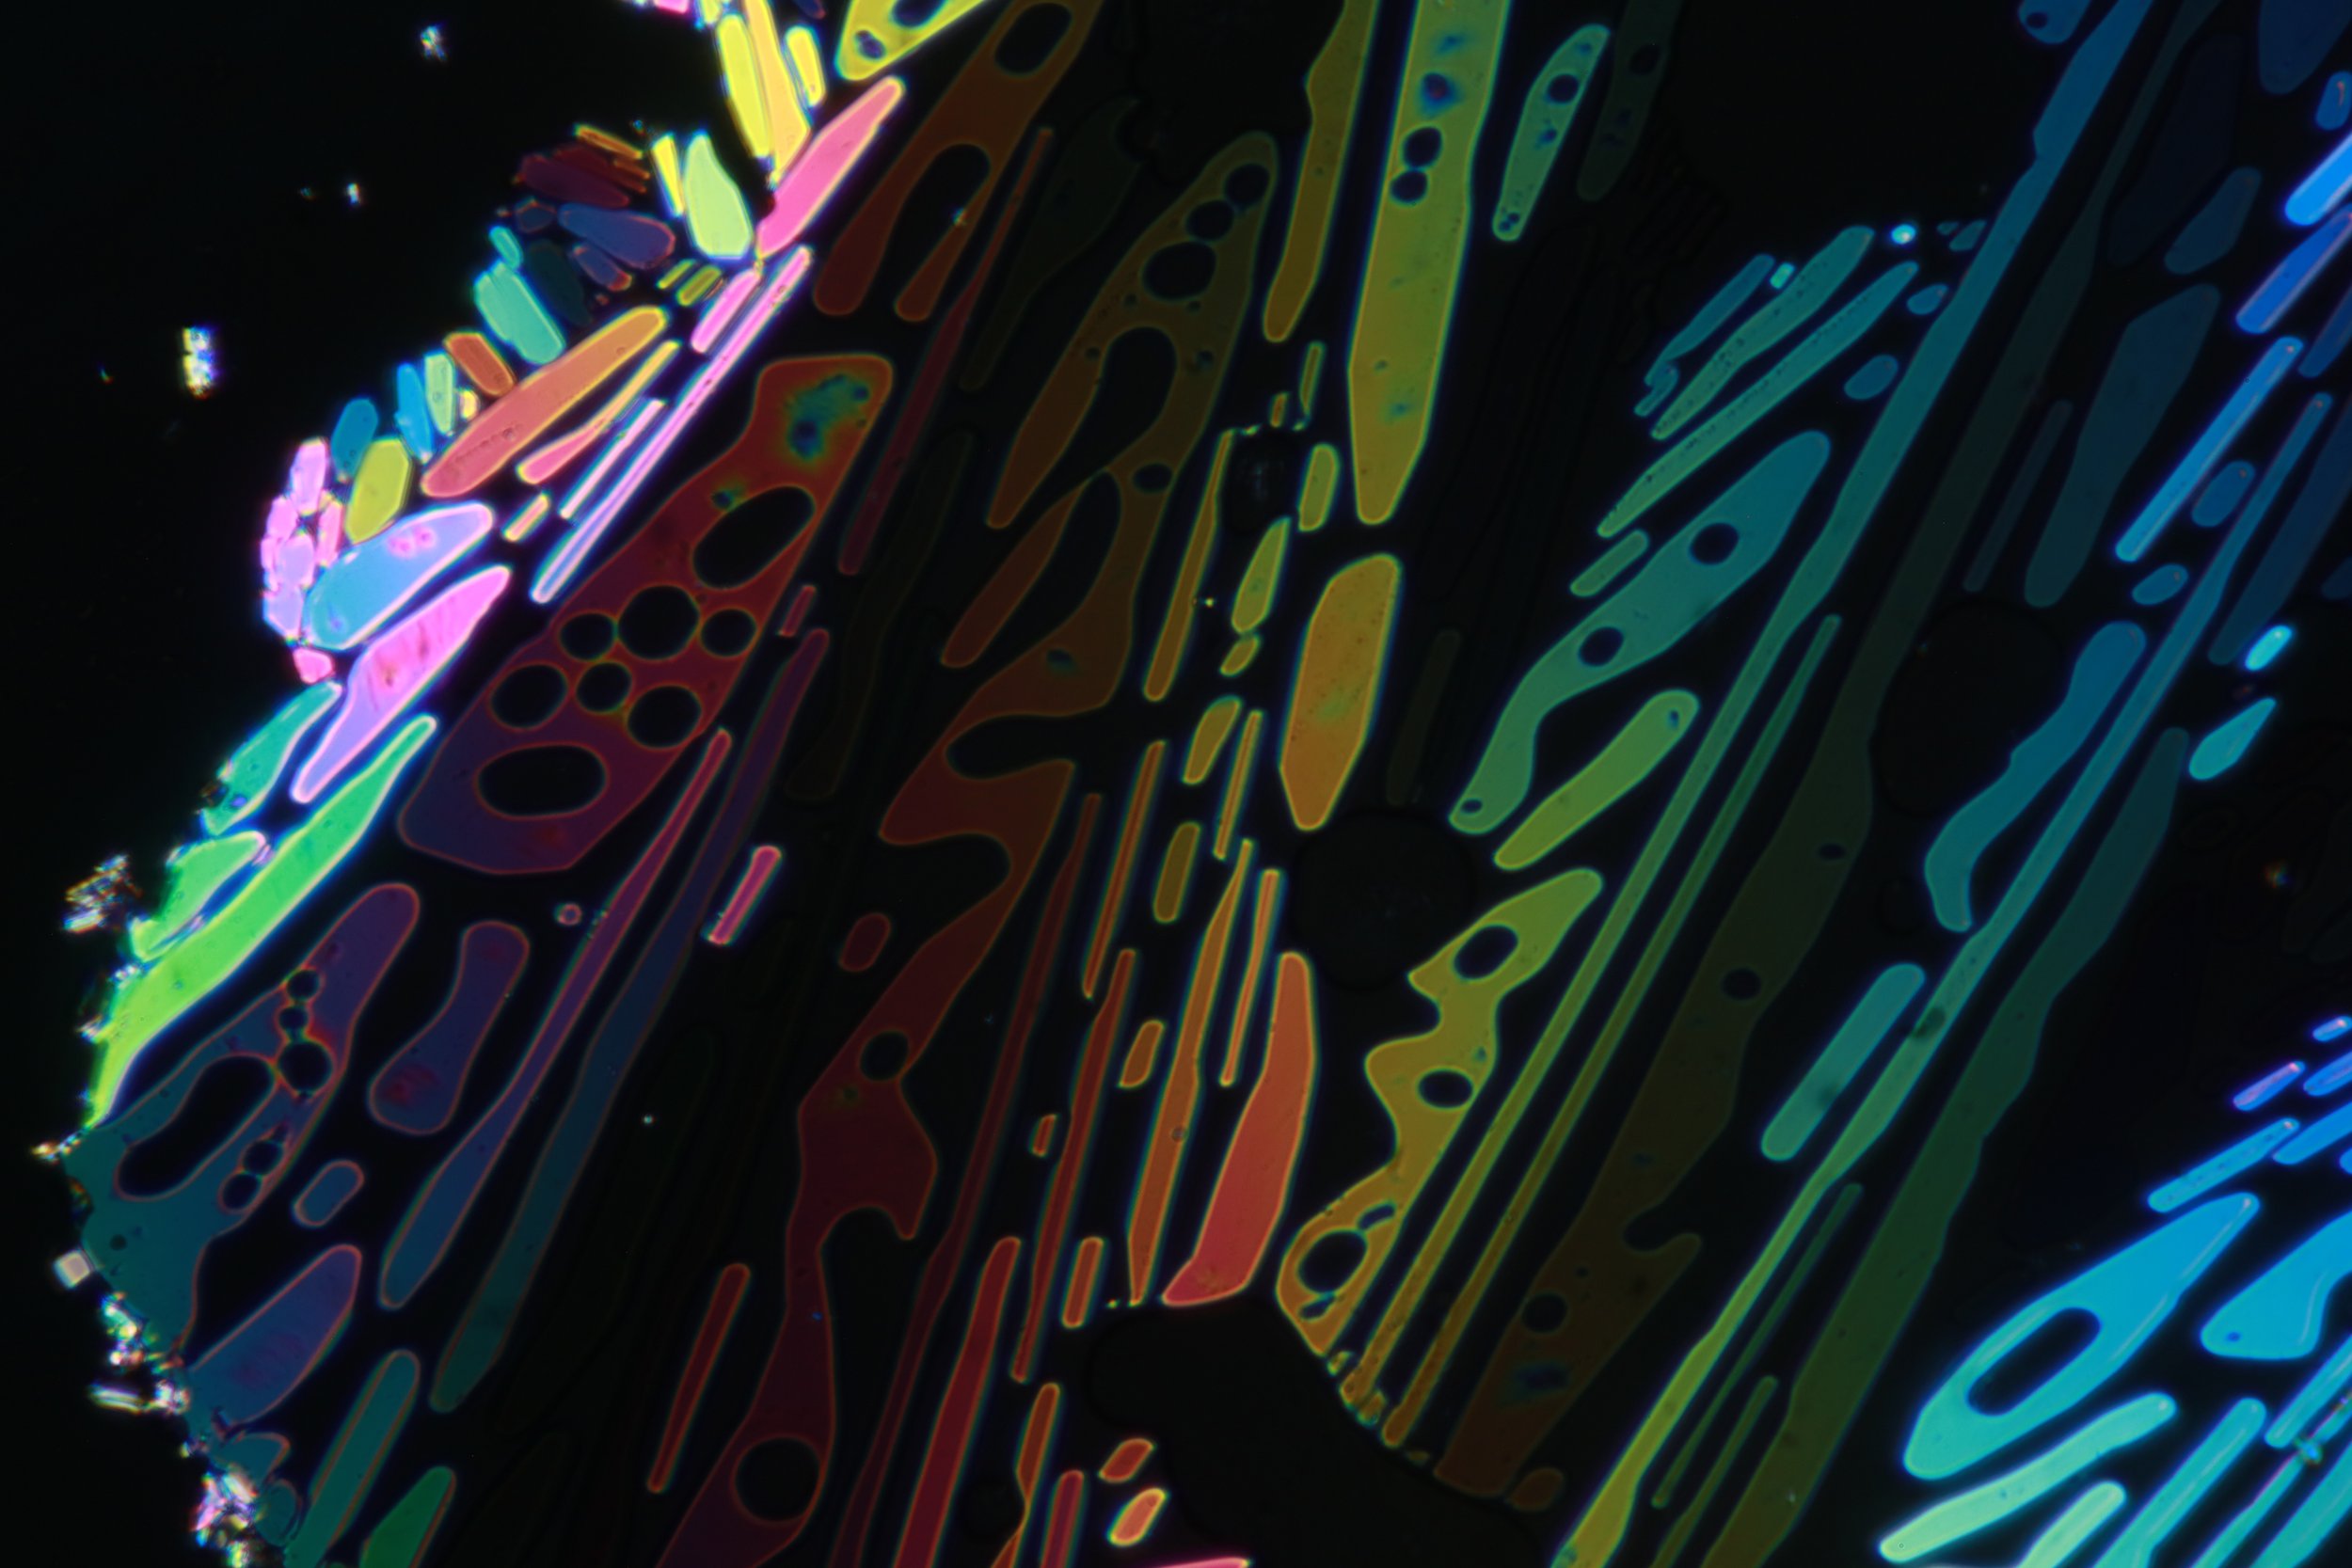
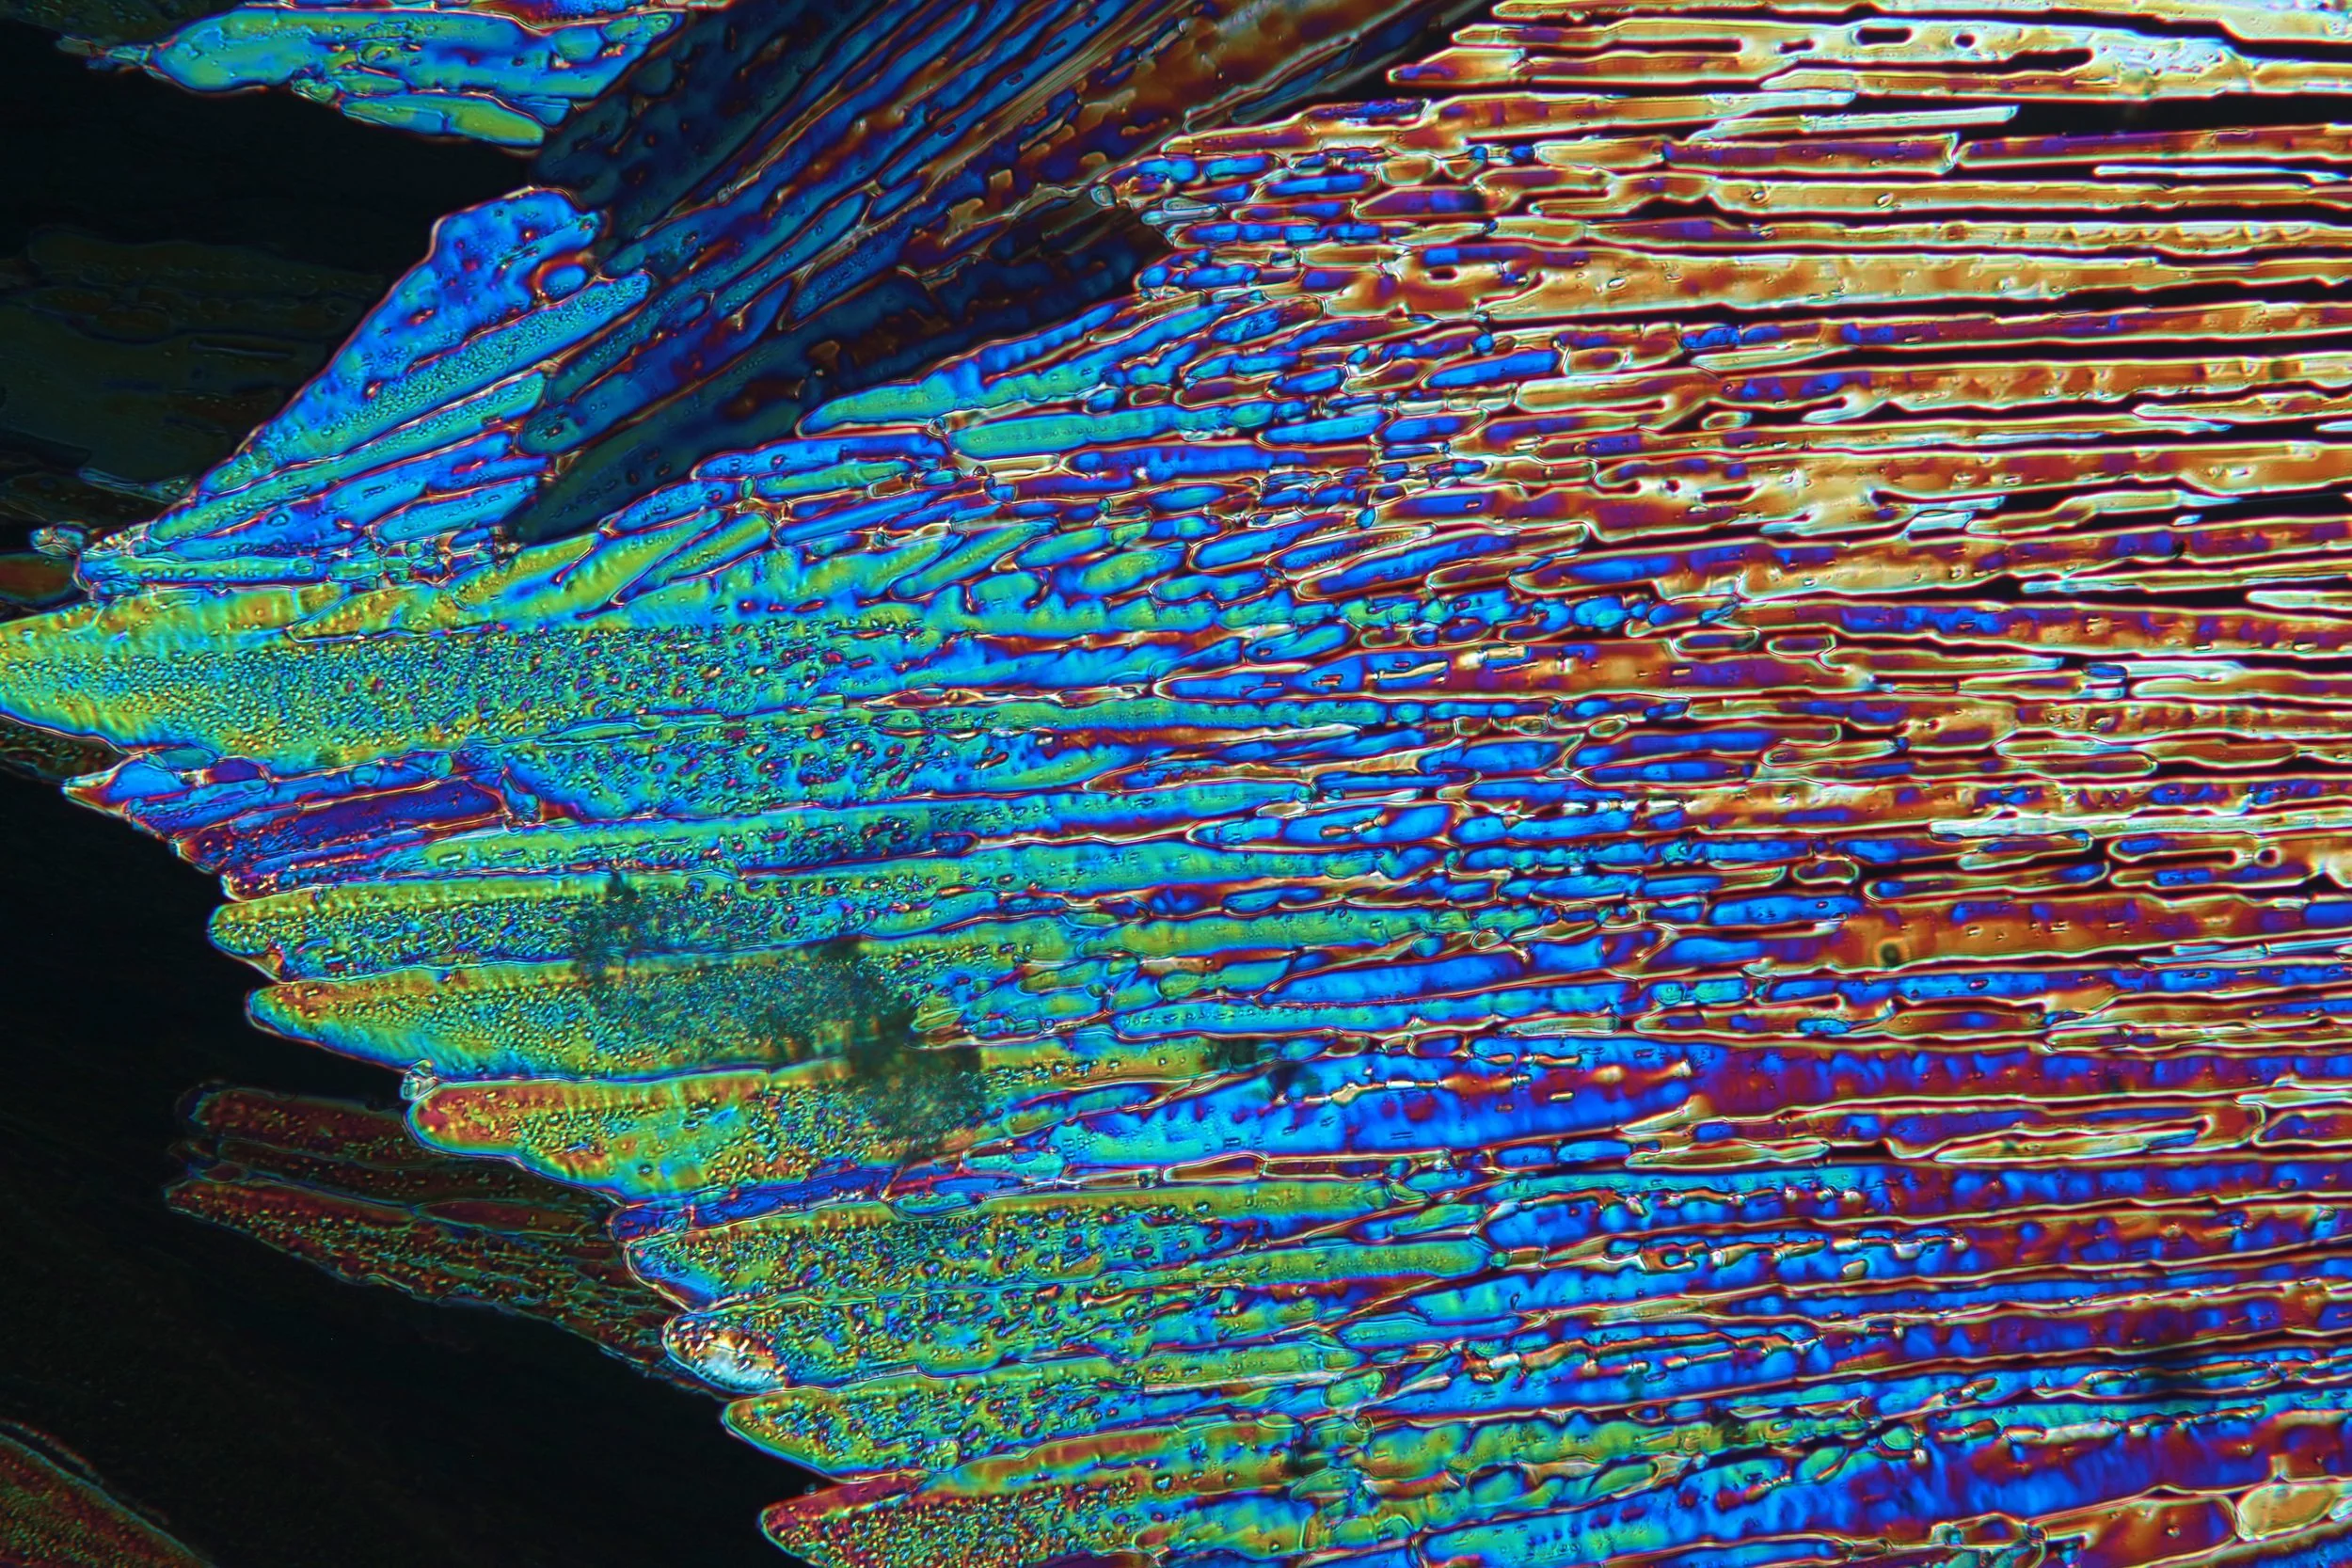
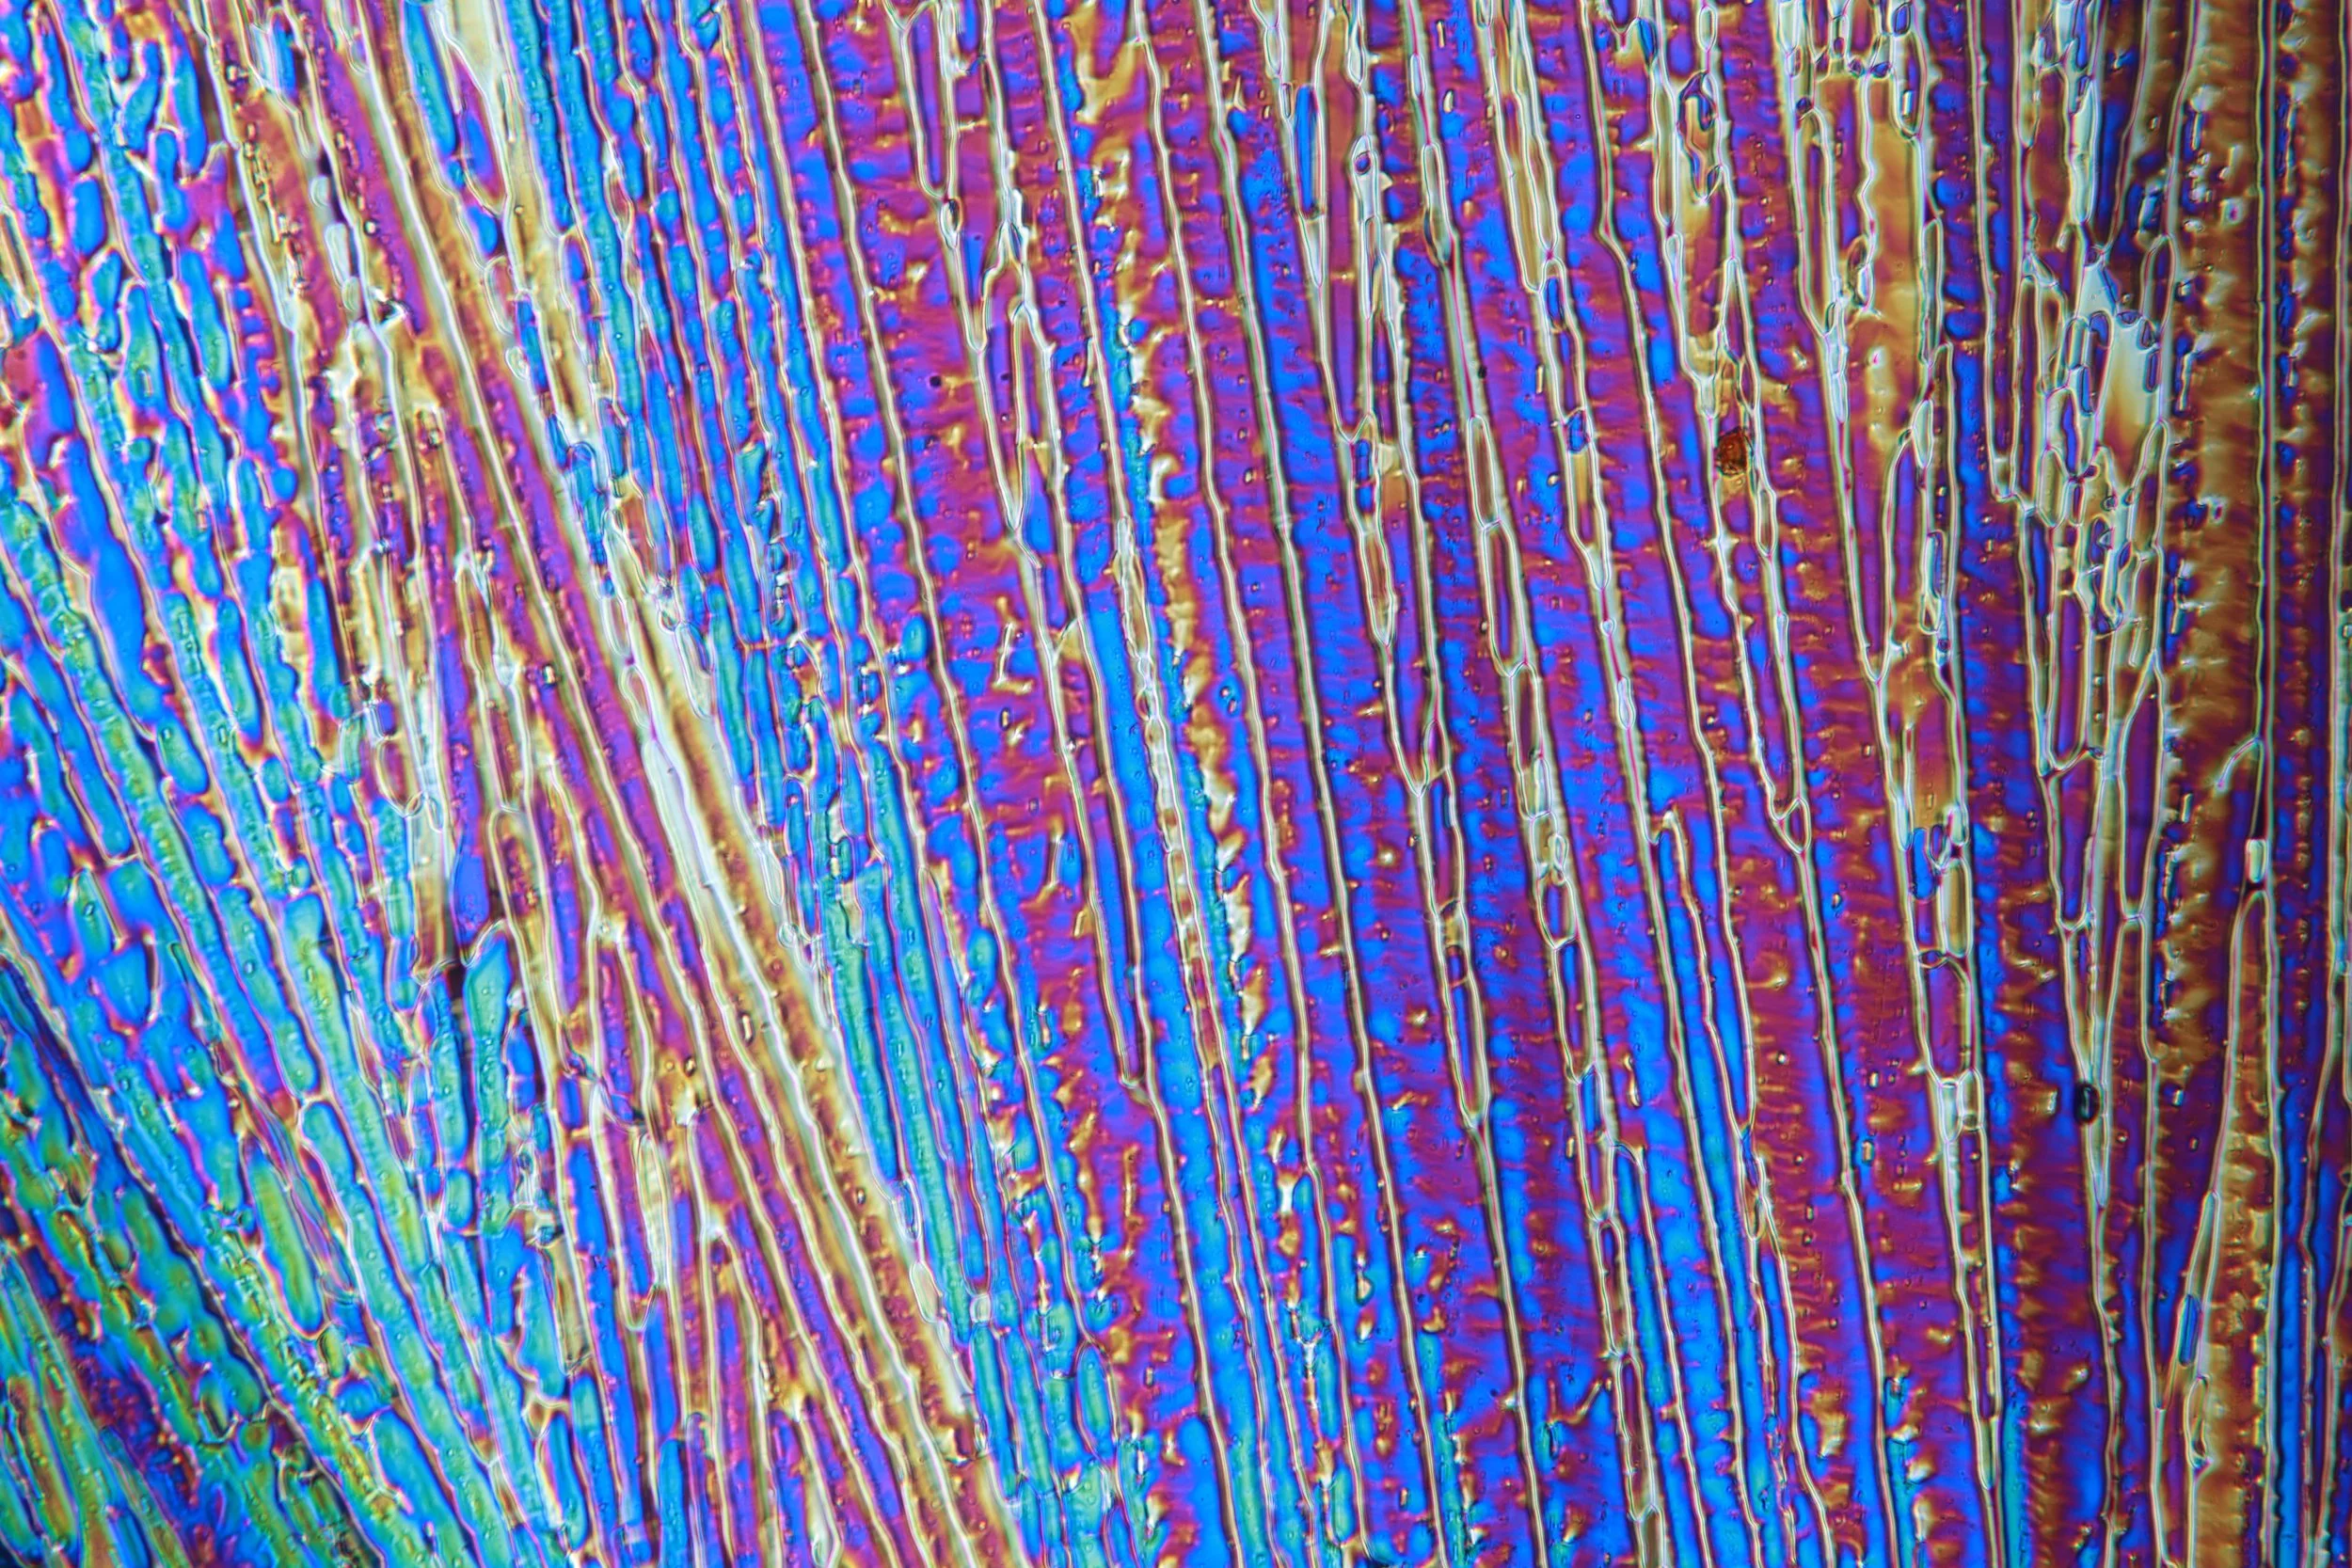
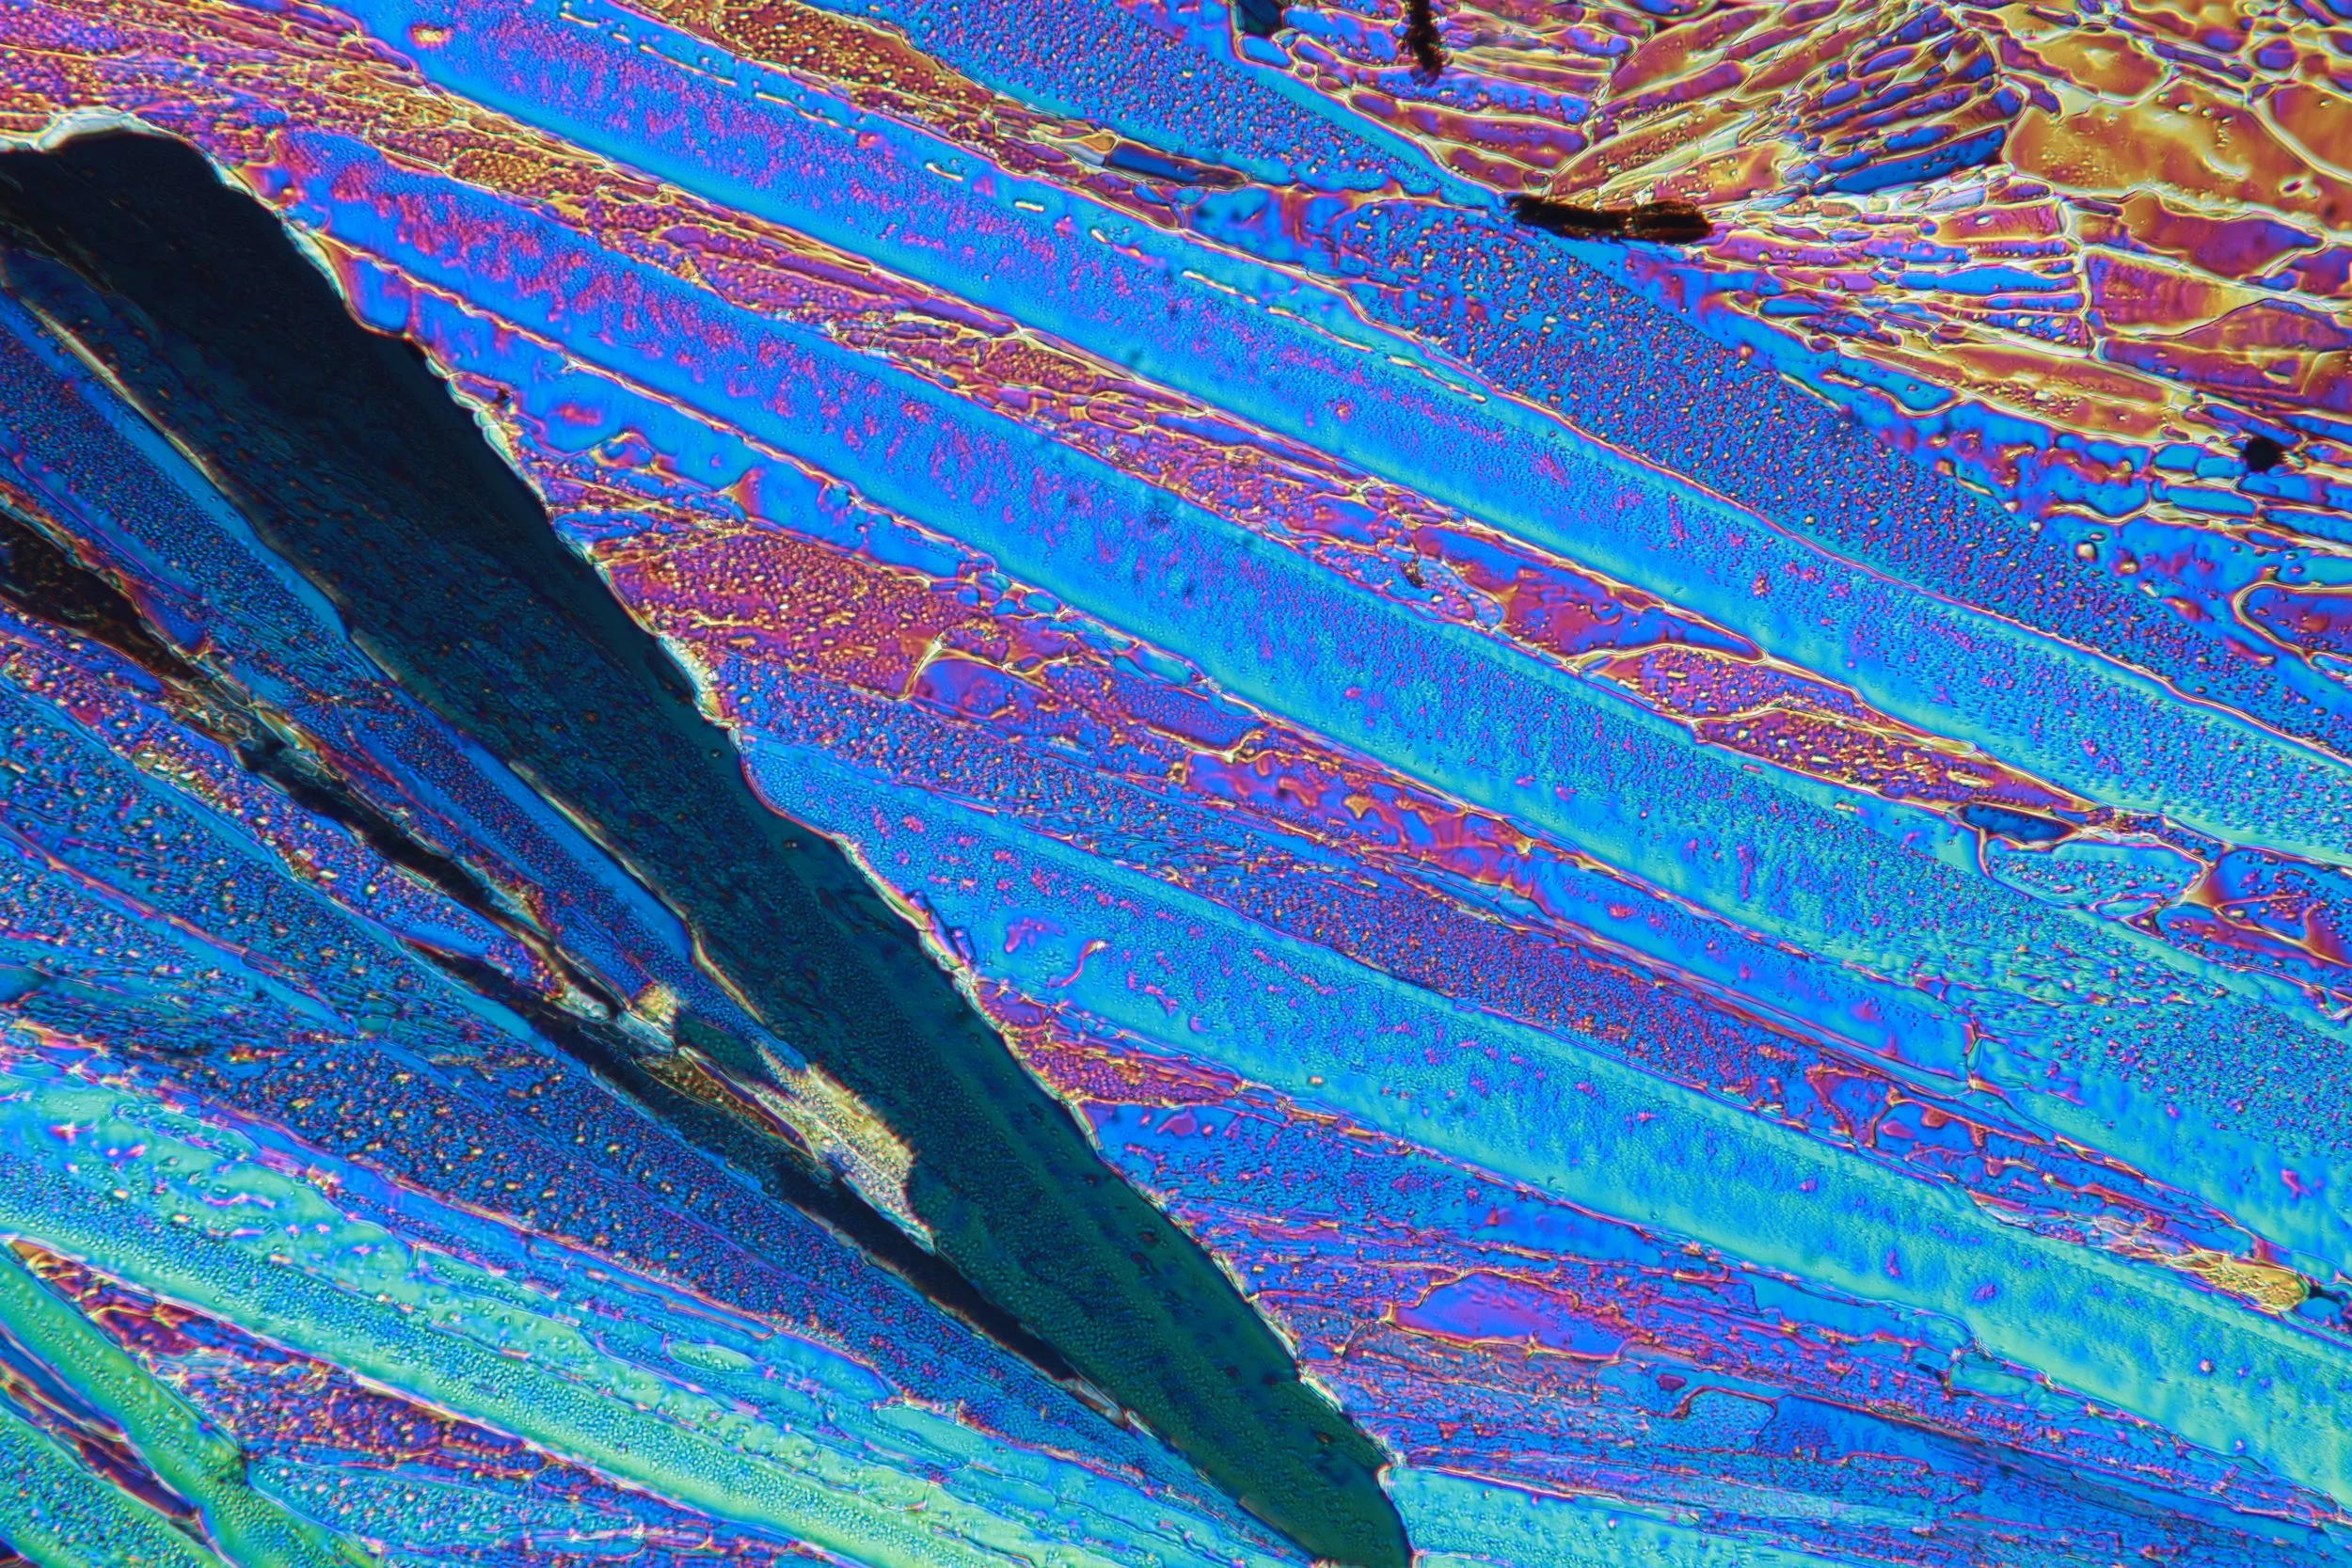
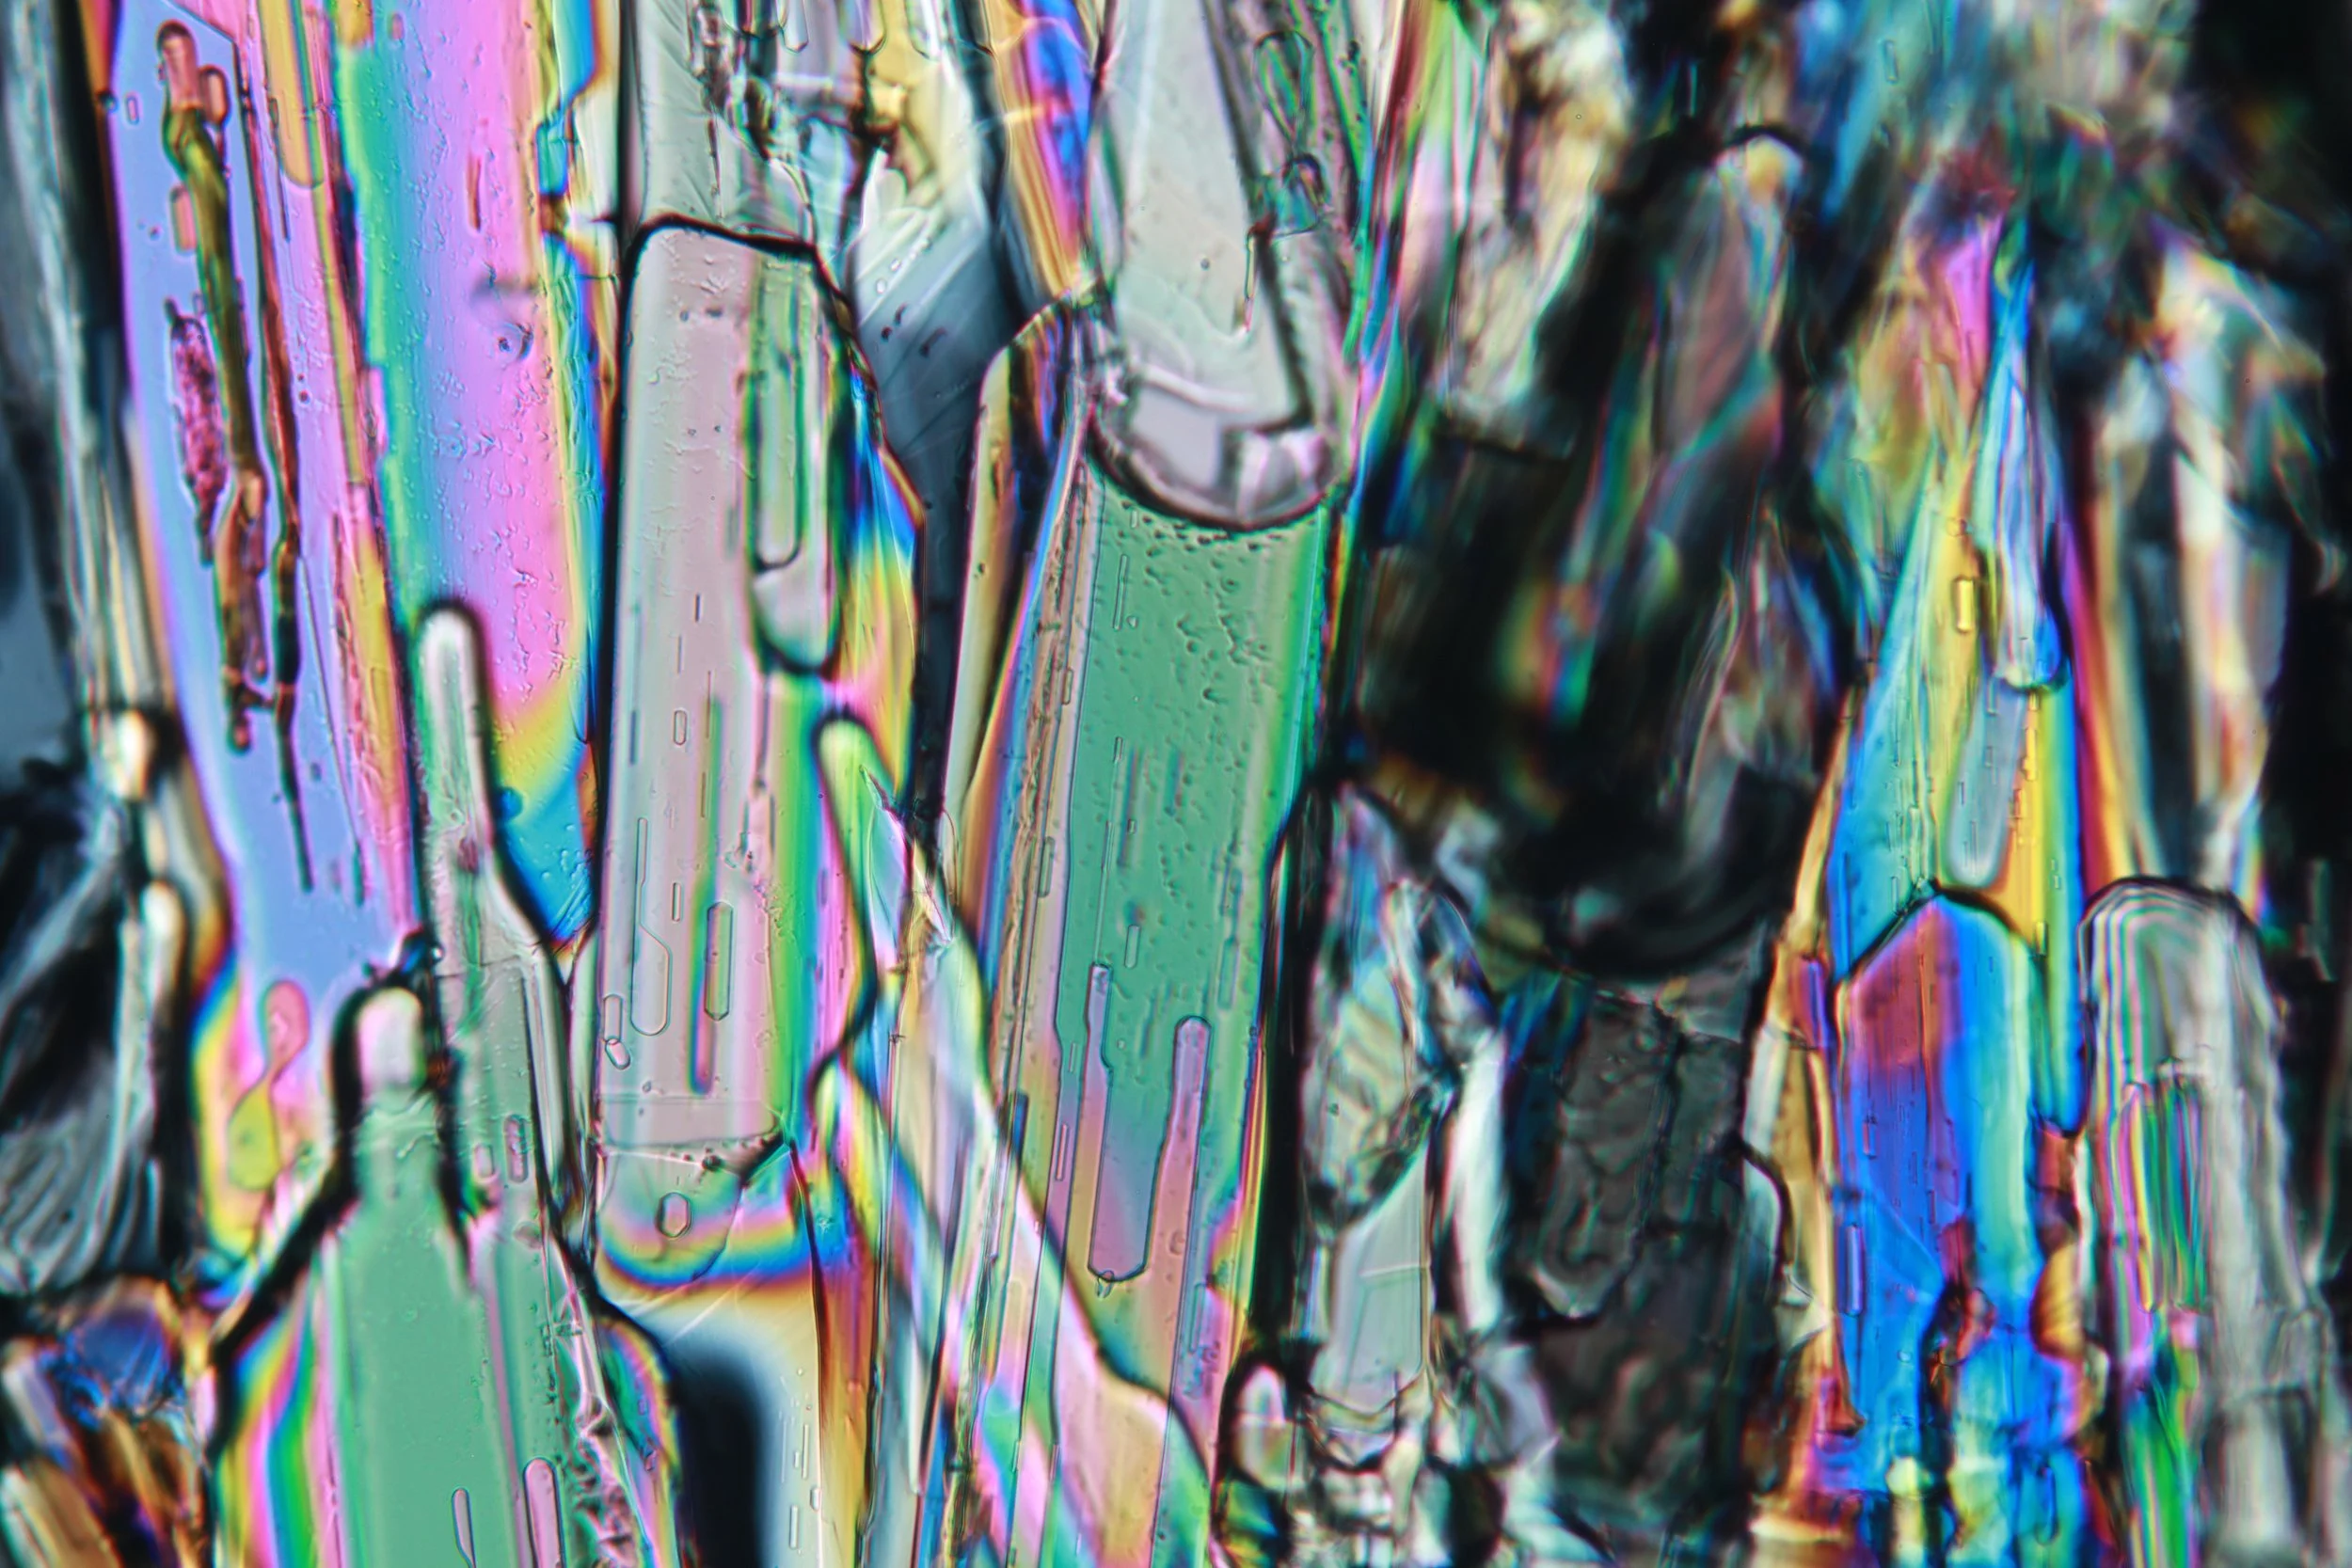
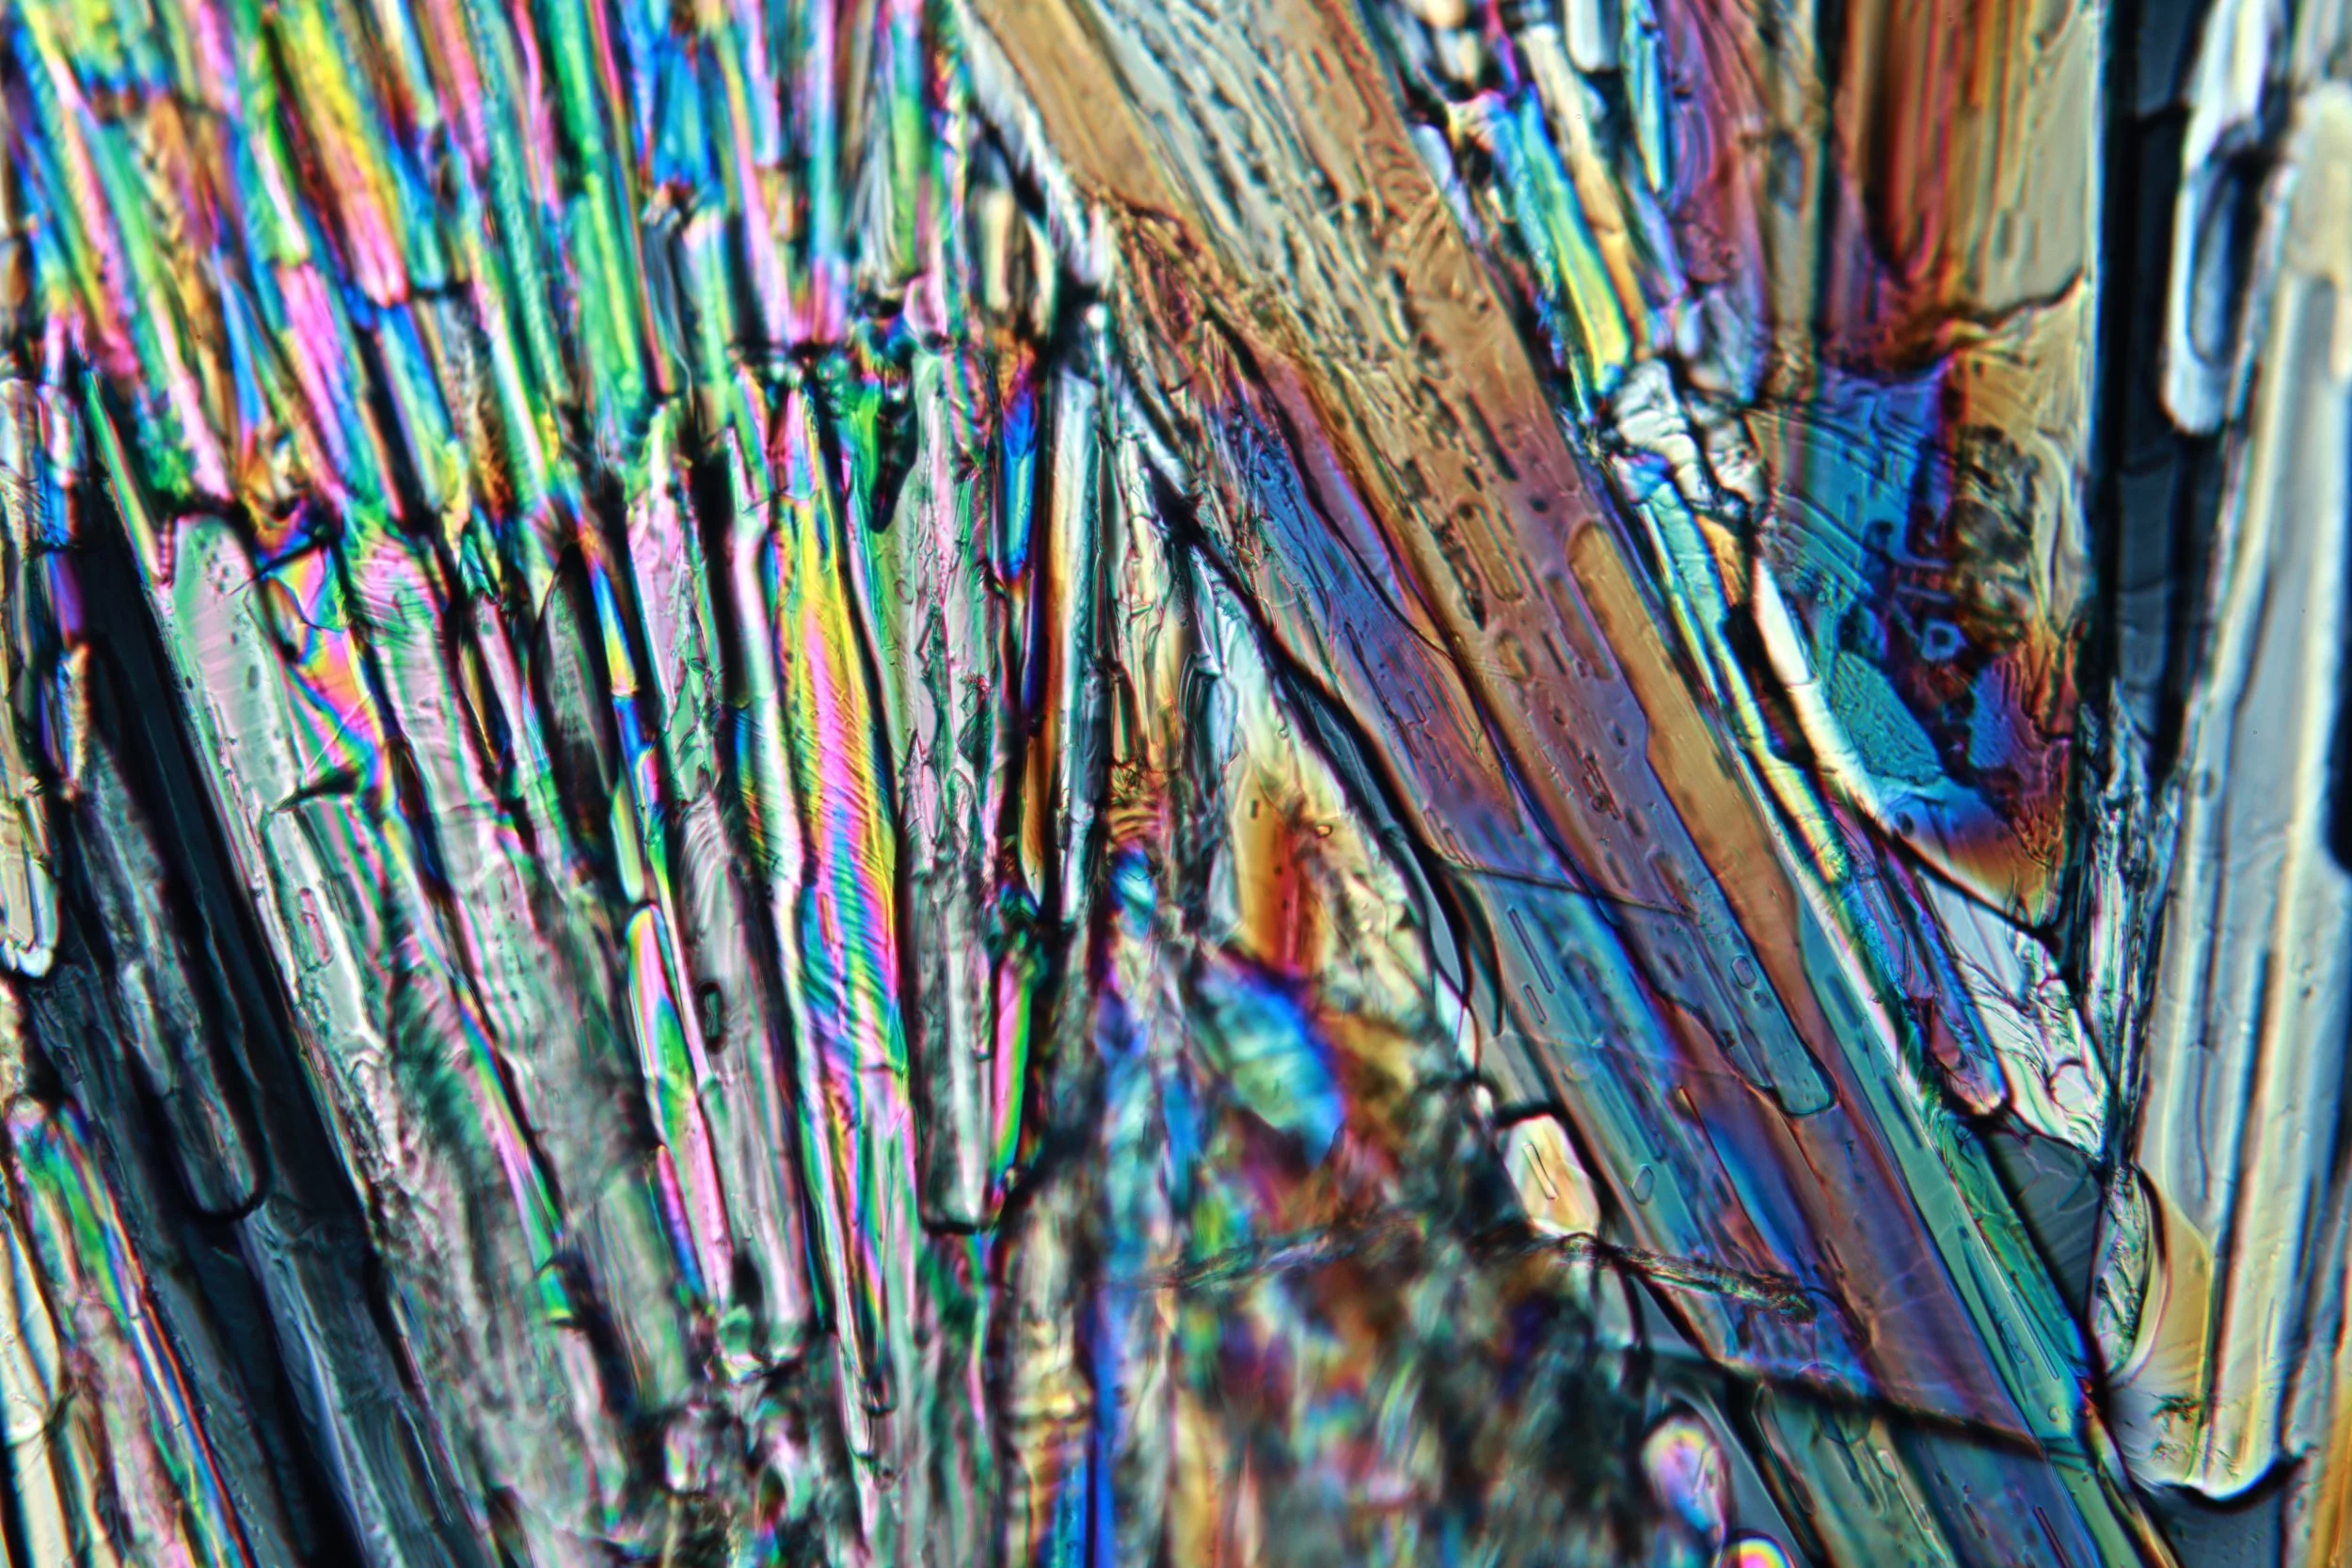
Epsom salt
Epsom salt is incredibly soluble in water. A highly saturated solution was prepared and then dried in the oven to crystallize. Though a hydrate, epsom’s dehydration temperature is 250°C and the water would just vaporize off if one attempted to prepare it like the sodium acetate.